
How to Protect Your Head When Falling Skateboarding
This post contains affiliate links. As an Amazon Associate, we earn from qualifying purchases.
Protecting your head when falling skateboarding requires three things: a certified helmet fitted to CDC standards, practiced falling techniques that tuck your chin, and immediate post-fall action to check for concussion symptoms. The helmet’s front rim must align with your eyebrows, and the chin strap should allow only one or two fingers underneath.
That alignment is the difference between a helmet that stays put and one that slides back on impact. The CPSC states that a helmet should fit snugly with the chin strap fastened because it can come off upon impact if it is too loose, which is a key part of how to protect your head when falling skateboarding.
What follows: the exact ASTM standard that defines a real skate helmet, a four-step fit check you can do quickly, the body mechanics for a forward versus backward slam, and the one field test that tells you when a helmet is done, all central to the how to protect your head when falling skateboarding question.
Key Takeaways
- A skateboard helmet must have an ASTM F1492 label; multi-use helmets need that specific certification for skateboarding.
- Use the CDC’s “big yawn” test for chin-strap tightness, open your mouth wide, the helmet should pull down on your head.
- Tuck your chin to your chest during a forward fall to protect your head and neck from whiplash.
- Replace a helmet after any serious crash (per the CDC) or at least every five years (per the AAOS/POSNA), whichever comes first.
- Practice falling drills on grass before you need the skill on concrete; muscle memory beats panic.
The Right Helmet: It’s About the Label, Not the Look
Walk into any shop and you’ll see rows of helmets. Some look sleek, some are covered in graphics, a few promise multi-sport use. Before anything else, check the certification label inside.
For skateboarding, a key standard is ASTM F1492. The CDC states that for skateboarding use, a multi-use helmet must have an ASTM label certifying it for skateboarding, while the ASTM standard itself prohibits partial compliance and is designed specifically for skateboarding and trick roller skating. The standard requires impact testing on three different anvil shapes, a flat surface, a cylindrical hazard (like a pipe or curb), and a triangular hazard (like a sharp corner). A helmet that meets ASTM F1492 is designed specifically for the kinds of hits you take skateboarding.
A multi-use helmet marketed for skateboarding and biking must have an ASTM label certifying it for skateboarding. The standard itself prohibits partial compliance, a helmet passes all tests or fails the specification entirely.
If you’re looking at a multi-use helmet marketed for skateboarding, the CDC states it must have an ASTM label certifying it for skateboarding, a fundamental part of how to protect your head when falling skateboarding, while the ASTM F1492 standard itself prohibits partial compliance and is designed specifically for skateboarding and trick roller skating. The CDC states that for skateboarding use, a multi-use helmet must have an ASTM label certifying it for skateboarding. This is a direct conflict between marketing and the standard’s own scope, and the standard wins every time.
They’re a safe default pick.
The 4-Step Helmet Fit Checklist
A perfect helmet is useless if it doesn’t fit. The CDC has a precise, measurable protocol. Run through this every time you strap up, especially after a haircut or when your hairstyle changes.
1. Eyebrow Alignment. The front rim of the helmet must sit level on your head, aligned with your eyebrows. Not above them, not below. The CPSC adds that the helmet should not be tilted back. If you can see the front rim when you look up, it’s too high.
2. The Side-Strap “V”. Adjust the side straps so they form a “V” shape under, and slightly in front of, your ears. This isn’t just for comfort. It positions the helmet’s retention system to cradle your head, preventing shift on impact.
3. The Chin-Strap Rule. Buckle the chin strap. The CDC states no more than one or two fingers should fit between the strap and your chin. The AAOS/POSNA position statement is more specific, stating room for only two fingers. This is a documented source disagreement, both are safety agencies, and both agree it must be snug. I default to the two-finger rule; it’s easier to measure consistently.
4. The Big Yawn Test. Tell the skateboarder to open their mouth wide. The helmet should pull down on their head. If it doesn’t, the chin strap needs to be tighter. This is the functional test that proves the fit is active, not passive.
| Fit Checkpoint | Correct Sign | Wrong Sign |
|---|---|---|
| Front Rim | Aligned with eyebrows | Sitting above forehead or down over eyes |
| Side Straps | “V” under and in front of ears | Loose, dangling, or behind ears |
| Chin Strap | 1-2 fingers fit between strap and chin | More than two fingers fit, or strap is loose |
| Overall Stability | Does not move side-to-side or front-back when strapped | Slides easily when you push it |
Common mistake: Storing your helmet in a car. The CDC explicitly warns against this. Extreme heat degrades the foam liner over time, silently reducing its impact protection before any visible damage appears.
Helmet fit changes with hairstyle. A long-haired skater who gets a short cut will need to readjust all the straps. It takes thirty seconds and it’s essential.
How Your Body Should Fall: Head and Neck Positioning
Gear is your last line of defense. Your body’s reaction is the first. The goal is to avoid hitting your head at all. When that’s impossible, you control how it hits.
In a forward fall, the kind where you slip out from a manual or catch a toe-side edge, your instinct is to put your hands out. That’s how wrists break. The better sequence is to crouch, tuck, and roll.
- Crouch. Get low. Lowering your center of gravity reduces the distance you fall.
- Tuck your chin to your chest. This protects your neck from whiplash and positions your head so the crown of the helmet, its strongest part, takes any impact.
- Roll onto your shoulder. Let your body’s momentum carry you across your shoulder and back, dispersing the energy along a large surface area.
For a backward fall, like slipping out on a kickturn, the move is different. You can’t see the ground. Arch your back slightly and aim to land on your buttocks and upper back, again keeping your chin tucked. The impact spreads across your padded back and the helmet. Stiffening up and landing flat is how you get the wind knocked out of you.
Where this goes sideways: Trying to “tuck your head” by bending your neck sideways. This exposes your temple, a vulnerable area, to direct impact. The tuck is chin-to-chest, straight down.
This isn’t theoretical. I took a bad backward slam learning kickturns on a ramp. My chin wasn’t tucked. My head snapped back and the helmet’s back rim dug into my neck. After a period of stiffness, I started practicing the tuck on a mattress. It feels silly until it saves you.
Falling Drills to Build Muscle Memory
You can’t learn to fall during a fall. You have to drill it when you’re calm, so the response becomes automatic. Start on soft grass or a gym mat.
Drill 1: The Tuck-and-Roll (Forward). From a kneeling position, lean forward, tuck your chin, and roll over your shoulder. Do this multiple times on each side. Progress to a crouching position, then from a slow push on your board on grass.
Drill 2: The Backward Sit-Down. From a standing position, practice sitting down quickly and controlled, leading with your butt, arching your back, and keeping your chin tucked. The goal is to eliminate the instinct to catch yourself with your hands.
Drill 3: The Board Abandonment. While standing on your board on grass, intentionally lose your balance. Practice stepping off the board and into your tuck-and-roll or controlled sit-down. The mental step of letting the board go is huge, chasing it while falling is a recipe for a twisted ankle.
After several practice sessions, these movements start to happen without thought. That’s the point. Panic makes you stiff; rehearsal makes you fluid.
Other Protective Gear: Wrist Guards Are Not Optional
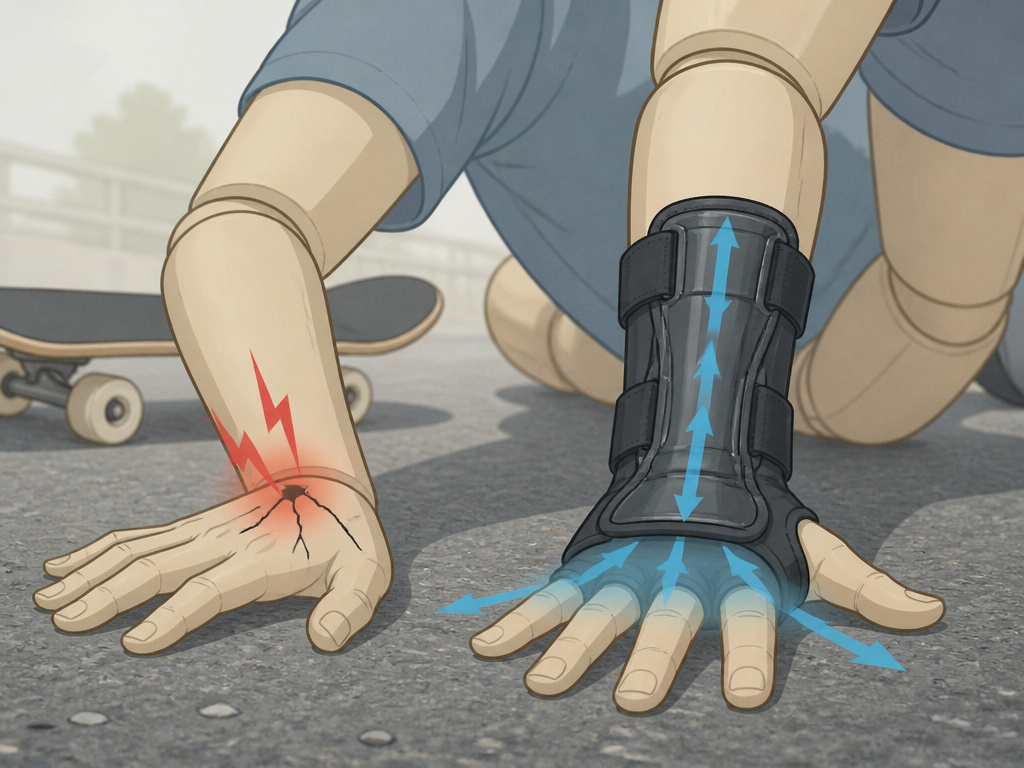
While this article is about your head, your hands are your primary impact point. The CPSC states wrist guards are especially important for skateboarding. They prevent the most common beginner injury: the fractured wrist.
When you do put a hand down, a wrist guard will disperse the impact force along the guard’s splint, away from the delicate bones in your wrist.
Knee and elbow pads are wise, especially for transition skating. They prevent road rash and deep bruises that can sideline you for weeks. The gear that lets you skate again tomorrow is never a waste of money.
What to Do Immediately After a Head Impact
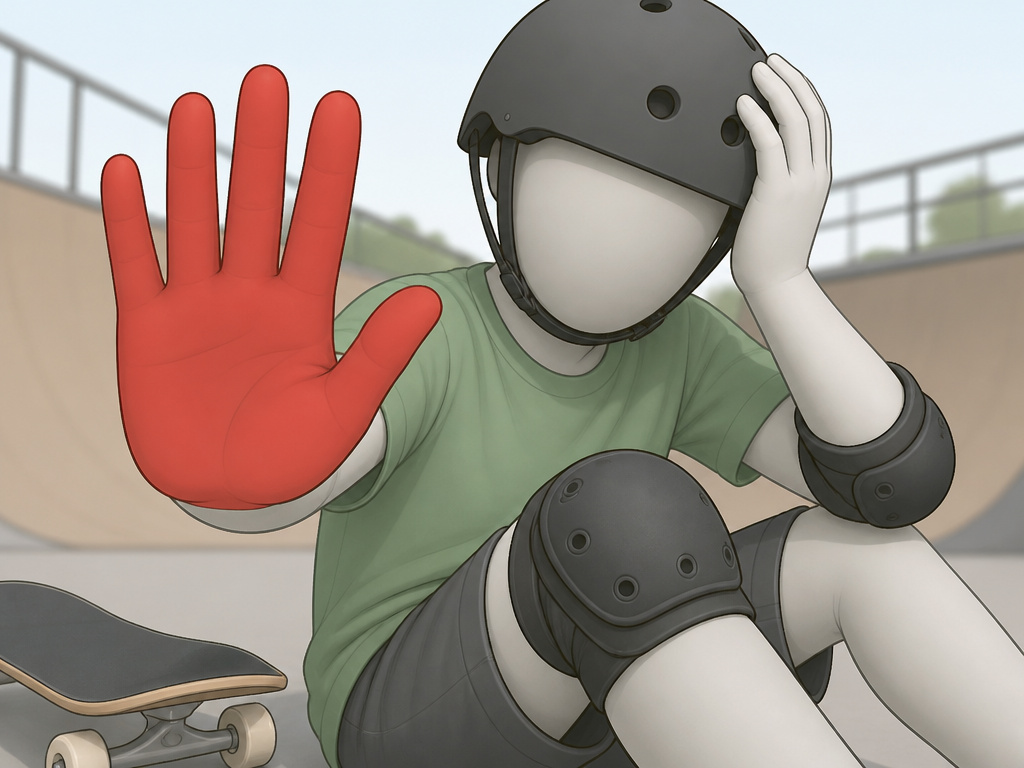
You took a slam. Your helmet did its job. Now what? Your next actions matter.
First, stop skating. Sit down for a few minutes. Adrenaline will mask symptoms. Ask yourself:
- Is my vision blurry or doubled?
- Do I have a headache that’s getting worse?
- Do I feel nauseous or dizzy?
- Am I confused about where I am or what just happened?
A common suggestion from some forums isn’t a medical standard, but it’s a practical safety buffer: monitor yourself closely for several hours after a head impact for any worsening symptoms. Monitor yourself closely for the next four hours for any worsening symptoms. If any of the red flags above appear, or if you vomit, seek medical attention immediately.
A helmet is not concussion-proof. It is designed to prevent skull fractures and severe traumatic brain injury. A concussion is a brain injury that can still occur with a helmet on, from the brain moving inside the skull. When in doubt, get checked out.
If you’re with someone who has hit their head and seems dazed, don’t let them skate again that day. Even if they insist they’re fine. The second impact before the first heals is exponentially more dangerous.
When to Replace Your Skateboard Helmet

This is where official sources disagree, and you need to know both positions.
- The CDC Stance: Replace a helmet after any serious crash or if it is damaged. They do not specify a time-based schedule.
- The AAOS/POSNA Stance: Replace a helmet at least every five years, or sooner if damaged or outgrown.
The disagreement stems from purpose. The CDC focuses on impact management, if the foam liner compressed, it’s done. The orthopedic surgeons factor in material degradation from UV exposure, sweat, and temperature cycles over time.
A serious crash means any hit that makes you think, “Wow, that was hard.” If you see any cracks, dents, or the foam is visibly compressed, retire it immediately. No debate.
What injuries happen when you fall skateboarding
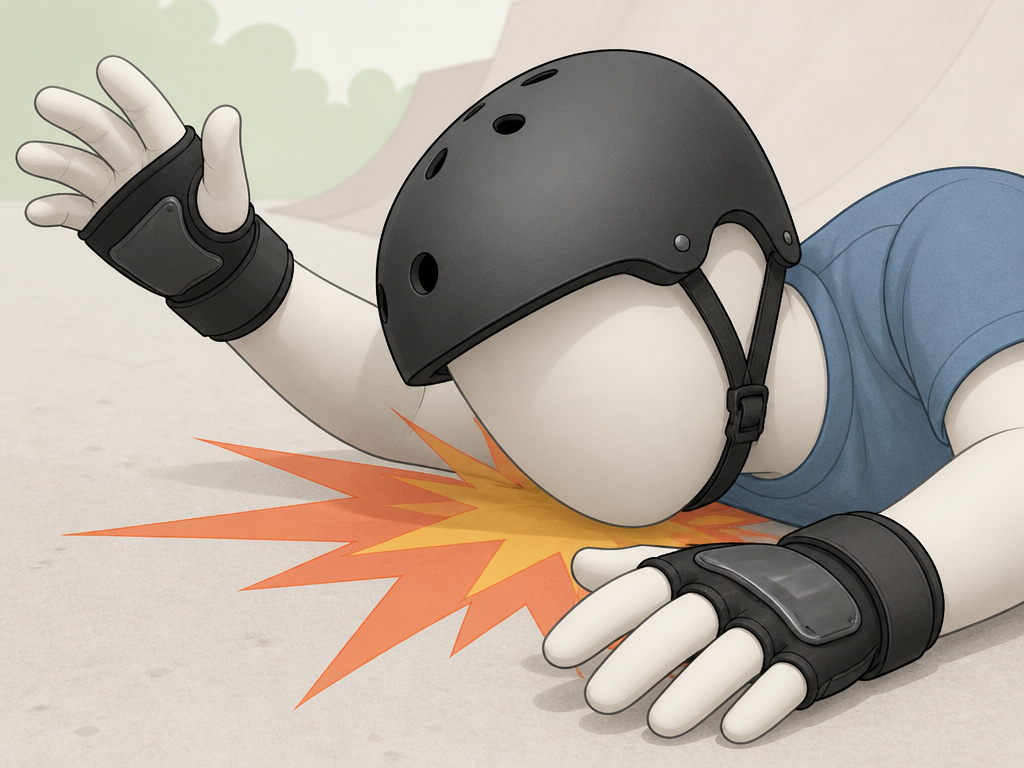
Falling is part of skateboarding, and your head is often the first point of impact. A direct hit can cause a concussion or more severe brain injury. Your arms and wrists are also at high risk for fractures when you instinctively reach out to break a fall. Wrist guards are especially important for skateboarding to help prevent these breaks. A properly fitted helmet is your primary defense for your head. It must fit snugly all around and be level on your head, not tilted back, so it stays in place during a crash. Always replace a helmet after a serious impact, as its protective ability can be compromised even if damage isn’t visible.
How to avoid collisions while skateboarding
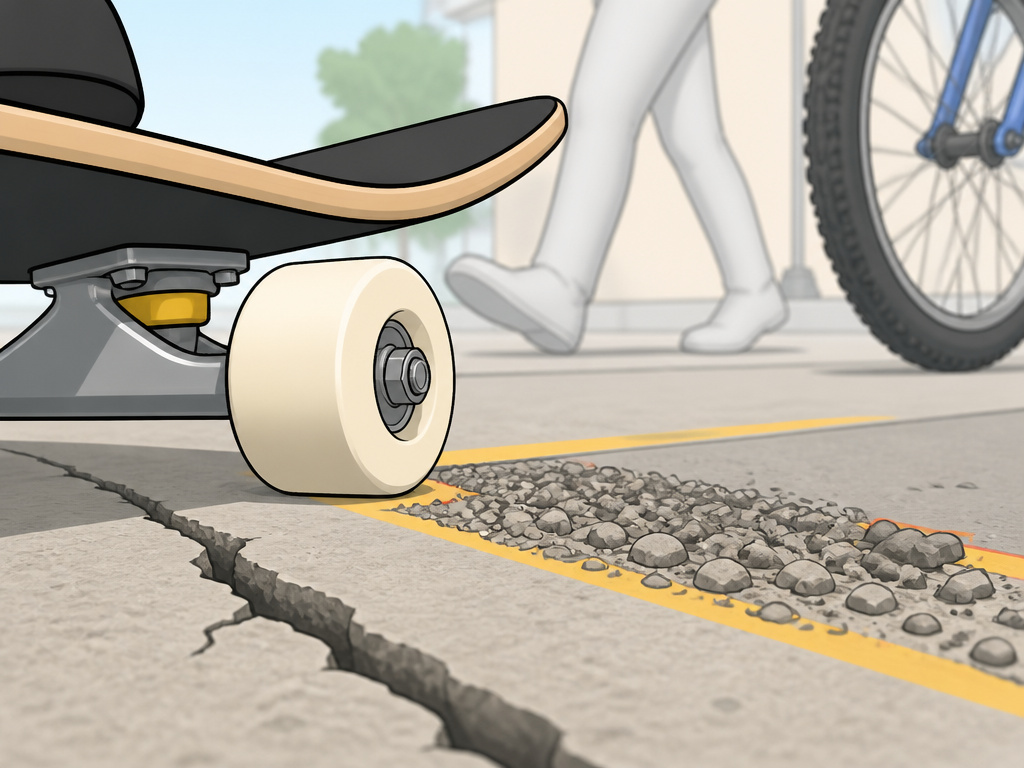
Staying aware of your environment is a key way to prevent falls. Skate in designated areas away from vehicle traffic when possible. Constantly scan for hazards like cracks in the pavement, wet spots, gravel, or debris that could catch your wheels. Be mindful of pedestrians, other skaters, and cyclists to avoid sudden collisions. If you are supervising a young child, stay close and choose areas with minimal obstacles and traffic. This vigilance allows you to anticipate problems and gives you more time to react, potentially avoiding a fall altogether or letting you steer into a safer, more controlled tumble.
Frequently Asked Questions
How do I get over the fear of falling skateboarding?
You drill the falls. Fear comes from the unknown. By practicing tuck-and-rolls on grass, you replace the fear of “what will happen” with the knowledge of “what I will do.” Start with basic riding on smooth, flat ground to build board comfort before moving to tricks.
What is the safest way to fall off a skateboard?
The safest way is the way you’ve practiced. For forward momentum, it’s the crouch, tuck, and roll over your shoulder. For backward falls, it’s the controlled sit-down with your chin tucked and back arched. The common thread is tucking your chin to protect your head and neck.
Do wrist guards really help?
Yes. The CPSC specifically highlights their importance for skateboarding. They are designed to transfer impact forces away from your wrist bones and onto the rigid splint of the guard, significantly reducing the risk of fractures and sprains.
Can I use my bike helmet for skateboarding?
Only if it has the ASTM F1492 label certifying it for skateboarding. Most bike helmets are certified to CPSC bicycle standards, which test for different impact profiles. Using a bike-specific helmet for skateboarding means using gear not rated for the activity’s common hazards.
How tight should a skateboard helmet be?
The chin strap should be snug enough that only one or two fingers fit between the strap and your chin (per the CDC). When you open your mouth in a “big yawn,” the helmet should pull down on your head. It should not slide side-to-side or front-to-back when securely fastened.
Before You Go
Protecting your head isn’t a single action. It’s a system: the right certified helmet, a fit you check every session, practiced falling mechanics, and a clear post-fall protocol. The ASTM F1492 label is your first filter. The CDC’s fit checklist is your second. Your practiced tuck-and-roll is your final, most personal layer of defense.
If you take one thing, let it be this: grab your helmet right now and do the four-step fit check. Is the rim at your eyebrows? Do the straps make a V under your ears? Can you only fit two fingers under the chin strap? Does it pass the big yawn test? If any answer is no, adjust it. That two-minute check is the simplest, most effective thing you can do before your next push.
