
How to Ride a Surfskate: A Beginner’s Guide
This post contains affiliate links. As an Amazon Associate, we earn from qualifying purchases.
To ride a surfskate, you stand forward-facing, give one push to start, and generate all further speed by pumping, shifting your weight from heels to toes in a rhythmic, side-to-side motion. This engages the specialized front truck to carve turns fluidly, unlike a regular skateboard. Stopping requires adapted techniques like stepping off or guiding onto grass, as traditional foot-braking is unstable.
That forward-facing stance is the first thing that feels alien. Your body wants to stand sideways like on a regular board. The surfskate truck, the real mechanical heart of the board, responds to that forward posture, turning micro-shifts in your ankles into deep, sweeping carves. It’s a different kind of balance, active and constant. A key part of learning how to ride a surfskate is mastering this stance.
What follows is a breakdown of that new balance, the pumping rhythm that replaces pushing, and the carving that turns motion into flow, all central to learning how to ride a surfskate. We’ll cover the gear that makes learning easier, a first-day routine that builds confidence instead of frustration, and the critical skill most guides skip: how to stop safely when your board wants to turn, not slow down.
Key Takeaways
- Stand forward-facing, not sideways, with your front foot placed just behind the front truck bolts for control, too far forward and the truck can jackknife.
- Generate speed through rhythmic pumping (shifting weight heel-to-toe). Sources differ on pushing: SkatePro advises a single push to start, while Sector 9 calls repeated pushing “the number one habit to break.”
- For your first board, a mid-range wheelbase offers a stable yet responsive sweet spot, per Sector 9. Community advice often suggests a specific wheelbase around 17″.
- Practice stopping first; techniques like the “step-off” or guiding onto grass are essential because the loose trucks make standard foot-braking hazardous.
- The learning curve has a clear click point; most riders report things coming together between their second and fifth session.
The First Step: Stance and Foot Placement
Forget everything you know about a regular skateboard stance. On a surfskate, you stand facing the nose of the board, shoulders squared to your direction of travel. It feels awkward at first. Then it starts to make sense.
Your front foot placement is your steering control. Sector 9 advises placing it just behind the front truck bolts, while LaPoint Surf Camps suggests placing it just behind the front screws. Slide it back slightly from where you’d naturally put it. If your foot creeps too far forward over the bolts, the board’s steering response changes. The front truck can over-pivot, what riders call a jackknife, and send you off the board. Your back foot provides drive and stability.
Common mistake: Placing your front foot over the front truck bolts. This shifts your center of gravity too far forward, overloading the truck’s pivot mechanism. The board becomes twitchy and unstable, often resulting in a sudden, unplanned dismount.
I learned this the hard way on a borrowed Carver board. I stood in my usual skate stance, sideways. The board felt unmanageably loose. I moved my front foot forward for stability, right over the front truck. My first real carve ended with me stumbling off as the board shot sideways. Moving that foot back an inch behind the bolts was the difference between wrestling the board and actually steering it.
This forward stance connects you to the surfskate’s unique truck system, a core component of how to ride a surfskate. The board doesn’t just tilt on its axles; the front truck assembly rotates on a central pivot, allowing for that deep, surf-like lean. Your foot placement is the direct interface with that mechanism.
How Do You Start Moving on a Surfskate?
You give one single, modest push with your back foot. That’s it. Don’t get a running start. Don’t push repeatedly. Give yourself enough momentum to roll, then get both feet on the board and stand up tall.
This is the transition point that frustrates every beginner. Your instinct is to keep pushing like on a cruiser. The surfskate truck geometry makes that unstable and awkward. Your job is to resist that instinct. Let the board roll. Feel how it responds to your standing weight. Notice how a slight lean left or right starts a turn. This “listening” phase is what Sector 9 calls the foundation. It’s boring until it isn’t.
After that one push, all forward motion comes from the pumping technique. This is the core skill that defines surfskating.
Mastering the Pump: How to Generate Speed
Pumping is a rhythmic, whole-body weight shift that converts your movement into forward momentum. It’s not just wiggling your ankles. You’re engaging your knees, hips, and shoulders in a coordinated wave.
Start on a smooth, flat stretch of pavement. With both feet on the board after your starter push, bend your knees slightly. To initiate the pump, shift your weight to your front toes, then drive through your heels as you extend your legs, pushing the board into a carve. Then reverse the motion: shift to your front heels and drive through your toes as you extend again. This heel-to-toe, toe-to-heel rhythm, timed with your leg extension, is the basic pump.
The board will start to carve slightly side-to-side, gaining speed with each cycle. It feels unnatural until suddenly it doesn’t. That’s the “click” riders talk about. Most report it happening somewhere between their second and fifth session.
The specialized surfskate truck does most of the heavy lifting here. When you shift your weight and rotate your upper body, the truck follows. The more committed you are to the turn, the deeper the carve. . Sector 9
Here’s a simple drill to isolate the feeling before you’re rolling: the “ankle wiggle.” Stand on the board on carpet or grass so it won’t roll. Grip the board with your toes, then your heels, rocking it side-to-side. Feel the truck respond. Now add a slight knee bend. This connection between your foot, the board edge, and the truck’s pivot is the atomic unit of the pump. Once you have that, adding momentum makes the pump come alive.
| Pumping Element | Your Action | The Board’s Response |
|---|---|---|
| Weight Shift | Heels to toes, toes to heels | Initiates a lean, engaging the truck pivot |
| Leg Extension | Straightening knees while weighted | Drives the board forward through the carve |
| Upper Body | Shoulders and arms leading the turn | Amplifies the carve and maintains rhythm |
| Rhythm | Consistent, timed cycles | Converts side-to-side motion into forward speed |
Carving and Turning: Using Your Whole Body
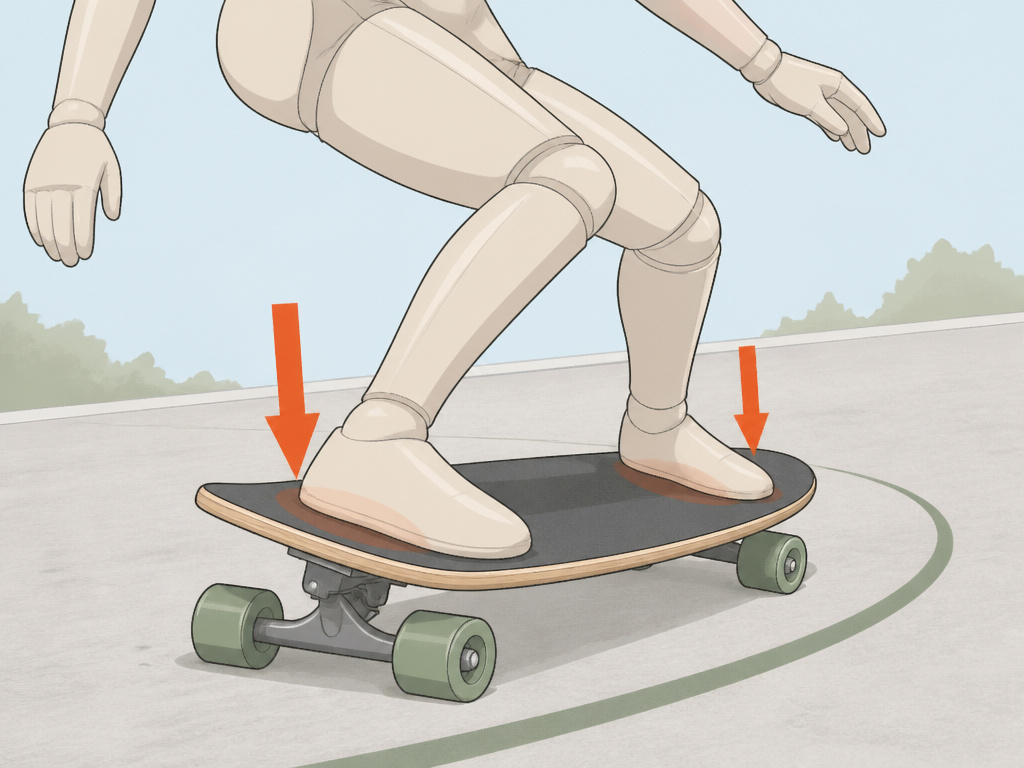
Once you’re pumping and moving, carving is the natural next step. A carve is a committed, arcing turn where you lean deeply into the pump’s momentum.
For a frontside turn (toeside, turning toward your toes), you’ll lead with your head and front shoulder, looking into the turn. Press firmly on your front toes and let your hips follow. Your back foot provides stability. For a backside turn (heelside), lead with your front shoulder again, but press into your heels. The LaPoint Surf Camps guide breaks it down: “Put pressure on your toes… followed by your front arm as a guide, bend your legs down while you enter the 180-degree turn. Then push your heels into the surf skate while extending your legs and gain momentum.”
It’s tempting to steer only with the ultra-responsive front truck, but that can lift the rear wheels and feel squirrelly. Driving from your back foot keeps the board stable and makes pumping more efficient. It mirrors how you’d turn on a surfboard.
How to Stop a Surfskate Safely
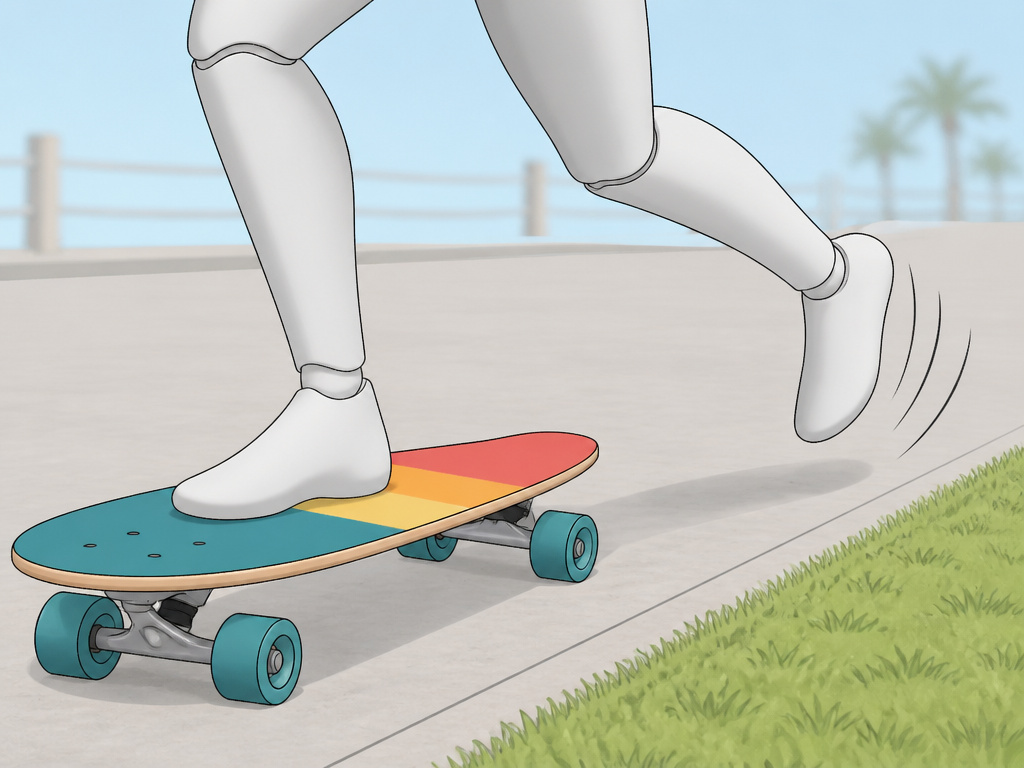
This is the gap in most beginner guides. You cannot reliably drag a foot to stop like on a regular skateboard. The loose front truck can turn your braking foot into a pivot point, spinning the board out from under you.
The SkatePro guide outlines adapted stopping techniques. Practice these in a safe, open area before you need them:
- The Step-Off: At low speed, simply step off the board with your back foot into a light jog or run. Let the board roll away safely. It’s inelegant but effective.
- Grass or Rough Surface Stop: Guide the board onto a patch of grass or rough pavement. The increased friction will slow you quickly. Aim for this option if you’re near the edge of your path.
- Carving to Slow Down: Make progressively wider, slower carves (called “slalom”) to dissipate speed. Important: As SkatePro notes, this “won’t help you in a situation where you need to stop instantly.” It’s for controlled speed reduction, not emergency braking.
Before you start: Always wear a certified helmet, wrist guards, knee pads, and elbow pads. The SpiceSkate user manual states this is non-negotiable for an extreme sport with a risk of serious injury. Check your equipment before every ride.
Mastering one of these stops early removes the fear of getting going. You’ll have an exit strategy, which builds the confidence to practice pumping and carving more freely.
Choosing Your First Surfskate Setup
Your board’s setup dramatically affects the learning curve. The main variables are truck system, wheelbase, and wheel softness.
Truck Systems vary in feel. Community discussions highlight clear differences:
- Carver CX trucks: Often recommended for beginners. They are described as one of the most stable on the market, offering a balance of flow and control.
- Grasp trucks: Also noted for beginner-friendly stability.
- YOW trucks: Community members call them “a little more squirrely than Grasp, but ultimately the most enjoyable system.” They demand more upfront skill but reward persistence.
- Brand Completives: Companies like Sector 9 and SpiceSkate (with systems like Type X3 or OktoSURF) sell complete boards tuned for specific riding styles.
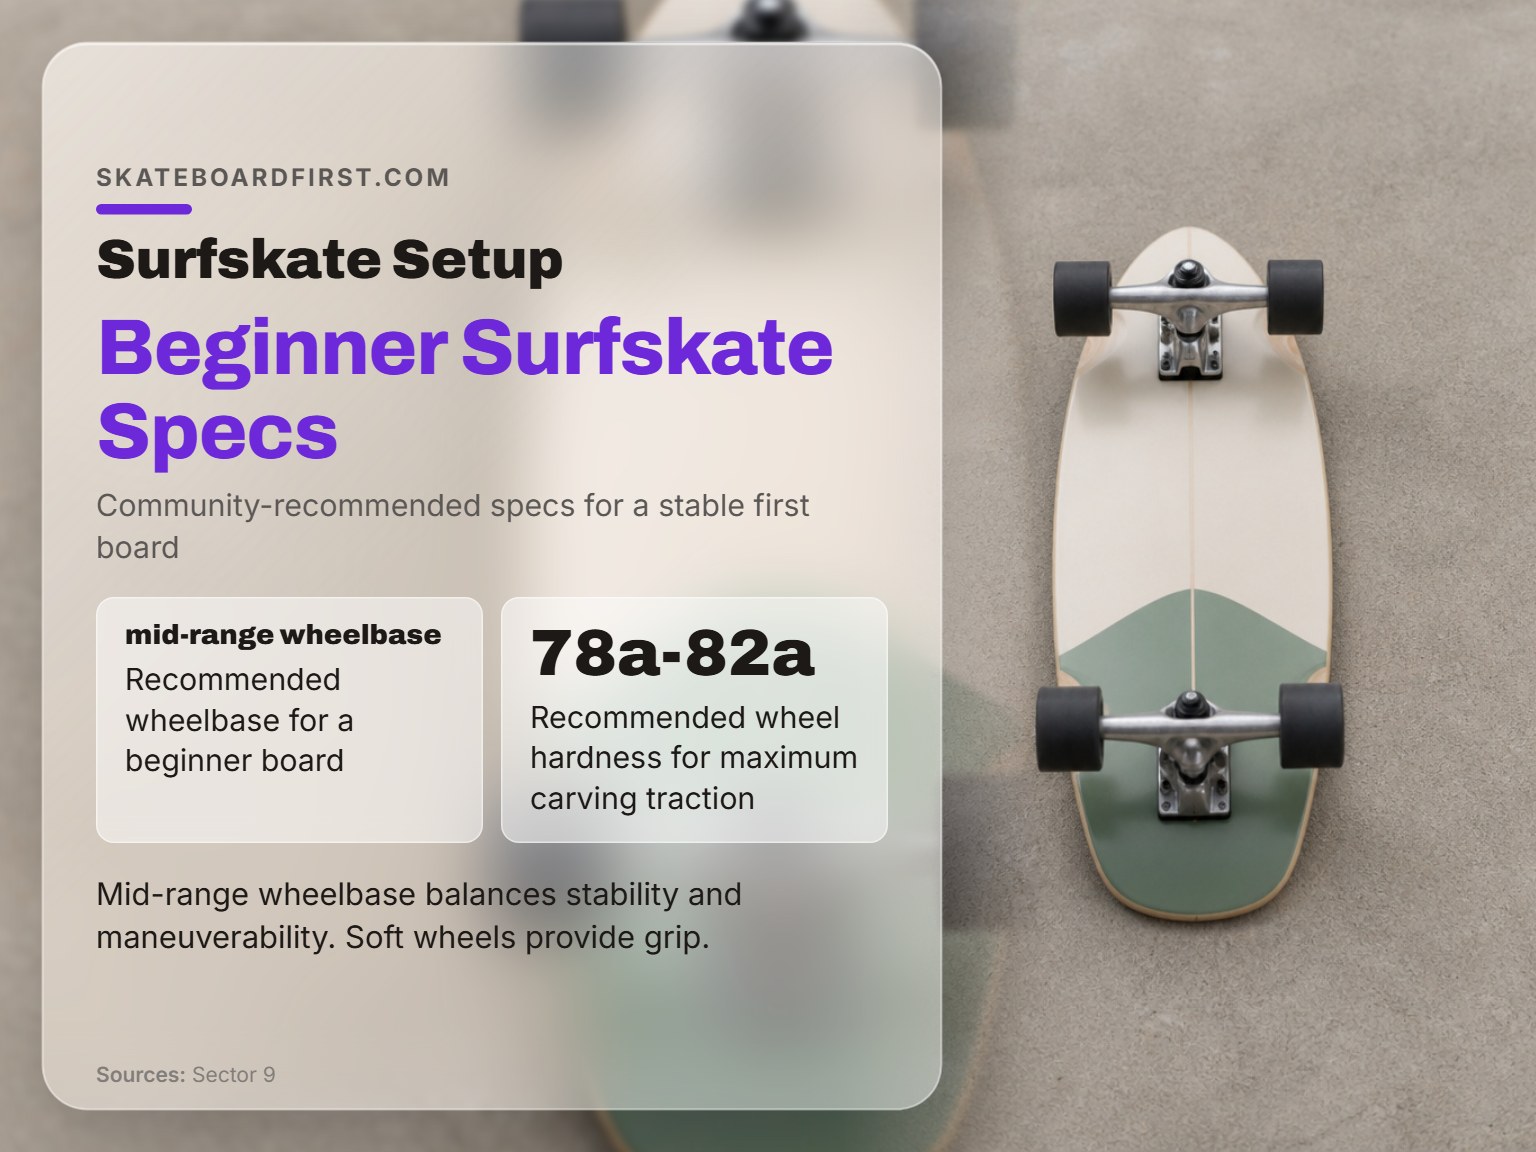
Wheelbase, the distance between the trucks, is crucial. A shorter wheelbase is more maneuverable but twitchier. A longer wheelbase is more stable but less responsive. Sector 9 advises that for most surfskate beginners, a mid-range wheelbase is the sweet spot. Community members echo this, suggesting a board around 32″ in length with a 17″ wheelbase as a starting point.
Wheels should be soft for grip and a smooth ride. Sector 9 recommends surfskate wheels in the 78a-82a range for maximum carving traction. Harder wheels will vibrate on rough pavement and slip out more easily during carves.
| Setup Aspect | Beginner-Friendly Choice | Why It Helps |
|---|---|---|
| Truck System | Carver CX or Grasp | Higher stability lowers the initial balance challenge. |
| Wheelbase | Mid-range (~17″) | Balances maneuverability with stability. |
| Deck Length | 30″-33″ | Enough foot space without being unwieldy. |
| Wheel Hardness | 78a-82a (soft) | Provides grip for carving and absorbs road vibration. |
| Deck Style | Drop-through or low-riding | Lowers the ride height, increasing stability when pushing off. |
Your First Five Sessions: A Practical Learning Path
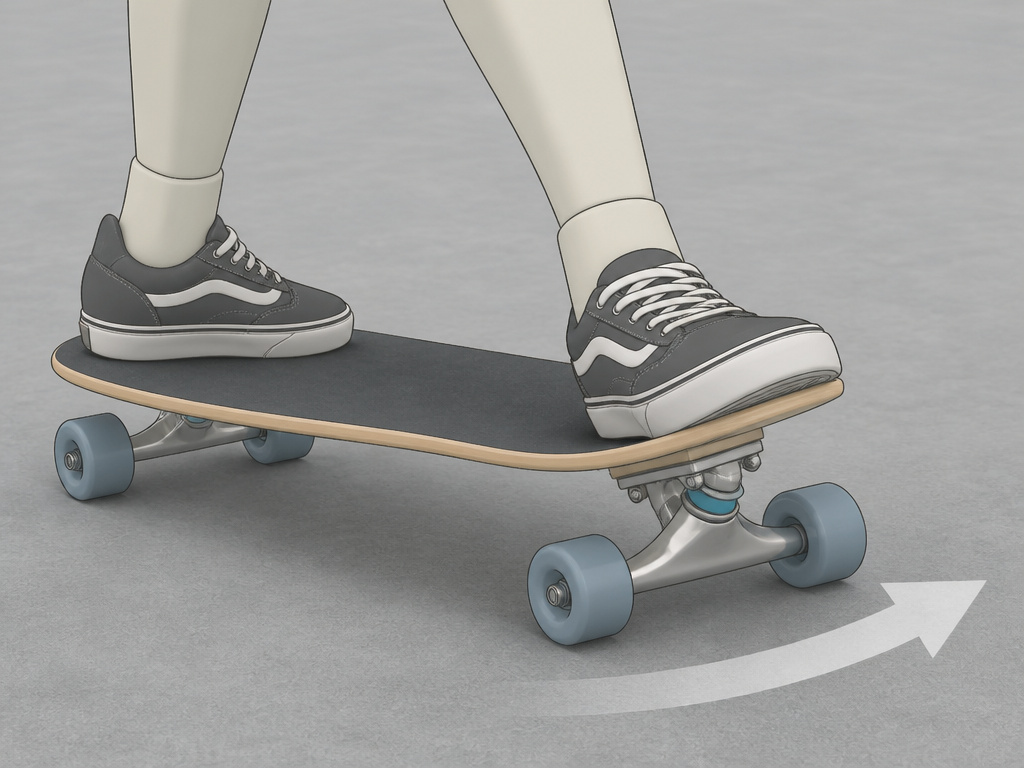
Structure beats random practice. Here is a progressive plan drawn from the sources and community wisdom.
Session 1: The Feel. Gear up. Find smooth, flat ground. Practice mounting, finding your forward stance, and giving one push followed by a controlled step-off stop. Do this for 20 minutes. Get comfortable just being on the board.
Session 2: Balance & Baby Pumps. Go back to your smooth spot. Practice the stationary “ankle wiggle” drill. Then, give a push, stand tall, and try tiny, gentle weight shifts from heels to toes while rolling. Don’t aim for speed. Aim for the feeling of the truck responding. End by practicing your chosen stopping method.
Session 3: Linking Pumps. Now, try to link two or three pump cycles together. Focus on the rhythm: bend, shift weight, extend. You might not go far, but you’ll start to feel the connection. If you have a gentle, smooth slope (even a slight parking lot incline), use it to maintain momentum so you can focus purely on the pumping motion.
Session 4: Intro to Carving. As you pump and gain a little speed, try leaning a bit more into one of your weight shifts to initiate a gentle carve. Look where you want to go. Feel the difference between a frontside and backside turn. Keep sessions short, even 20 minutes of focused practice is valuable.
Session 5: Putting It Together. Find a space with a slight slope or a very gentle, wide bank. Practice pumping to generate speed on the flat, then using that speed to carve a wider arc on the bank. Ride with a friend if you can; watching others accelerates learning.
The community notes that for the first couple of months, it may take 10-15 minutes each session to “relearn” or get the feel back. That’s normal. Consistency matters more than marathon sessions.
Frequently Asked Questions
Is a surfskate harder than a skateboard?
It’s different, not necessarily harder. A regular skateboard requires you to push for speed and kick to turn. A surfskate requires you to pump for speed and use your body weight to carve. The initial balance feels more challenging due to the loose truck, but the learning curve for basic motion is similar.
How long does it take to learn to ride a surfskate?
Most beginners can get the basic feel within their first few sessions. Reaching a point where pumping feels natural and you can carve comfortably typically takes a few sessions. Sector 9 notes that most riders say something clicks between their second and fifth session. After a few weeks of consistent short practices, you’ll likely be cruising confidently.
Can I use a surfskate for commuting?
It’s possible but not ideal for long distances. Surfskates excel at carving and pumping in open, smooth areas.
Do I need to know how to surf to ride a surfskate?
Not at all. While surfskates are designed to mimic the feeling of surfing on land, they are a standalone activity. Many riders use them to improve their surf technique, but just as many ride them purely for the unique carving sensation on pavement. No wave experience is required.
What’s the most important safety gear for surfskating?
Certified helmet is the absolute non-negotiable, as stated in the SpiceSkate user manual. Wrist guards are also essential, as falling forward and putting your hands out is a common reflex. Knee and elbow pads are also highly recommended, especially while learning. Gear is your best defense against the spills that are part of the learning process.
Before You Go
The single most effective move you can make after reading this isn’t buying a board. It’s finding a local skater or shop with a demo day. Feel a Carver CX truck system and a YOW system back-to-back. That five-minute test will tell you more about the “squirrelly” versus “stable” spectrum than any article.
Your first board should be a tool for learning, not an expression of your ultimate style. A stable, mid-range setup helps you build the fundamental muscle memory for pumping and carving. The flashier, more responsive setups will still be there in six months, and you’ll appreciate them infinitely more once you have the basics down. Start with the boring, stable choice. The flow comes later.
