
Skateboard Ankle Sprain Recovery Guide: Step-by-Step
This post contains affiliate links. As an Amazon Associate, we earn from qualifying purchases.
Skateboard ankle sprain recovery requires matching your injury grade (I, II, or III) with the right timeline of rest, support, and targeted rehab. Recovery involves starting pain-free movement as soon as possible, using an ankle brace for initial support, and completing a targeted neuromuscular rehabilitation program for 8 to 12 weeks.
That “pain-free movement” clause is the whole game. It’s the difference between healing and just sitting around hoping your ankle gets better. Skating demands more from your ankles than almost any other activity, landing off-center, pushing for speed, catching a board mid-flip. A general recovery plan won’t cut it, which is why a dedicated skateboard ankle sprain recovery guide is essential.
What follows: the three sprain grades and what each one actually feels like, the immediate care steps that matter (and one common ice mistake), a clear breakdown of the conflicting medical advice on bracing timelines, and the exact progression to get you from limping to landing your trick again.
Key Takeaways
- Sprains are graded I (mild stretch), II (partial tear), or III (full tear); Grade II and III sprains often show bruising days later as blood absorbs over two weeks.
- Start pain-free movement within 48 hours if you can, resting completely for weeks leads to stiffness and weakness, but pushing into pain re-injures the ligament.
- Use a lace-up or semirigid ankle brace for initial support; sources recommend different durations, from 5 to 10 days (AFP) to 4–6 weeks (BJSM consensus).
- Balance exercises are essential for skaters, they reduce reinjury risk more than anything else and should continue for at least 8 to 12 weeks.
- If your ankle doesn’t feel better after 5 to 7 days, see a doctor; a delayed physical exam at 4 to 7 days can actually give a more accurate diagnosis of the damage.
The 3 Grades of Skateboard Ankle Sprains
You need to know which grade you’re dealing with. The treatment and timeline shift dramatically.
A Grade I sprain is a stretched ligament. It’s tender, maybe a little swollen, but you can probably put some weight on it. A Grade II is a partial tear. This is the classic “rolled ankle” that swells up fast and turns you into a one-footed hopper for a day or two. A Grade III is a full ligament tear. You’ll know, the initial pain is sharp, walking is out of the question, and the joint feels loose.
The Ottawa Foot and Ankle Rules are a clinical tool doctors use to decide if you need an X-ray. If you have pain in specific bony areas or can’t take four steps immediately after the injury, you might have a fracture, not just a sprain.
The tricky part with Grade II and III sprains is the delayed bruising. Blood leaks from torn vessels into the tissue, but that black-and-blue color might not show up for several days. Don’t panic when it appears, it usually gets absorbed by your body within two weeks.
| Sprain Grade | Ligament Damage | What It Feels Like | Typical Skate Recovery Window |
|---|---|---|---|
| Grade I | Stretched | Soreness, mild swelling. Can walk with a slight limp. | Recovery time varies. |
| Grade II | Partially Torn | Significant swelling, pain when bearing weight, instability. | Recovery time varies. |
| Grade III | Fully Torn | Severe swelling, inability to walk, a feeling of joint “giving way.” | Recovery time varies. |
I learned the Grade II lesson on a cold morning. Eager to skate, I skipped my warm-up. A small crack I’d rolled over a hundred times caught my wheel wrong. My ankle folded, and that deep, sickening ache told me it was worse than usual. I was off the board for a week, and the purple bruise that wrapped around my heel didn’t even show up until day three.
Immediate Care (First 48 Hours): RICE vs. Early Movement
Here’s where the advice splits. Standard medical guidance, like the NIH ankle sprain recovery instructions, emphasizes RICE: Rest, Ice, Compression, Elevation, but a skateboard ankle sprain recovery guide adds a crucial fifth element. For a skateboarding-specific recovery, we now layer in “early movement” as a crucial fifth element.
Rest: Means relative rest. Don’t skate, don’t run, don’t jump. But if you can wiggle your toes or make slow ankle circles without sharp pain, do it.
Ice: Apply a cold pack for 15-20 minutes every 2-3 hours. A bag of frozen peas works. Don’t put ice directly on skin.
Compression: An elastic bandage (like an Ace wrap) helps manage swelling. Snug, not tight, you shouldn’t feel numbness or tingling.
Elevation: Prop your ankle above your heart whenever you’re sitting or lying down. Gravity pulls the fluid away.
The goal in the first two days is to control swelling and pain so you can start moving. Pain and swelling most often get better within this 48-hour window. Once they do, you can begin to put weight back on the foot. The skate-specific advice in a skateboard ankle sprain recovery guide pushes this further: movement as soon as possible is crucial, as long as it’s pain-free. This isn’t about toughness; it’s about preventing stiffness and kickstarting the healing process with gentle motion.
Where this goes sideways: Icing for too long. More than 20 minutes at a time can actually reduce blood flow to the area and slow down healing. Think of ice as a short-term pain and inflammation manager, not a cure.
The Confusing World of Ankle Braces and Supports
How long should you wear a brace? Sources disagree, and that’s because they’re talking to different audiences. For a skater, you need to parse the advice.
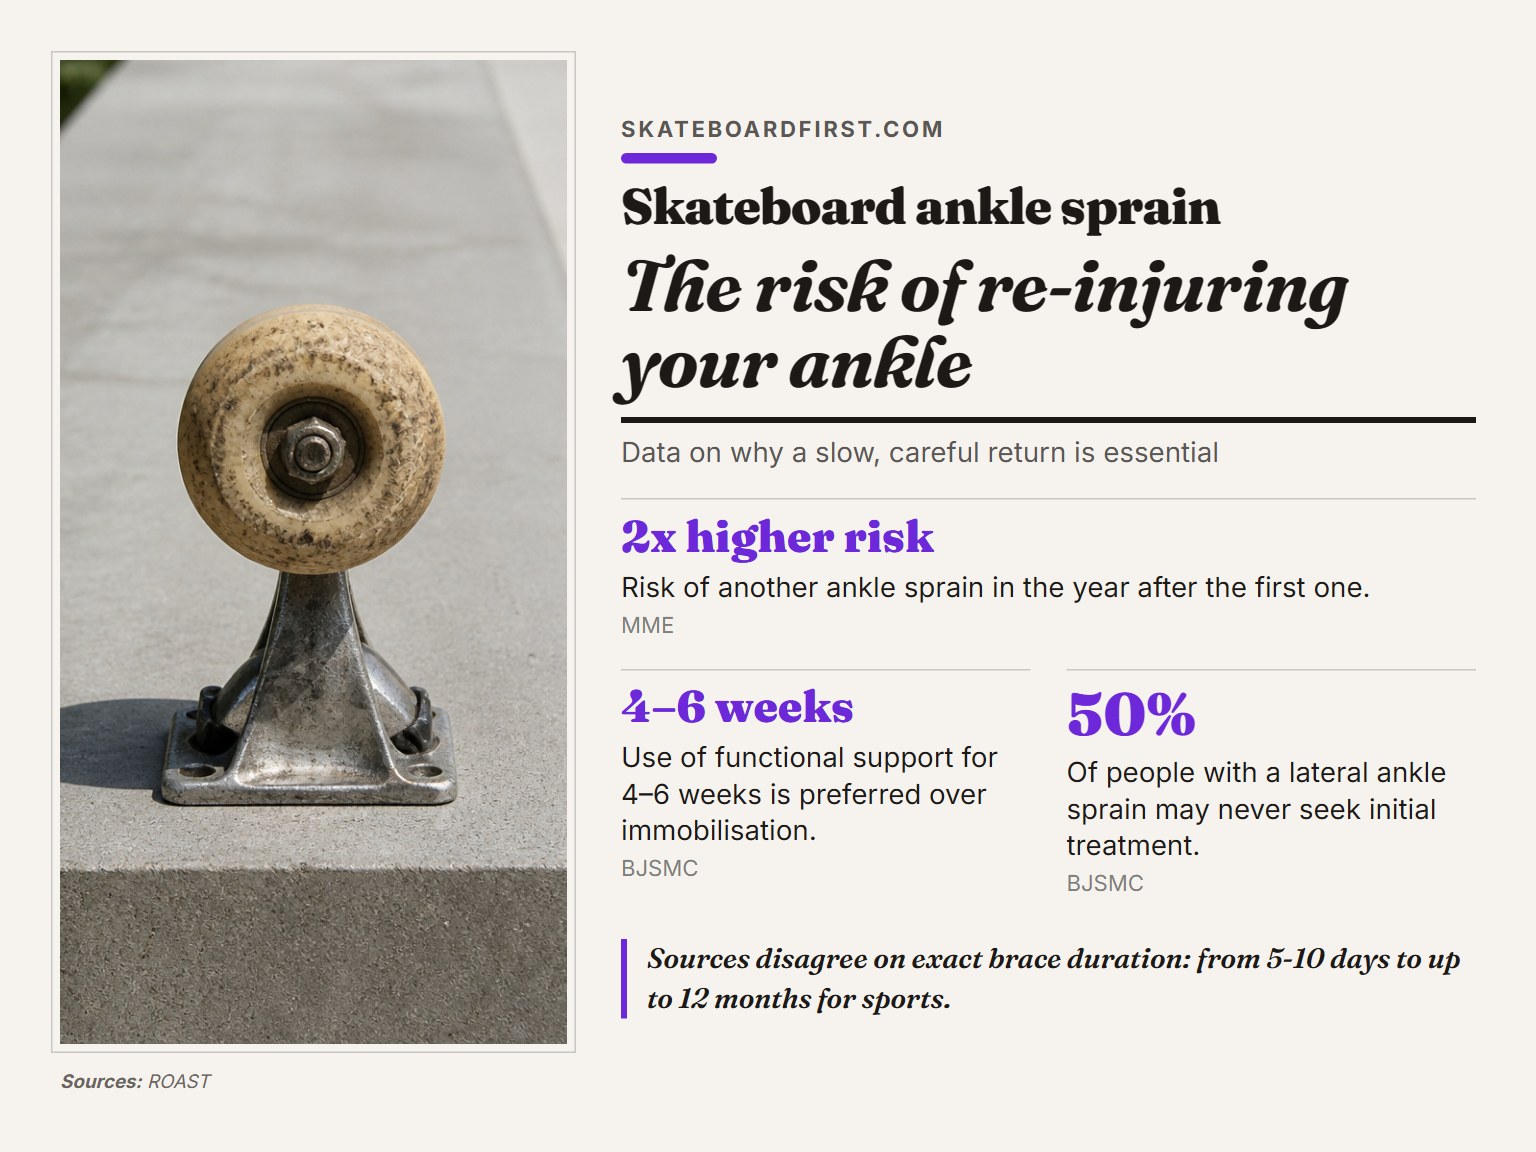
The American Academy of Family Physicians article recommends external ankle supports for 5 to 10 days in the initial management phase, while a BJSM consensus suggests functional support for 4–6 weeks. Another consensus suggests functional support (like a brace) for 4 to 6 weeks is preferred over a hard cast. Yet another recommends wearing a brace during sports for up to 12 months to prevent reinjury.
So what’s right for you? During initial management, use a brace for stability. A lace-up or semirigid brace offers good support. As recovery progresses, transition from relying on a brace to strengthening exercises to avoid muscle weakness. For long-term prevention, consider wearing an ankle brace during sports participation for up to 12 months to prevent recurrent sprains.
Think of a brace like training wheels. Helpful at first, but if you leave them on forever, you never learn to balance.
Your Skate-Specific Rehab Phases
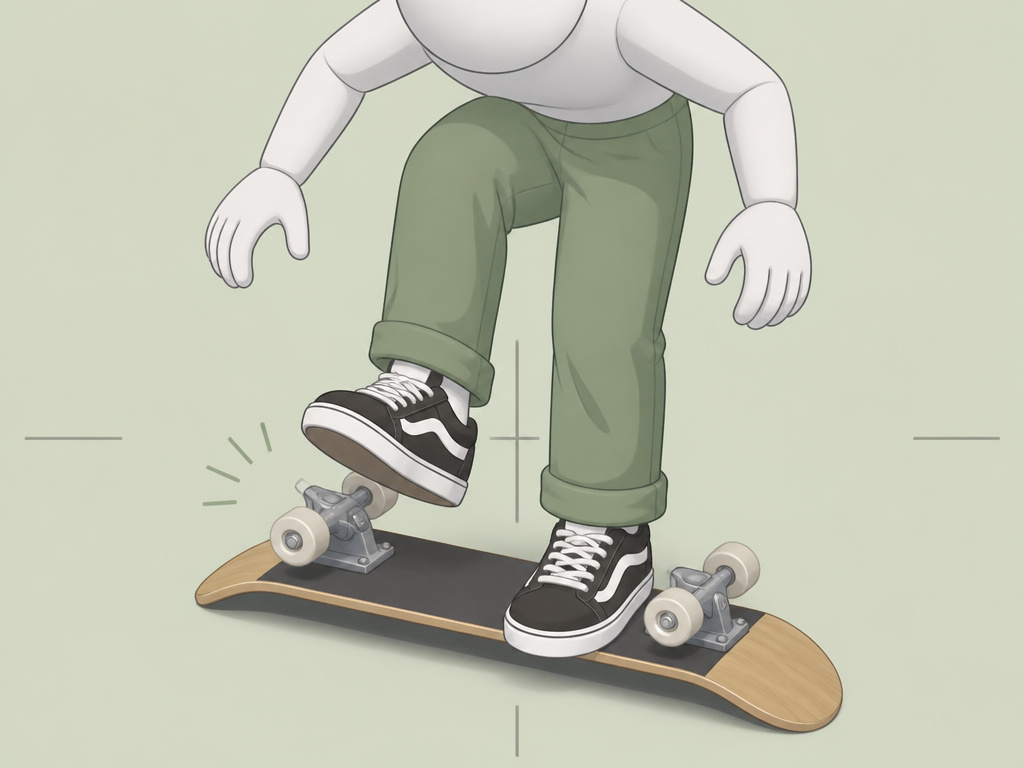
Rehab is a staircase, not a single thing. You master one step before moving to the next, and for skaters, the top step is higher.
Phase 1: Mobility & Basic Strength (Early Recovery)
- Alphabet ankles: Sit with leg extended. Use your big toe to trace the alphabet in the air. It looks silly, but it gently moves the joint through every direction.
- Towel scrunches: Place a towel flat on the floor. Sit in a chair and use your toes to scrunch the towel toward you. This wakes up the small foot muscles.
- Calf raises: Stand holding a wall for balance. Slowly rise onto your toes, then lower. Do this only when you can bear weight without pain.
Phase 2: Stability & Balance (Weeks 4-8)
This phase is where most skaters skip ahead, and it’s the most common reason for re-injury. Skateboarding is a balance sport. Your rehab must be too.
- Single-leg stands: Start on flat ground, aiming for 30 seconds without wobbling. Progress to doing it on a pillow, then a foam pad.
- Clock taps: Stand on one leg. Imagine a clock around you. Tap your other foot to 12, 3, 6, and 9 o’clock, returning to center each time.
- Board taps: Place your skateboard upside down (deck on ground). Stand on one leg and lightly tap the trucks with your other foot, front and back, forcing micro-adjustments in your stance ankle.
Balance exercises should be performed throughout rehabilitation to reduce the rates of recurrent injuries. This isn’t optional for skaters, it’s the core of your comeback.
Phase 3: Plyometrics & Sport-Specific Drills (Weeks 8-12+)
- Line hops: Hop side-to-side over a line on the ground, landing softly and holding for a second.
- Small ollies on grass: The give of the grass reduces impact. Focus on the pop and a stable, balanced landing.
- Caveman drops: From a low curb or step, drop onto your board, absorbing the impact through your knees and ankles.
The entire time, let pain be your guide. A dull ache after exercise is normal. Sharp, shooting pain is a stop sign.
When to See a Doctor (Red Flags)
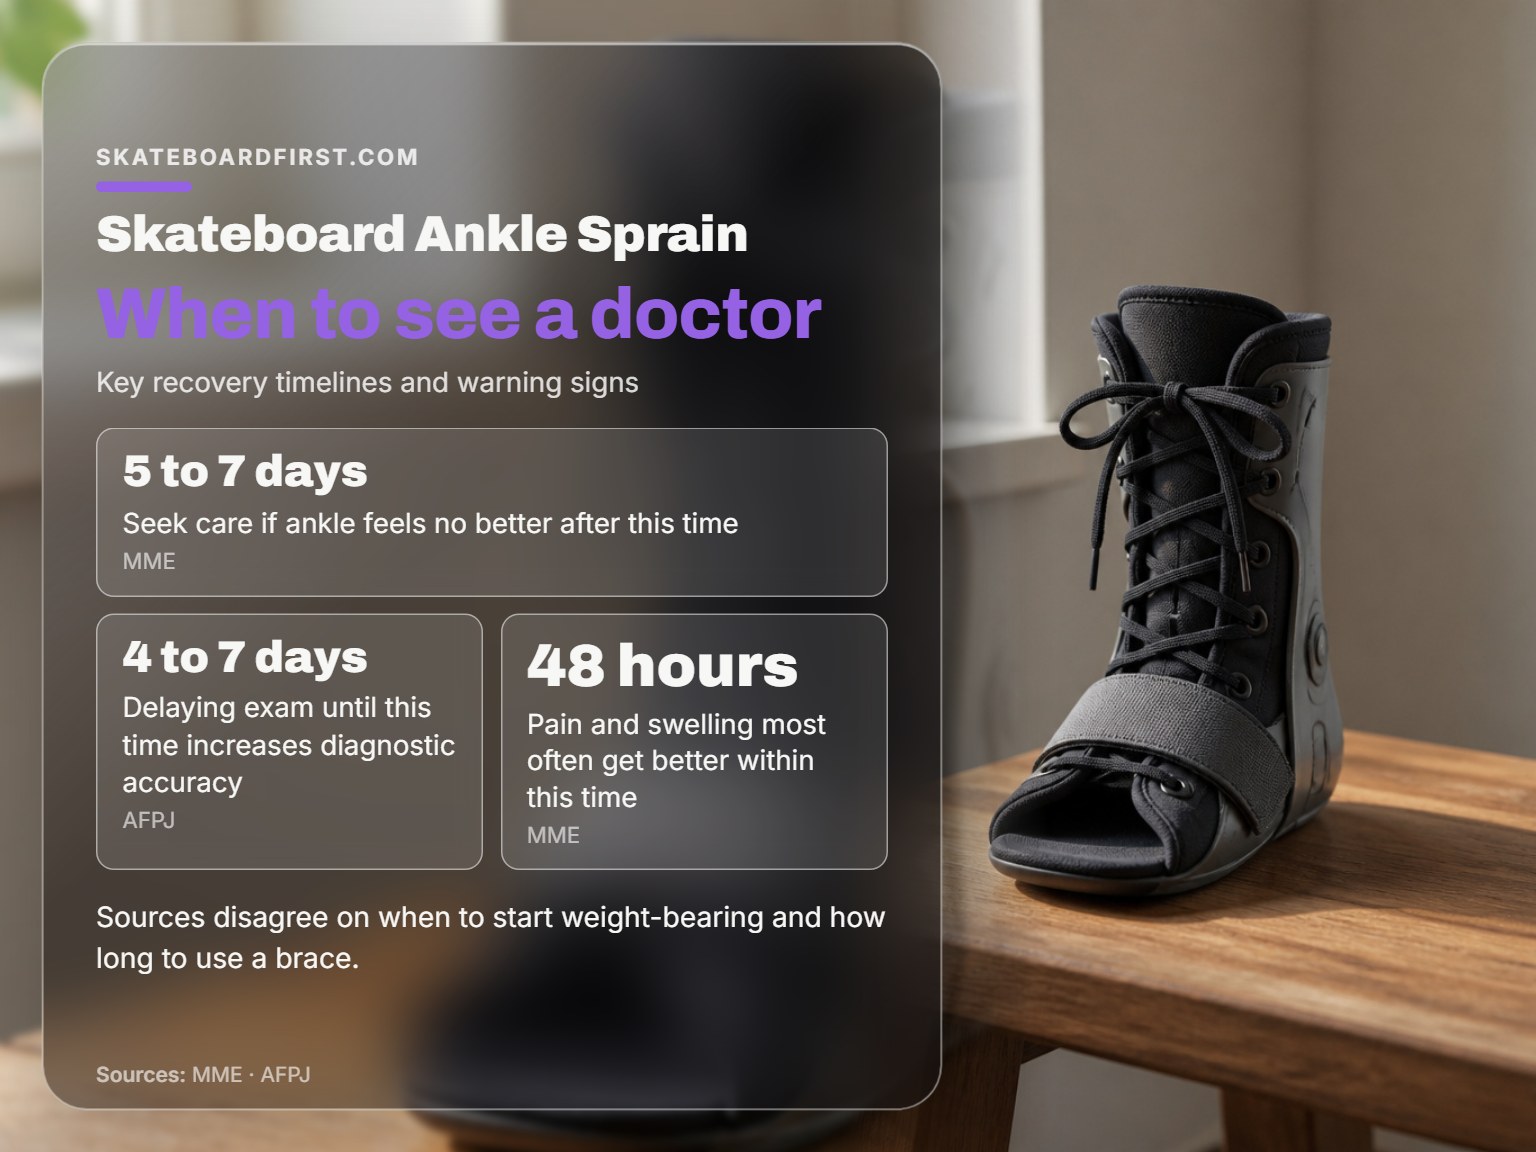
Most ankle sprains heal fine with self-care. But some signs mean you need a professional.
You should contact a provider if:
- You cannot walk, or walking is very painful.
- The pain does not get better after ice, rest, and over-the-counter pain medicine.
- Your ankle does not feel any better after 5 to 7 days.
- Your ankle continues to feel weak or gives way easily.
- It becomes numb, tingly, feels cold, or changes color.
There’s an interesting twist in the family physician clinical review: delaying the physical examination until 4 to 7 days post-injury can increase diagnostic accuracy. The initial swelling can mask the true severity. So if you’re on day 3 and unsure, waiting a few more days to get checked might actually give your doctor a clearer picture.
The Skate-Specific Return Timeline
Coming back to skating is a dimmer you turn up slowly, not a light switch.
Stage 1: Cruising Only (When basic mobility and strength allow)
No tricks. Just push, turn, and carve. Feel how your ankle handles the vibration and the subtle shifts in weight. This rebuilds confidence and connective tissue tolerance. If you feel any pinch or instability, go back to rehab for another week.
Stage 2: Basic Tricks on Soft Ground (When stability improves)
Find a patch of grass or a rubber playground surface. Practice ollies, shuvits, and kick turns. The softer landing is forgiving. The goal is clean repetition, not height or style.
Stage 3: Asphalt Basics (When confidence and strength allow)
Take your basic tricks back to the pavement. Start stationary, then rolling slowly. This is where you’ll feel the real demand. Your ankle will fatigue quickly. Listen to it. A session ending because of tired muscles is a win; a session ending because of pain is a loss.
Stage 4: Full Return (When rehabilitation is complete)
You’re back to your normal skate routine. But keep up with your ankle strengthening exercises twice a week, indefinitely. The data is brutal: after one sprain, you have a twofold increased risk of another in the next year. Skateboarding already has the highest reinjury rate of any lower-limb sport. Your best prevention exercises are the ones you don’t stop doing.
How to Handle Skateboarding Overuse Injuries
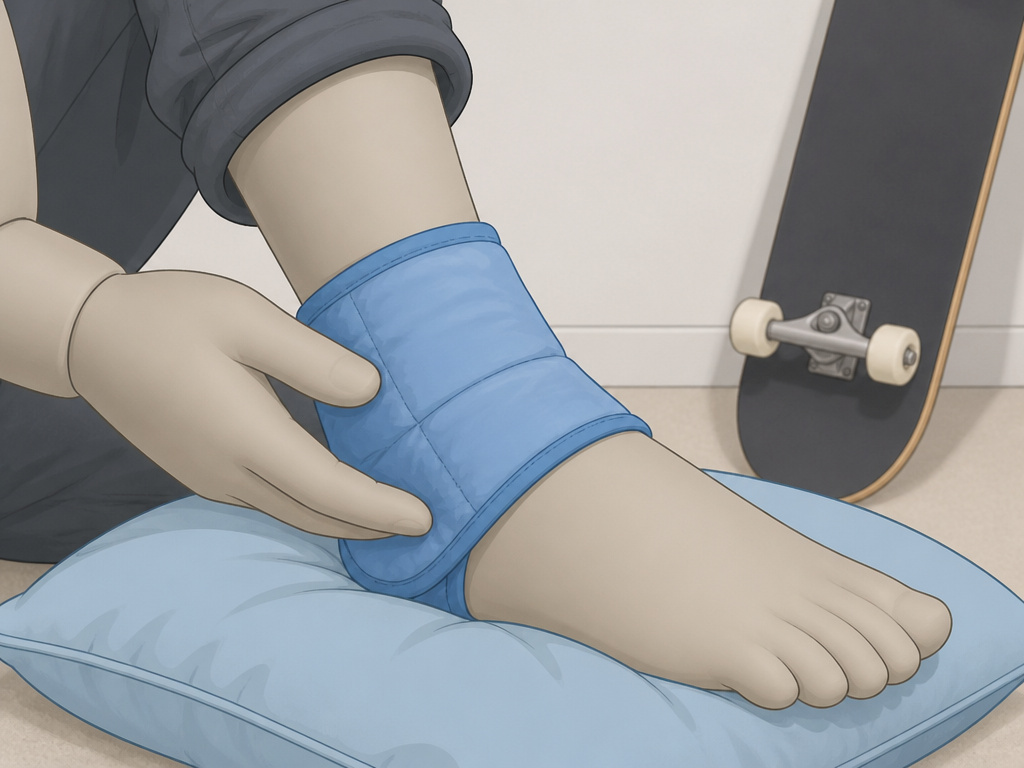
Skateboarding places a huge demand on your calves and ankles, which can lead to overuse injuries like anterior ankle impingement. This type of injury often results from repetitive impact and stress on the joint. The key to managing it is to take some time off the board to allow swelling to reduce. When you do start moving again, follow the guideline of pain-free movement. This means any exercises or gentle skating you attempt should not cause pain. A slow, careful return is necessary because the sport will continue to place high demands on these areas.
Frequently Asked Questions
How long does a skateboard ankle sprain take to heal?
It depends on the grade. A Grade I sprain may have a shorter recovery time. A Grade II sprain requires a longer recovery period. A severe Grade III sprain requires an extended recovery period.
Can I skate with a sprained ankle?
No. Skating on a freshly sprained ankle guarantees a worse injury and a much longer recovery. You must wait until you can walk without a limp and perform basic strength exercises pain-free before even pushing around. The board will still be there.
Is it better to tape my ankle or use a brace?
For the first 5-10 days, a lace-up or semirigid brace is easier and provides more consistent support. As you transition to rehab, taping an ankle can be useful for specific skate sessions, but it’s a skill that takes practice to do effectively. Long-term, building intrinsic strength beats relying on either.
What’s the difference between a sprain and a break?
Sprain injures ligaments; a break fractures bone. Sometimes it’s hard to tell. Key signs of a possible fracture include immediate inability to bear weight, pain directly on the ankle bones (not the soft hollow), and a “popping” sensation at the moment of injury. The Ottawa Rules help clinicians decide if an X-ray is needed.
How can I prevent ankle sprains when skateboarding?
The best prevention is a combination of gear and conditioning. Wear proper skate shoes with good board feel. Consider using an ankle brace during high-risk sessions if you have a history of sprains. Most importantly, commit to a consistent routine of ankle stability exercises to build the muscles that support your ligaments.
The Bottom Line
Your ankle is healed when it can handle the specific, chaotic forces of skateboarding again without complaint, not just when the swelling goes down.
The single biggest mistake is rushing the timeline. The second biggest is stopping your rehab once you’re back on the board. Those balance exercises you did to recover? They’re now your best strategy for preventing ankle sprains moving forward. Make them part of your warm-up, twice a week, forever.
If you take one thing from this, let it be this: after a sprain, your risk of another one doubles. That’s not scare talk, it’s the peer-reviewed sprain management update. So heal completely, strengthen relentlessly, and your return to skateboarding will be stronger than your start.
Go push down the block once today.
