How to Carve on a Skateboard: Step-by-Step
This post contains affiliate links. As an Amazon Associate, we earn from qualifying purchases.
To carve on a skateboard, you shift your weight onto your toes or heels while rolling, bending your knees and leaning your shoulders into the turn to keep all four wheels on the ground. It’s a fluid, leaning turn distinct from a kickturn. Hamboards states carving works best on longer decks (28+ inches), while the AAOS advises shorter decks are best for beginners because they are easier to balance and handle. The goal is a smooth, controlled arc that maintains or even generates speed, not a sharp, choppy change of direction.
That distinction between a carve and a kickturn is where most new skaters get stuck. You can kickturn on flat ground by lifting the nose and pivoting, but that kills your momentum. A carve uses the board’s natural pivot and your body weight to change direction without stopping the flow. Learning how to carve on a skateboard is the difference between steering a car and doing a three-point turn.
What follows is a breakdown of the mechanics: how your feet, knees, and shoulders work together, why your truck tightness decides how deep you can lean, and how to practice linking turns for speed, all central to the question of how to carve on a skateboard. We’ll also cover the gear that makes carving easier and the common mistakes that make it harder.
Key Takeaways
- Carving requires keeping all four wheels grounded while you lean; a kickturn lifts the front wheels and kills speed.
- Initiate the turn by shifting your weight to your toes or heels, not by twisting your upper body first.
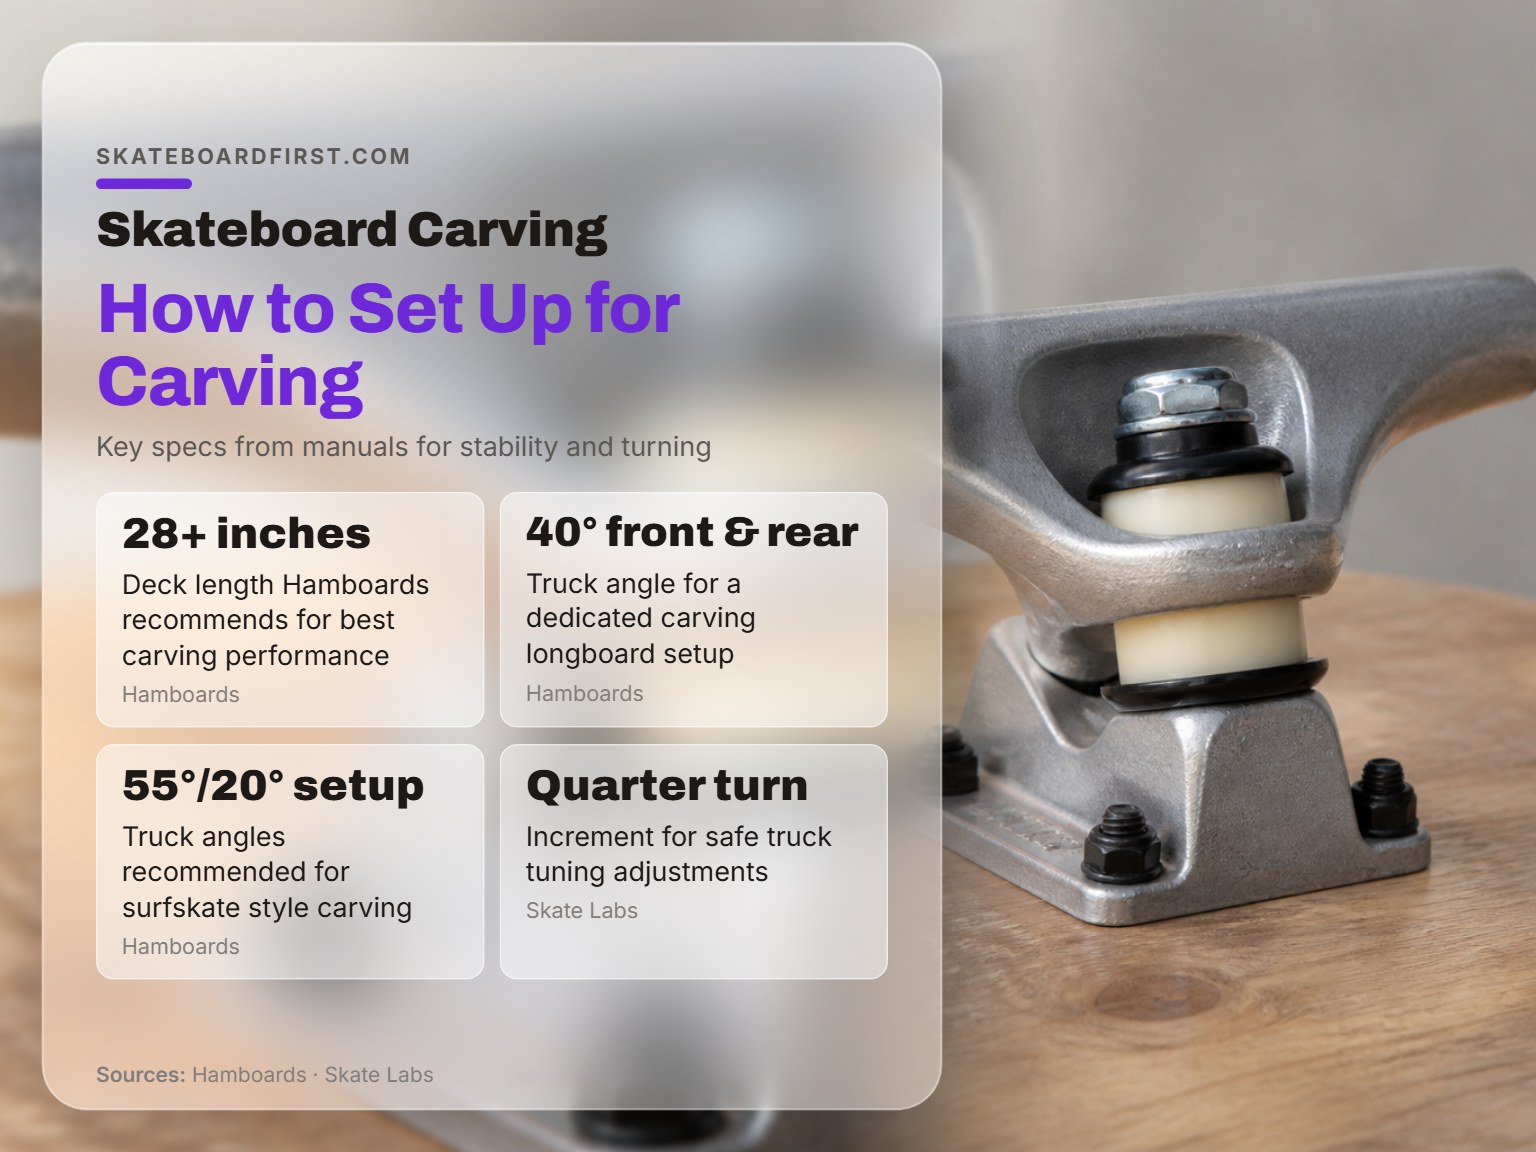
- Truck tightness is your control dial; adjusting tightness (in quarter-turn increments, per Skate Labs) changes how the board responds to lean, but trucks that are too loose can induce speed wobble.
- Longer decks increase stability for carving (per CPSC), while shorter decks are more maneuverable for street tricks.
- Always wear a helmet and wrist guards; a carving lean can easily become a high-side fall if you hit a crack or pebble.
What Carving Actually Is (And Isn’t)
Carving is a turning technique where you lean the board onto its edges while maintaining contact with the ground, using weight shift rather than a foot-powered pivot, which is the core of how to carve on a skateboard. It’s the fundamental skill for flowing down a hill, navigating a bowl, or just cruising a bike path.
A carve is a continuous, arcing turn executed by leaning the body and board as one unit, with all wheels maintaining traction. It is distinct from a kickturn, which involves lifting the front wheels to pivot the board abruptly, a move that sacrifices momentum.
The sound tells you when it’s working. A good carve is quiet, just the hum of urethane on pavement. If you hear the sharp scrape of wheelbite (your deck hitting the wheels) or the chattering tic-tic-tic of a speed wobble, your setup or technique is off. You want that smooth, sustained sound.
Carve vs. Kickturn: The Speed Difference
You use a kickturn when you need to change direction quickly on flat ground or in a tight space, like navigating a crowded sidewalk. It’s a useful trick. But in a bowl or while cruising, a kickturn bleeds off all your speed. You have to pump to get it back. A carve, done correctly, can actually add speed by converting your downward weight into forward momentum through the turn. That’s the secret to linking turns in a bowl without pushing.
The Anatomy of a Carving Setup
Your board’s components directly limit or enable your carving. You can carve on any skateboard, but some setups make it feel natural, while others fight you every inch of the way.
| Component | Ideal for Carving | Why It Matters |
|---|---|---|
| Deck Length | 28 inches and longer | Longer wheelbase increases stability, reducing speed wobble and allowing smoother, drawn-out turns. |
| Truck Pivot Angle | Higher angles | A higher pivot angle allows the truck to lean further before the hanger stops, enabling a deeper carve. |
| Wheel Hardness | Softer wheels | Softer wheels grip the pavement better during a lean, preventing the board from sliding out from under you. |
| Truck Tightness | Looser kingpin setting | Looser trucks respond faster to lean, requiring less force to initiate and hold a turn. |
The deck length advice here comes with a caveat. The CPSC skateboarding safety fact sheet notes that longer boards increase stability. However, the AAOS skateboarding safety PDF advises that shorter decks are best for beginners because they are easier to balance and handle. There’s no single right answer. If your primary goal is relaxed, stable carving, go longer. If you want to learn street tricks first, a shorter deck is more forgiving for ollies and kickflips.
Trucks: The Carving Engine
Trucks are the metal T-shaped parts that connect your wheels to the deck. Their design dictates how your board turns. When you lean, the bushings (the urethane rings inside the truck) compress, allowing the hanger to pivot. Brands like Independent have perfected this feel over decades, their geometry offers a smooth, predictable lean that many carvers prefer.
Some brands build trucks specifically for deep carves. Hamboards, for example, uses a patented HST 40° front and rear truck system on their carving longboards. They also note that using wedge risers to increase the pivot angle on the front truck is recommended to increase turning, but the opposite is not recommended for the rear. This kind of asymmetrical tuning is for advanced riders looking to mimic a surfboard’s feel.
The 5-Step Carving Technique
This isn’t about brute force. It’s about sequencing. Get the order wrong, and you’ll either stall out or wipe out.
- Roll with speed. You need momentum to carve. Start on a gentle, smooth slope or give yourself a few good pushes on flat ground. Trying to carve from a near-standstill doesn’t work.
- Bend your knees. Get low. This lowers your center of gravity and pre-loads your legs like springs. If you’re standing upright, you have nowhere to go.
- Look and lead with your shoulders. Point your lead shoulder where you want to go. Your hips and board will follow. This is the single biggest fix for most beginners: stop staring at your feet.
- Shift your weight to your toes or heels. To go left (regular stance), press onto your heels. To go right, press onto your toes. The pressure should come from your whole body leaning, not just your ankles cranking.
- Hold the lean and ride out the arc. Don’t jerk back to center. Commit to the turn and let the board complete its natural arc. As you come out of the turn, straighten up to prepare for the next one.
Common mistake: Initiating the turn with your upper body only, before your weight has shifted. This causes your board to slide out from under you, leading to a fall. Your weight must lead, your shoulders follow.
Step 3 is where the magic happens. Your head and shoulders are the steering wheel. If you want to carve a smooth S-curve down a path, you need to look at the exit of your first turn before you even enter it. Your body will unconsciously make the adjustments.
Foot Positioning for Control
Your front foot should be angled diagonally across the deck, just behind the front bolts. Your back foot can be perpendicular on the tail or also angled. This gives you a stable platform to push from and a wide base to lean against. If your feet are too close together or parallel, you’ll feel tippy.
Truck Tightness: The Quarter-Turn Rule
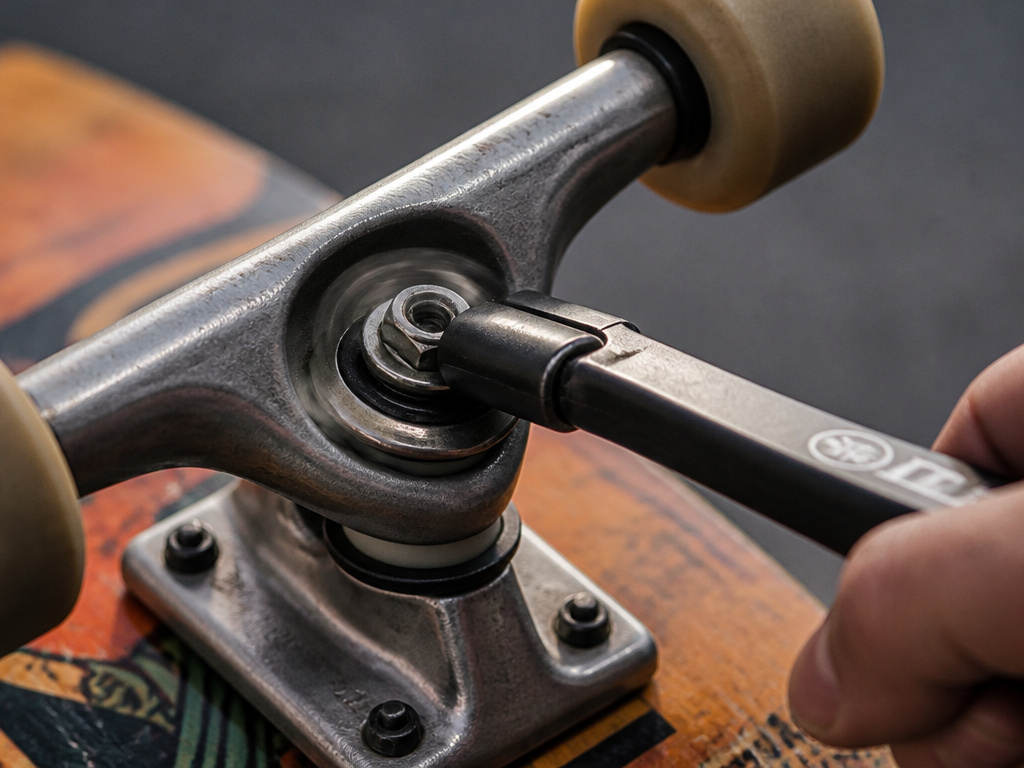
Your truck’s kingpin nut is the main adjustment for carving feel. Tighten it, and the board becomes stable but harder to turn. Loosen it, and carving gets easier, but the board may feel twitchy at speed.
The Skate Labs guide gives the precise method: tuning adjustments should be made in quarter-turn increments. You make a small adjustment, ride it, and see how it feels. This patience prevents you from going straight to “death wobble” territory.
Where this goes sideways: Loosening the kingpin nut so far that it is not fully threaded. The Skate Labs guide explicitly warns against this. If the nut isn’t fully engaged, it can vibrate off while you ride, causing the truck to disassemble catastrophically at speed.
Start with both trucks equally tightened to a stable baseline. Then, if carving feels like a struggle, give each kingpin nut a quarter-turn counter-clockwise. Test it. The board should lean more easily. If it feels too loose and unstable, tighten it a quarter-turn back. This is how you dial in your personal preference.
Troubleshooting Wheelbite and Speed Wobbles
Two common physical feedbacks tell you your setup needs work.
Wheelbite is that awful grinding sound and sudden deceleration when your deck touches the wheel during a deep lean. It can throw you over the front. The fix is often harder bushings, smaller wheels, or adding riser pads between the truck and deck to increase the space.
Speed Wobble is the terrifying, uncontrollable shaking that starts at high speed. The CPSC fact sheet advises to “ride forward and crouch” to reduce it. Mechanically, it’s often caused by trucks that are too loose for the speed or uneven truck tightness. Tightening the trucks incrementally or ensuring they are evenly tuned usually solves it. Wider trucks (wider hangers) also increase stability.
Carving for Speed: The Pump Link
Once you can carve one way, the next skill is linking carves to generate speed without pushing. This is called pumping.
You don’t need a ramp. On flat ground, imagine carving a wide S-pattern. As you enter the first turn, you compress your knees. As you exit the turn and straighten the board, you extend your legs forcefully. This extension pumps energy into the board, propelling you forward into the next carve. In a bowl, you pump through the transitions (the curved walls) the same way. It’s how skaters can ride a bowl for minutes without ever putting a foot down.
This is where the pumping technique becomes essential. It turns carving from just a turning method into a propulsion system.
Applying Carving in a Skatepark Bowl
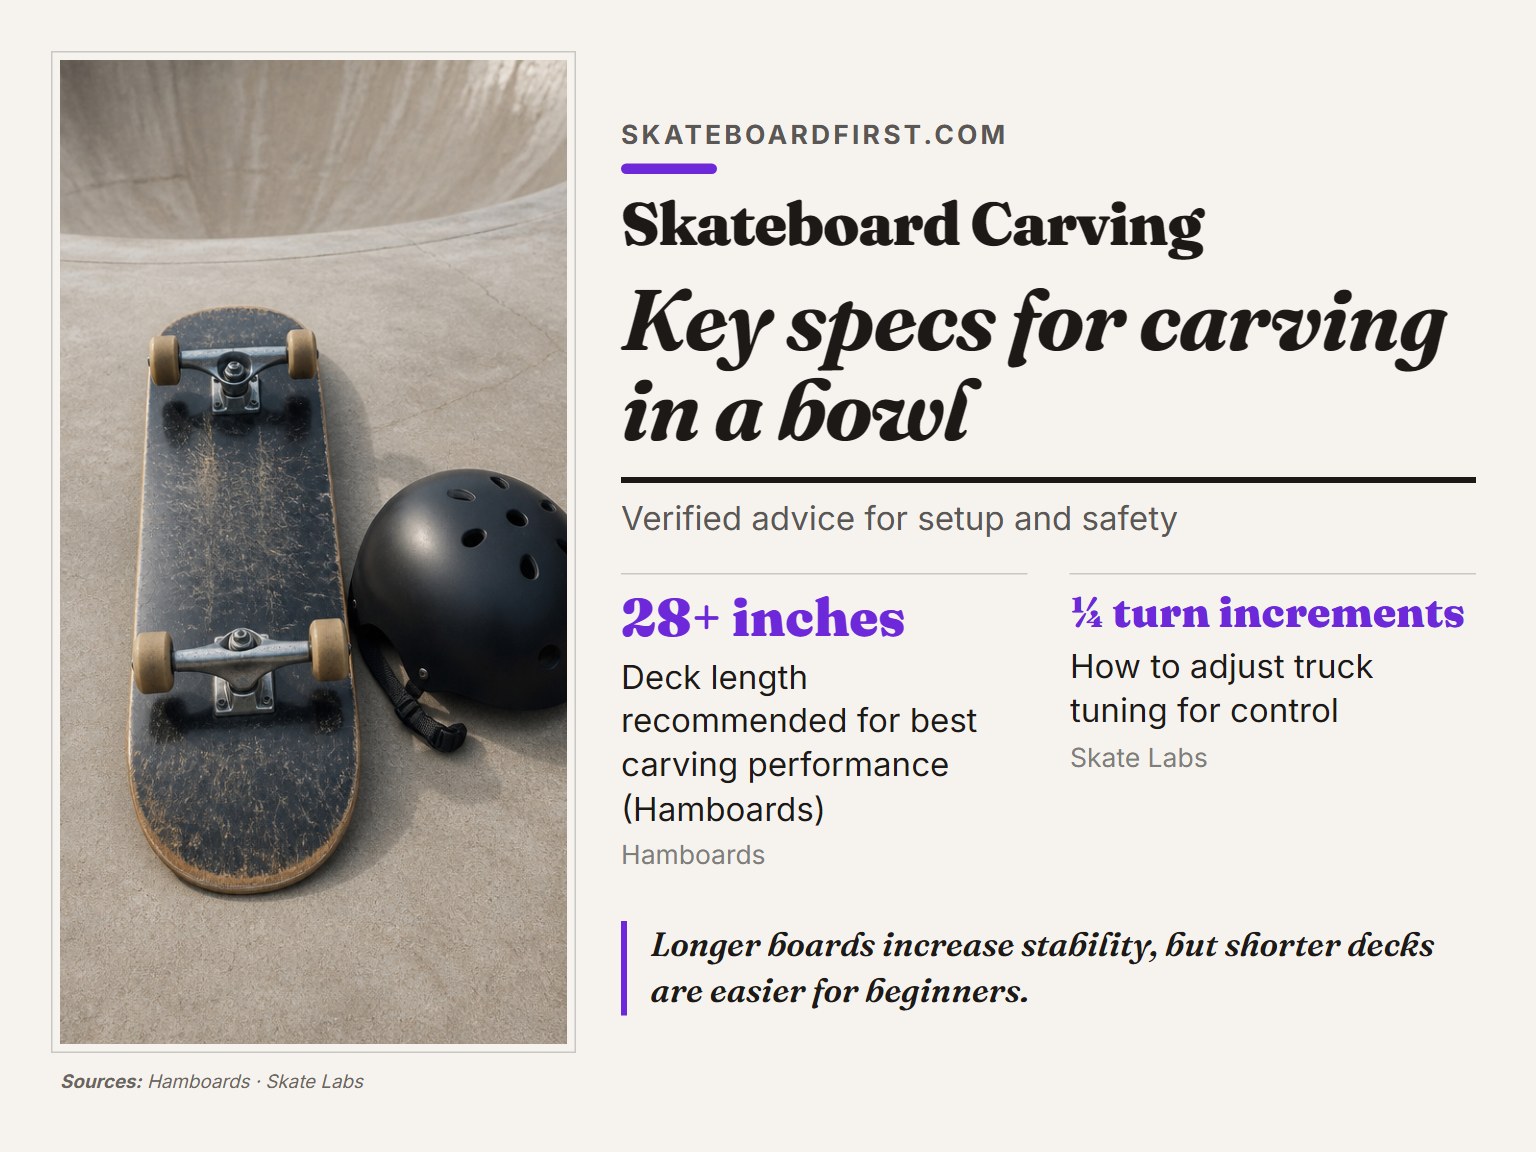
Carving in a bowl is about reading the curve and using the transition to your advantage. You’re not just turning on flat ground; you’re riding up a wall, shifting your weight, and coming back down.
The key is to follow the natural curve, or “line,” of the bowl. Don’t attack the wall straight on. Approach at an angle, let your momentum carry you up, and as you feel gravity start to pull you back down, begin your carve to direct yourself across the bowl. Your weight should be mostly on your front foot as you go up, shifting to your back foot as you come down and turn. This takes the concept of carving a bowl and adds the third dimension of the transition.
I won’t recommend a deep bowl for your first carving practice. The visual feedback is honest, but the penalty for error is a hard fall from height. Find a gentle bank or a mellow corner in a bowl first. The fundamentals of weight shift are the same, but the consequences are smaller.
Safety: The Non-Negotiable Layer
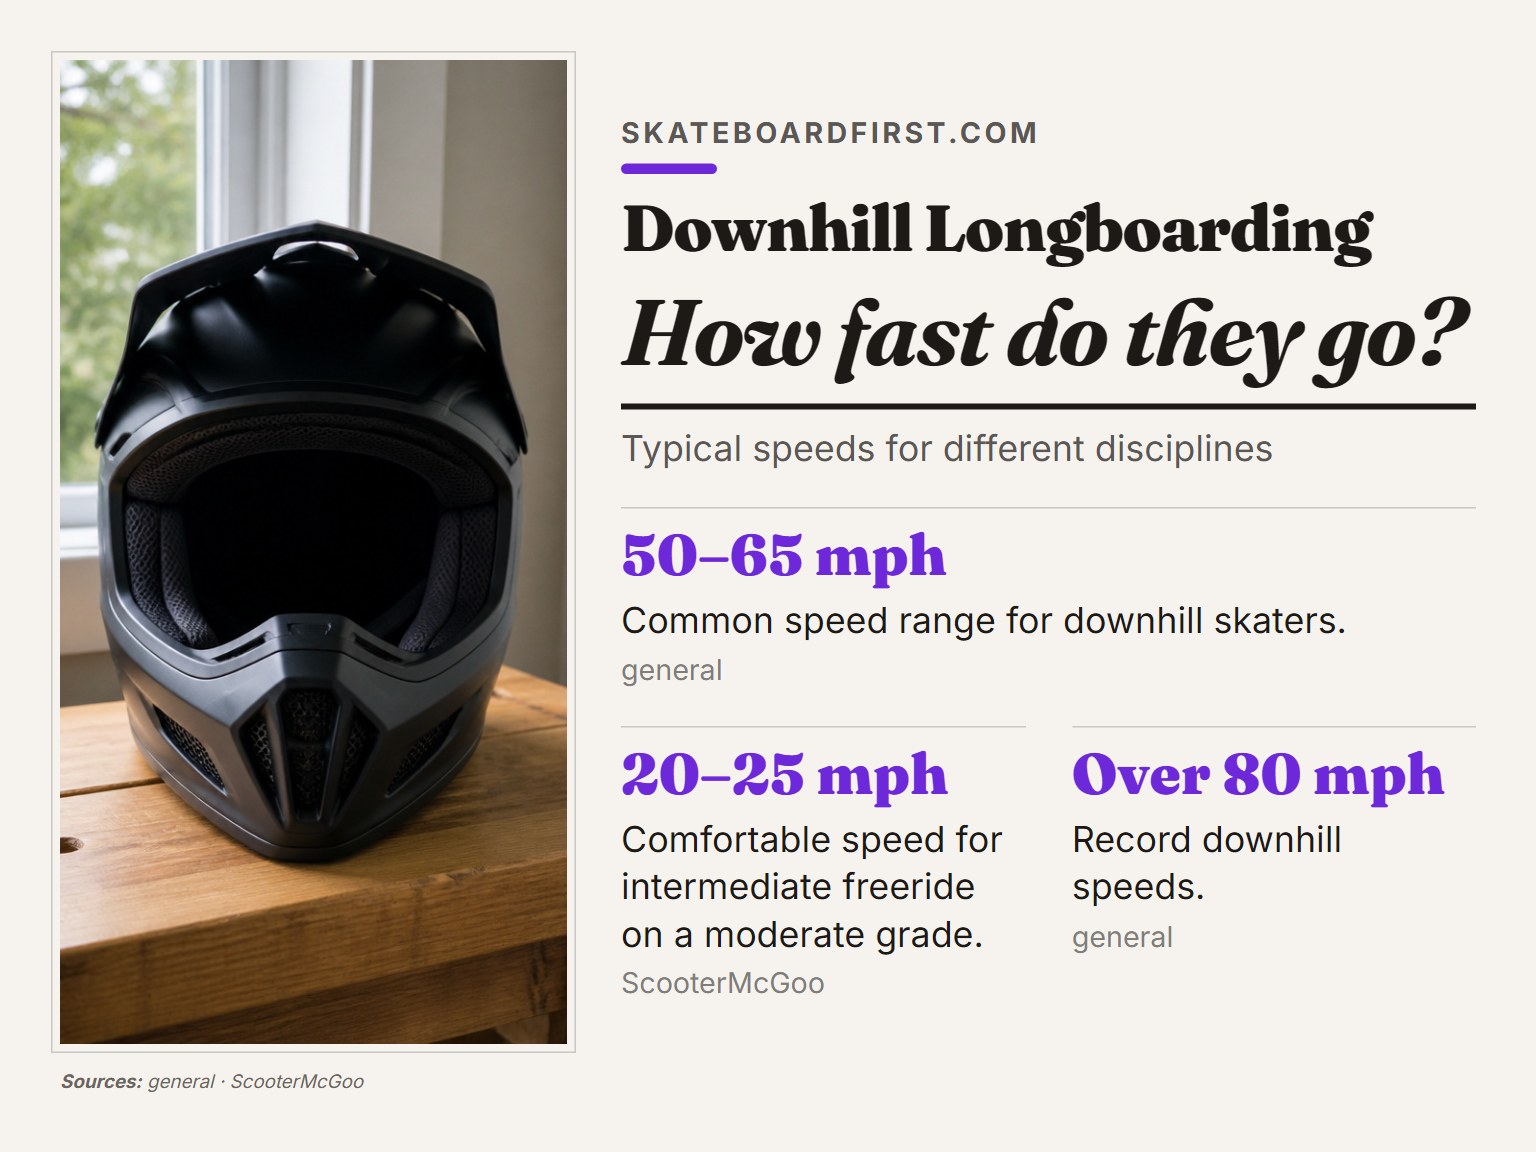
Carving involves leaning your body into momentum. A pebble, crack, or wet patch can break traction and cause a high-side fall, where you get thrown over the board in the direction you were leaning. The CPSC guidelines are unambiguous: always wear a helmet designed for skateboarding (hard shell with foam interior) and wrist guards are especially important for protection.
Before any session, make it a habit to inspect your board. Check for excessive play in the trucks and any cracked parts. A basic turning practice session can become dangerous on a board with loose hardware or a cracked deck. Also, inspect your riding terrain for holes, bumps, and debris. The smooth road you want for carving is a different challenge than the techniques for skateboarding on rough roads or a pristine parking lot.
How to practice carving while rolling
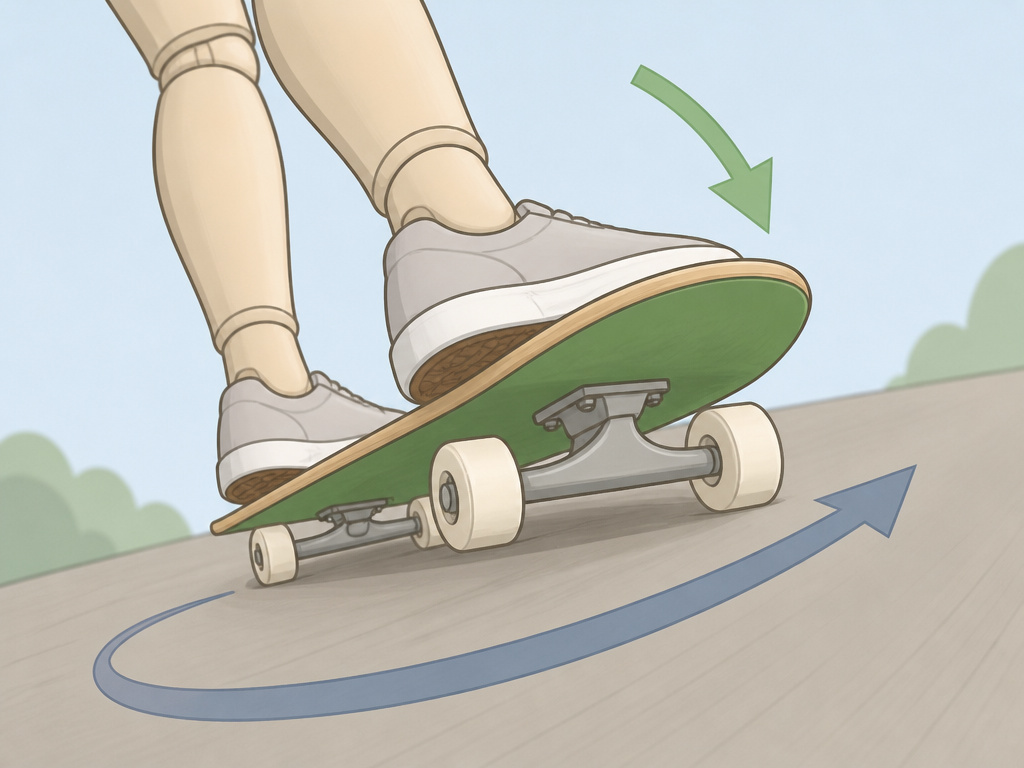
Always practice carving while the board is moving. A stationary board cannot replicate the balance and momentum needed for a real turn. Start on a gentle, smooth slope with plenty of clear space ahead. Wear your protective gear, including a helmet that fits snugly and is level on your head, and wrist guards. Begin at a slow, controlled speed you can handle. Focus on shifting your weight smoothly from heels to toes as you roll, letting the board’s trucks respond to your lean. This builds the muscle memory for carving where it matters: in motion.
Frequently Asked Questions
How do you carve on a skateboard?
You carve by shifting your weight onto your toes or heels while rolling, bending your knees, and leaning your shoulders into the turn to keep all four wheels on the ground. It’s a fluid lean, not a sharp pivot.
Is Tony Hawk goofy or regular?
Tony Hawk rides regular stance. This means his left foot is forward, and he pushes with his right foot. Your stance (regular or goofy) determines your natural carving direction but doesn’t change the technique.
How to carve bowls on a skateboard?
Carving in a bowl involves riding up the transition (curved wall), using the curve to change your direction. Approach at an angle, compress as you go up, and initiate your carve as you start descending, using the pump to maintain speed.
What is the hardest thing to do on a skateboard?
This is subjective, but for many, maintaining commitment during a deep carve or pump at high speed in a bowl is psychologically challenging. The physical skill of making your board turn sharper is one thing; trusting your setup and technique while looking down a steep transition is another.
The Bottom Line
Carving is the first real taste of flow on a skateboard. It’s what turns pushing from point A to point B into a ride. Start on a smooth, gentle slope with your trucks loosened a quarter-turn from factory tight. Practice the weight shift from heels to toes at low speed before you try to link turns. And always gear up, a helmet and wrist guards let you practice the falls that are part of learning.
One rule most guides skip: if you can’t comfortably turn a skateboard at slow speed, you’re not ready to carve at higher speed. Master the basic lean first. The deep, speed-generating carves will come. Your next session? Find a smooth parking lot and practice linking just two carves into an S. That’s the foundation for everything else.
