
How to Heelflip on a Skateboard: Step-by-Step
This post contains affiliate links. As an Amazon Associate, we earn from qualifying purchases.
To heelflip on a skateboard, you pop an ollie, flick your front heel outward and away from your body to spin the board clockwise (for regular stance), and catch it with your feet before landing. The trick, invented by Rodney Mullen, rotates outward toward your toe side.
That outward spin is the mechanical core. Your legs, however, don’t like to move quickly in that direction, as pro skater Per Welinder points out. The muscle memory you’ve built for ollies and kickflips fights you here, which is why the heelflip feels foreign even when the motions look simple. A key step in learning how to heelflip on a skateboard is overcoming this ingrained resistance.
What follows is a breakdown of the conflicting advice on foot placement, the step-by-step sequence, and the specific drills that get you past the most common sticking points, like landing with one foot on and one foot off.
Key Takeaways
- Most professional skaters recommend mastering the ollie and kickflip first, though Surfertoday.com notes most skateboarders find the heelflip easier to pull off.
- Your front foot placement decides the board’s flight path; too much toe hang sends it behind you, while pulling the toe back can make it stick to your foot.
- Some practitioners feel the flick happens at the peak of your ollie, while other guides imply initiating it during the pop.
- Land the board halfway flipped rather than chasing a perfect spin you can’t catch; control beats style every time at this stage.
- Wear a helmet, knee pads, and wrist guards; you will fall, and this gear lets you get up and try again immediately.
The Heelflip Foot Placement Debate
Every guide tells you to hang your toes off the edge. What they don’t agree on is how much, or even where your foot should be. This isn’t a minor detail, it’s the difference between the board flipping under you and it rocketing off into the bushes.
The standard advice splits three ways. Skateboards.com says place your front foot about an inch below the front bolts, with toes hanging slightly off. WikiHow argues for a spot slightly forward of the board’s middle, angled so your toes point to the front-right corner, with just the big toe hanging off. Then there’s the practitioner insight from the Rad Rat video tutorial: for them, more foot hang made the board fly behind them, but moving the foot further up and pulling the toe back made the board stick and fly ahead.
So which one is right? They all are, for different people. Your body mechanics and existing ollie style dictate the answer.
Where this goes sideways: Copying a pro’s exact foot placement without adjusting for your own pop. Your ideal spot is the one where the board flips level and stays under your torso. You find it by tweaking, not by imitating.
Here’s how the recommendations compare in practice:
| Source | Front Foot Position | Best For | Risk If Misapplied |
|---|---|---|---|
| Skateboards.com | 1 inch below bolts, toes slightly off | Skaters with a vertical, straight-up ollie | Board may not flip fully; feels like a popped ollie with a weak flick. |
| wikiHow | Forward of middle, angled, big toe off | Skaters who already scoop their front foot diagonally | Board can spin fast but low, making the catch timing very tight. |
| Rad Rat Video | Foot further up, toe pulled back | Skaters whose boards keep shooting away | Over-correction can kill the flick entirely; board doesn’t spin. |
Your job in the first ten tries is diagnostic. Don’t try to land. Just pop, flick, and watch where the board goes. If it sails behind you, move your foot up an inch. If it spins but drifts forward, let your toe hang a bit more. This is the essential homework before any real heelflip attempt.
Gear Up and Warm Up
This is not a casual suggestion. The heelflip is an intermediate trick, and you will fall. A lot. Natas Kaupas didn’t even land on the board during the first filmed heelflip attempt in 1986, if a legend can eat it, so can you.
Your gear list should include a properly fitted skateboarding helmet, knee pads, elbow pads, and a sturdy pair of well-cushioned skate shoes. WikiHow also recommends gloves.
Warm up your ankles and knees with some light stretches and basic flat-ground riding. The goal is to get blood flowing, not to exhaust yourself. A cold muscle is a tight muscle, and a tight muscle doesn’t flick with the quick, awkward motion a heelflip demands.
The 7-Step Heelflip Sequence
Now for the main event. This sequence assumes you can ollie consistently and have a working kickflip. If you can’t, go learn those first. Seriously. This trick builds on that foundation.
1. Stance and Set-Up
Position your back foot on the tail, parallel to it, with the heel slightly hanging over the edge. Your front foot goes in your chosen experimental position from the table above. Keep your shoulders straight and your weight centered. Your eyes should focus forward, then down toward the front of the board as you initiate the trick.
2. The Pop
Pop a clean ollie. This isn’t a heelflip-specific pop, it’s the same motion you use for any good ollie. Crouch, spring up, and snap the tail down with your back foot. The board must leave the ground with you. If you’re still on it, you’ve already failed.
3. The Slide and Flick
As the board rises, slide your front foot up toward the nose. At the peak of the ollie, just as you feel you’re about to start descending, kick your front heel outwards and away from your body. Don’t swing your whole leg. The motion is a sharp, diagonal flick off the front-right corner of the board. Think of scraping gum off the side of your shoe.
4. The Catch
The board will spin a full 360 degrees. Watch it. Catch it first with your back foot, then your front foot. This two-step catch stabilizes the board. Bringing your knees up toward your chest gives you time to spot the landing.
5. The Landing
Land with your knees bent to absorb the impact. Your feet should be over the bolts, board parallel to the ground. Ride away.
Common mistake: Flicking too early, during the pop. This kills your ollie height and makes the board spin at ankle-level, which is impossible to catch. Wait for the peak.
The sequence from pop to landing is quick, requiring precise timing. Your brain won’t have time to process each step individually. This is why you drill the flick motion on the ground first, stationary.
Drills Before You Drill
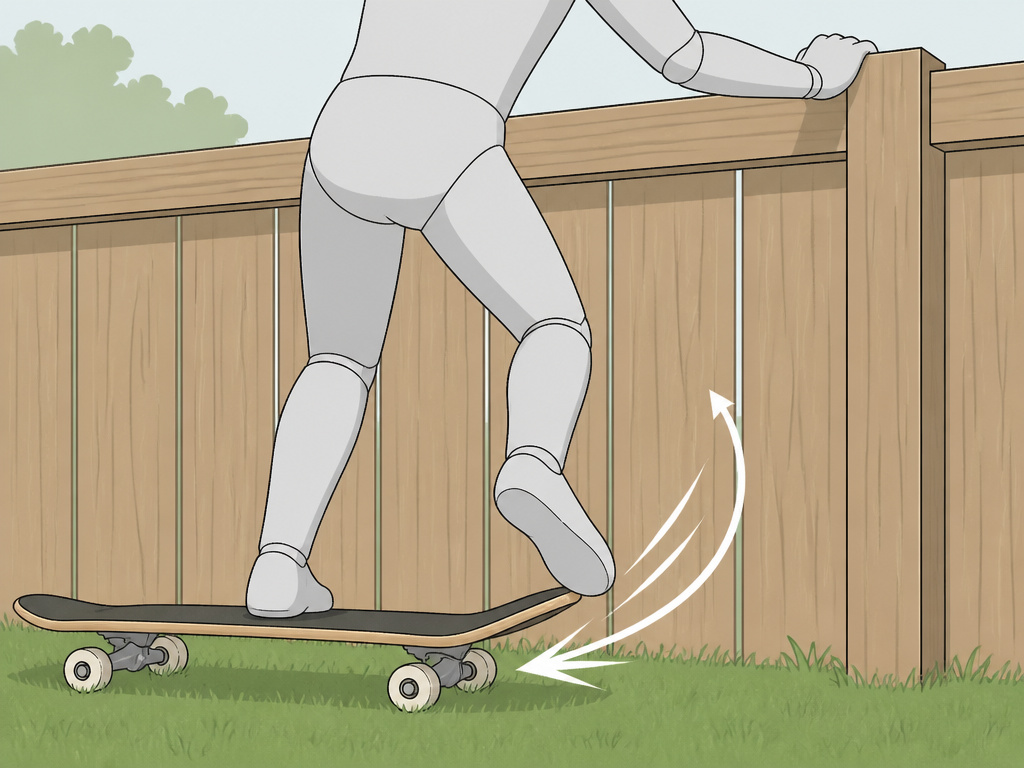
You wouldn’t try a backflip without knowing how to jump. Don’t try a rolling heelflip without isolating the flick.
Stationary Flick Practice
Stand on your board on grass or carpet, or hold onto a fence. Without popping, practice the heel-flick motion. Focus on the diagonal scrape off the corner. Do this 50 times. Your goal is to feel the board start to spin from the flick alone. WikiHow recommends learning the flip stationary before adding motion, while other guides describe the trick in a rolling context when explaining how to heelflip on a skateboard.
Ollie-Flick Combo
Next, do a stationary ollie and add the flick at the peak. Don’t try to land. Let the board flip and fall. The goal is to train the timing: pop then flick. This drill directly addresses the Rad Rat observation that the flip starts at the ollie’s peak.
The Axle Stall Drill
Find a low curb or ledge. Stall your trucks on it so the board is locked in place. Practice the full heelflip motion, pop, flick, catch, while the board is secured. This builds the muscle memory of catching a flipping board under your feet without the fear of it shooting out.
Troubleshooting Your Heelflip
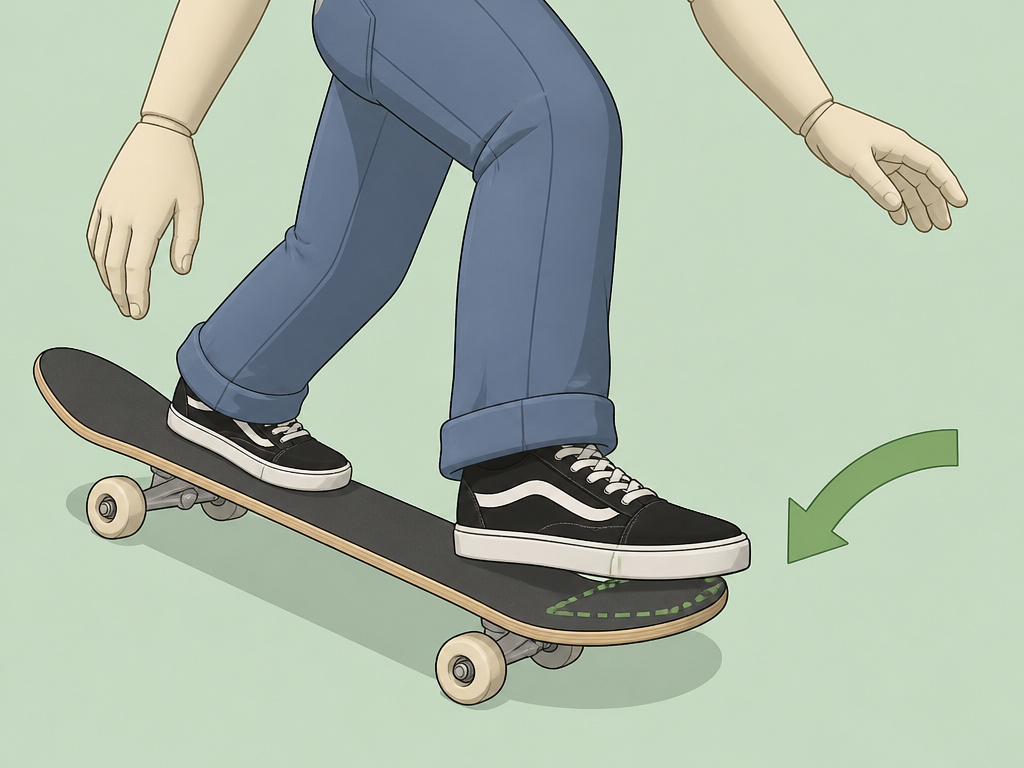
You will face these problems. Everyone does.
The board rockets behind you.
Your front foot is too far back, with too much toe hanging off. You’re scooping it backward. Move your front foot an inch closer to the nose and focus on flicking outward, not downward.
The board spins but stays low.
You’re flicking with your whole leg instead of a quick ankle motion. You’re also probably flicking too early, before the ollie has any height. Practice the stationary flick drill again to isolate the ankle action.
You land with only your front foot on the board.
This is the classic commitment fear. Your brain is telling your back foot to bail. The fix is psychological: commit to bringing both knees to your chest every time, no matter what. Practice the ollie-flick combo drill and force yourself to try and land with both feet, even if the board isn’t fully flipped.
The board flips halfway and you land on it.
This is actually progress. The Rad Rat video tutorial makes a key point: “It’s always better to land the board halfway flipped than to do the full flip but not land it.” You have the flip motion and the commitment. Now, just flick harder and later.
Heelflip vs. Kickflip: Which Comes First?
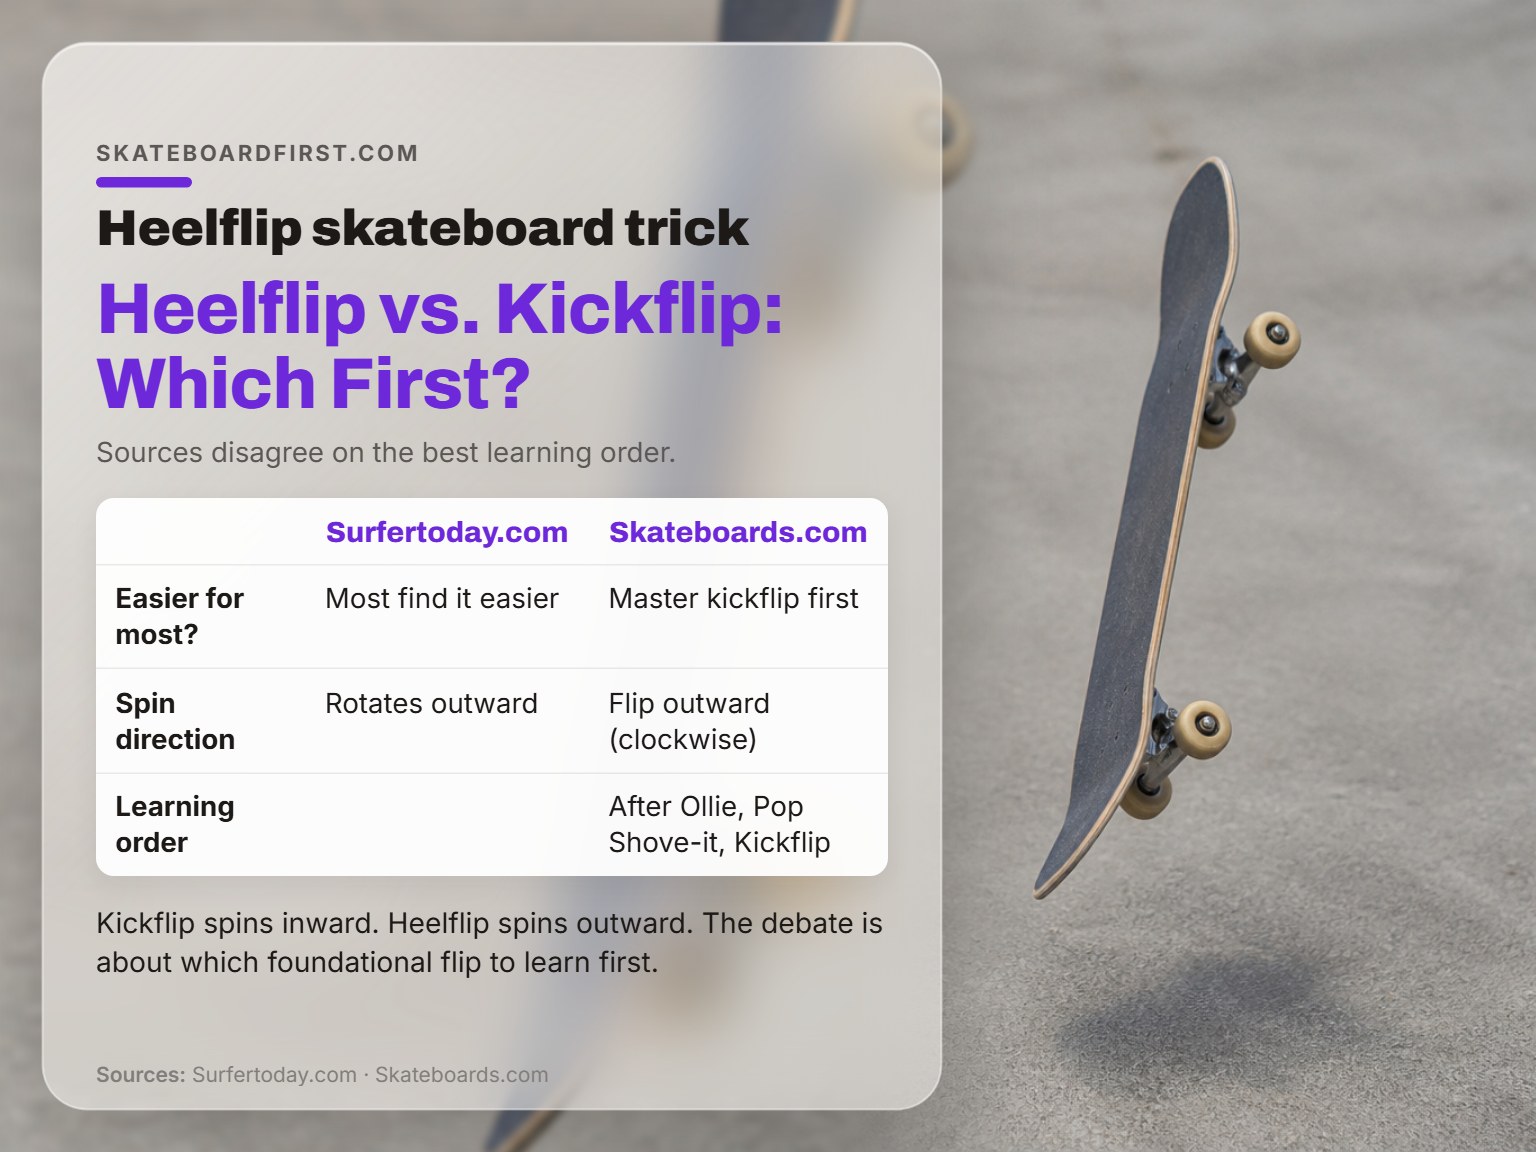
The sources disagree here, and your experience will decide. Surfertoday.com states most skateboarders find the heelflip easier to pull off. Skateboards.com, however, notes most professional skaters recommend mastering the kickflip first.
The difference is in the spin mechanics. A kickflip spins inward, toward your heel. A heelflip spins outward, toward your toes. For many, the outward flick is a more natural motion than the inward scoop of a kickflip. But the kickflip is often taught first because it’s the foundational flip trick in street skating.
My take? Learn the kickflip trick first. It teaches you how to control a flipping board with an inward spin. When you move to the heelflip, you’re just reversing the direction. Trying to learn both spins simultaneously is confusing. Get one down, then tackle the key differences between a kickflip and a heelflip.
What to Learn Next
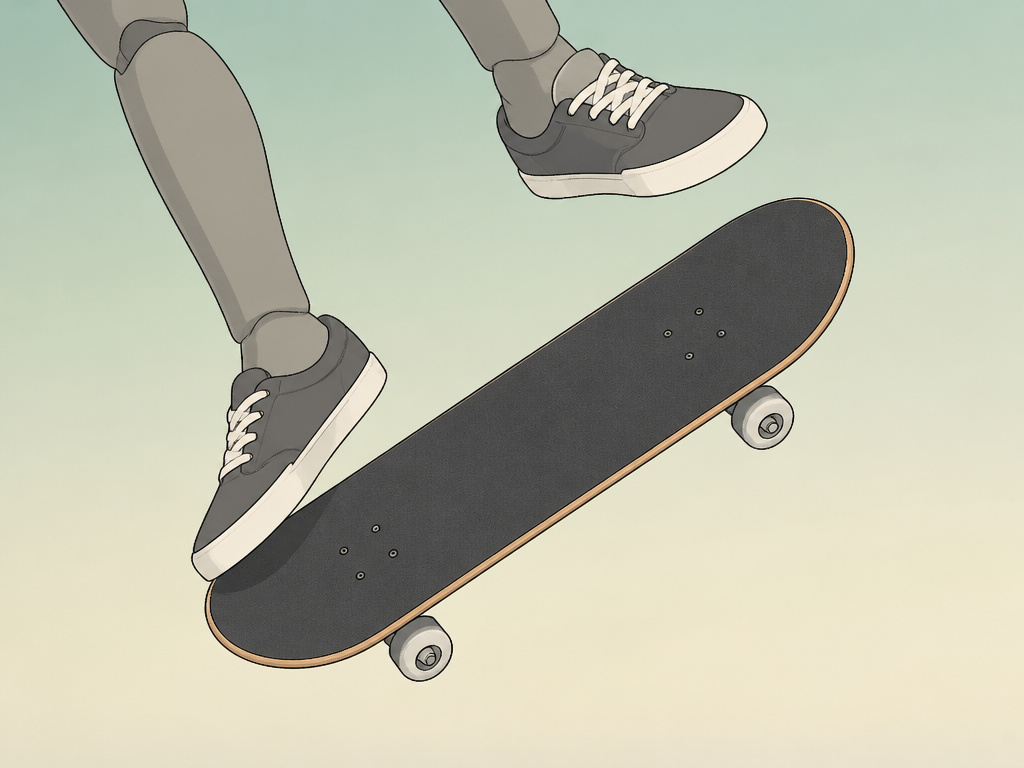
Once your heelflip is consistent rolling forward, the world of flip tricks opens up. The natural progression is to learn a varial heelflip (heelflip + backside 180 shuvit) or an inward heelflip. Before that, ensure your shuvit is solid, as it’s the building block for those combinations.
If you’re still deciding your first flip trick, a solid heelflip is a legitimate choice. It looks clean, and for some, it clicks faster than the kickflip.
How does a heelflip rotate?
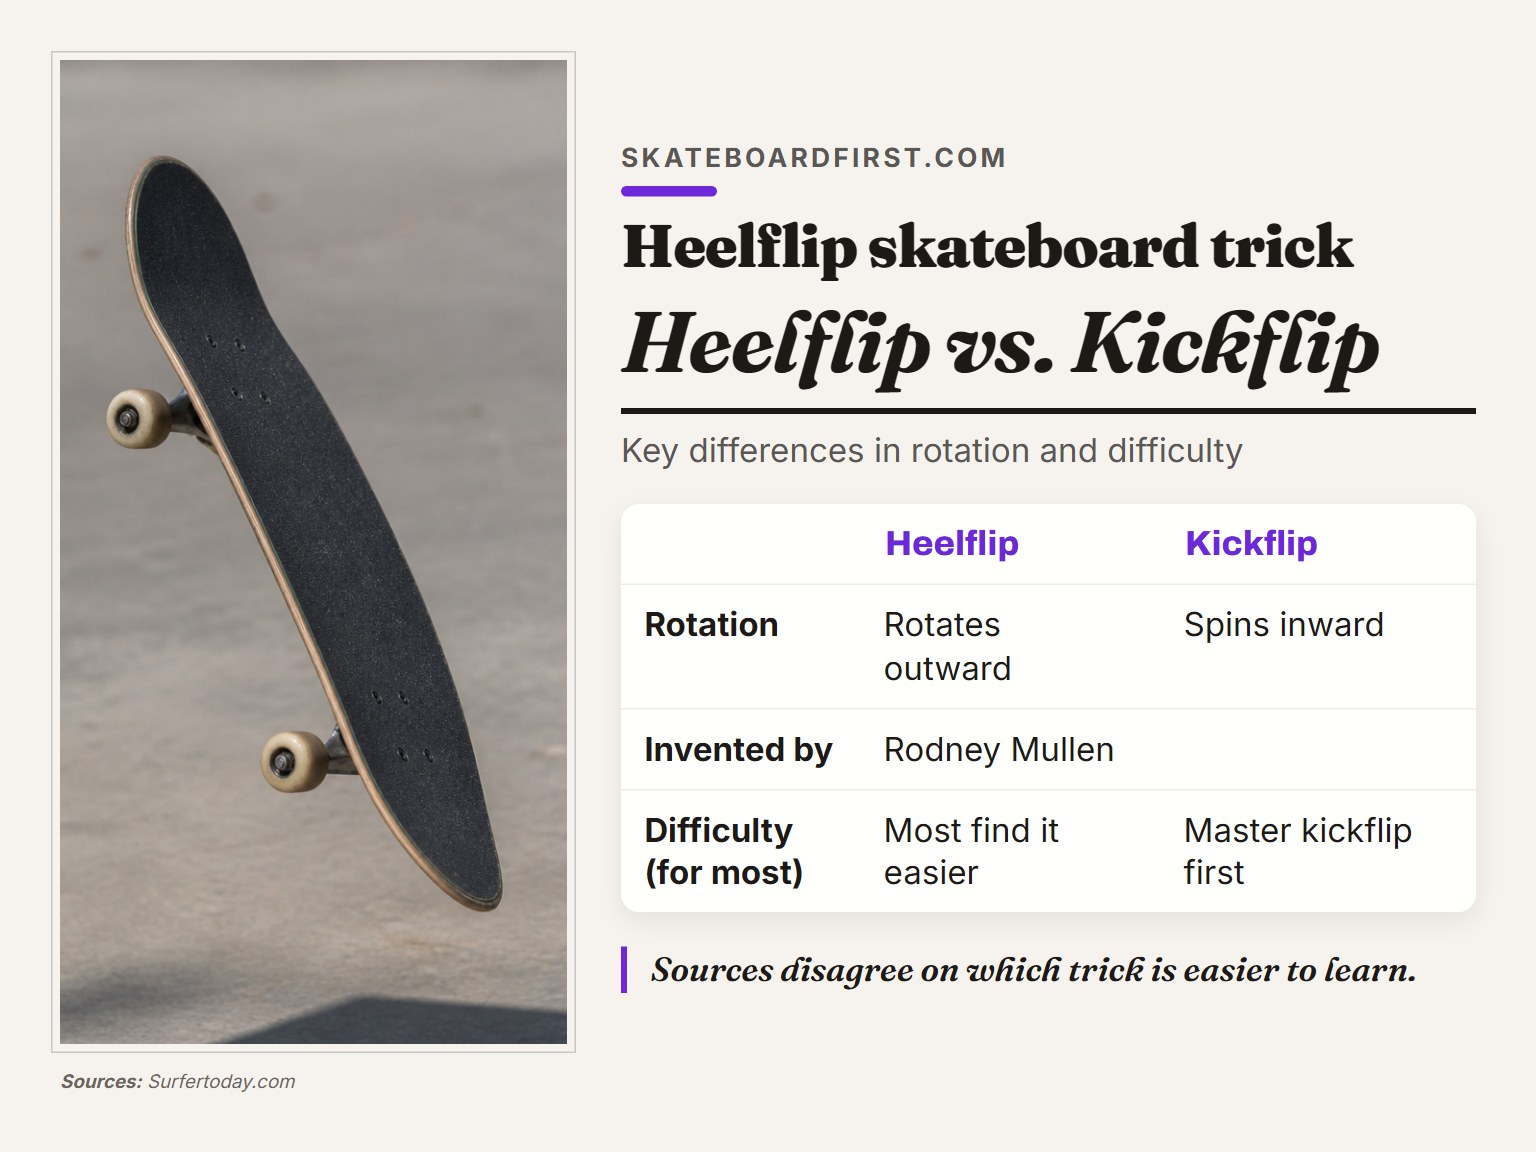
A heelflip is an extension of an ollie where you flip the board outward and away from your toes (clockwise for a regular stance). This outward rotation is the defining mechanic that separates it from a kickflip, which spins inward toward your heel side. As you pop the ollie, you initiate the flip by sliding your front foot diagonally off the toe-side edge of the board. The goal is to keep both feet above the board throughout the rotation so you can catch it cleanly. Some skaters feel the flip action starts at the very peak of the ollie, just as you begin to descend.
Frequently Asked Questions
Is a heelflip harder than a kickflip?
For most people, no. The outward spin of a heelflip is often a more natural motion than the inward kickflip spin. However, most pro skaters and guides recommend learning the kickflip first, as it’s considered the fundamental flip trick. Your mileage will vary based on your personal mechanics.
What percent of people can heelflip?
There’s no definitive statistic, but it’s a core intermediate trick. Many people who try skateboarding never learn to ollie, and fewer progress to flip tricks. The skill ceiling is high, but the heelflip is a very achievable milestone with consistent practice.
What is the hardest flip trick to do on a skateboard?
Advanced variations like the 360 flip (tre flip), laser flip, or hardflip are generally considered among the most difficult due to their complex rotations and precise foot placement. The basic heelflip is not in that category; it’s a gateway to harder flips.
Why does my board not flip all the way?
You’re likely not flicking hard enough, or you’re flicking with your leg instead of your ankle. The board needs a sharp, snapping motion off the corner. Practice the stationary flick drill to build that specific muscle strength and motion.
How long does it take to learn a heelflip?
It depends entirely on your existing skill level. If you have a consistent ollie and kickflip, you may be able to learn a heelflip with focused practice. If you’re starting from scratch, it could take weeks or months. A motor skill development study on skateboarding noted that learners show highly variable progress day-to-day, so don’t get discouraged by a bad session.
The Bottom Line
The heelflip is a test of patience and precise adjustment more than raw skill. Your foot placement is a live variable, tweak it until the board flips level and stays under you. Commit to bringing both feet back to the board every single try, even if you land primo. That mental commitment is the final barrier.
Once you’ve landed three in a row, start taking them off curbs or adding them to lines. The trick’s real value is as a building block. It proves you can control a flipping board, which opens the door to everything else. Now go scrape that heel.
