
Skateboard Riser Pad Size Guide
This post contains affiliate links. As an Amazon Associate, we earn from qualifying purchases.
Skateboard riser pad size is determined by your wheel diameter, truck height, and how loose you ride your trucks. A general rule matches wheel size to riser thickness: no riser is typically needed for wheels under 55mm, 1/8″ for 55-57mm, 1/8″ – 1/4″ for 58-64mm, and 1/4″ – 1/2″ for 65-67mm. Adding any riser requires longer mounting hardware to secure the trucks properly.
That clearance number is the whole game. It’s the gap between your deck and your wheel when you’re leaned over in a turn. Too little gap, and the wheel bites the deck, stopping you dead. The right riser pad buys you that gap, which is why a skateboard riser pad size guide is essential.
What follows: a wheel-size chart that settles the “how thick?” question, the hardware-length math that keeps your trucks attached, a look at the real-world trade-offs of adding height, and the electric skateboard exceptions that break the standard rules.
Key Takeaways
- Start with your wheel diameter. Sources offer slightly different thresholds: Warehouse Skateboards states wheels smaller than 55mm do not typically require risers, while Slam City Skates says the main reason you need them is if you have wheels above 54mm. However, even a thin 1/8″ pad can help keep hardware from vibrating loose on smaller setups.
- Match riser height to hardware length. For a standard 7-ply deck, add the riser height to a 1″ base bolt. A 1/4″ riser needs a 1 1/4″ bolt.
- Truck tightness changes everything. Loose trucks need more clearance than tight ones for the same wheel size. A setup that’s fine when tight can bite instantly when loosened.
- Electric skateboards play by different rules. Brands like Meepo and Linnpower make model-specific risers (like 10mm or 12mm pads) for wheels over 100mm.
- Angled risers change steering geometry, not just height. Century’s Tombstone risers have slant angles from 17.5° to 32° to fine-tune turn response.
Wheel Size to Riser Thickness: The Core Chart
Ever wondered why your board suddenly seizes in a carve? That’s wheelbite. It happens when the wheel contacts the deck, and it’s a fast way to meet the pavement. The fix is a riser pad, but its job is to create clearance, not just add height.
The most common question answered by a skateboard riser pad size guide is “What size riser for my wheels?” Here’s where the sources provide a clear, if slightly varied, answer.
| Wheel Size | Recommended Riser Height | Typical Hardware Length (7-ply deck) |
|---|---|---|
| 49 – 54 mm | No riser typically needed | 1″ |
| 55 – 57 mm | 1/8″ (3mm) | 1″ – 1 1/8″ |
| 58 – 64 mm | 1/8″ – 1/4″ (3-6mm) | 1 1/4″ |
| 65 – 67 mm | 1/4″ – 1/2″ (6-13mm) | 1 1/4″ – 1 1/2″ |
| 68 mm+ | 1/2″ – 5/8″ (13-16mm) | 1 1/2″ |
This table synthesizes recommendations from the Plabizarre guide and other major sources. It’s a starting point for matching wheel diameter to riser thickness. Always check your specific clearance after installation.
Notice the 54mm/55mm threshold. Warehouse Skateboards states decks with wheels smaller than 55mm “do not typically require risers,” while Slam City Skates says the main reason you need them is “if you have wheels above 54mm.” They’re essentially agreeing. The Skatedeluxe Wiki adds that with wheels up to 54mm, you “probably won’t need shock pads.”
But here’s the nuance those charts don’t show: truck tightness. A 54mm wheel on a board with trucks cranked down tight might never bite. Take that same setup, loosen the kingpin nut a quarter-turn for easier carving, and you might get bite on the first hard turn. The riser need isn’t just about the wheel; it’s about the space the wheel needs to move.
How to Measure Your Actual Clearance
The chart in a skateboard riser pad size guide gives you a riser thickness. Your deck gives you a real number. You need to measure the gap.
Flip your board over. Turn the front wheels by hand to their maximum angle, the point where they would touch the deck if it were closer. Now, measure the distance between the top of the wheel and the bottom of the deck. That’s your clearance. For a safe, bite-free ride, you need sufficient clearance to prevent the wheel from contacting the deck during turns. Less than that, and you’re trusting your balance not to lean too far.
Where this goes sideways: Choosing a riser based only on wheel size, ignoring truck looseness. A loose truck setup can need a full riser size thicker than the chart suggests for the same wheels. The bite happens at the edge of a turn, not in a straight line.
If your measurement is under 6mm, go up one riser size from the chart. It’s cheap insurance. A set of basic plastic risers costs less than a new deck or a dental bill.
Hardware Length: The Non-Negotiable Match
Adding a riser pad is simple. Forgetting the longer hardware isn’t. The bolts that came with your board are meant to go through the deck and into the truck baseplate. Add a chunk of plastic or rubber in between, and those bolts suddenly don’t have enough thread to grip.
The rule is straightforward: your bolt length must equal the deck thickness plus the riser height, plus enough thread to engage the nut securely. According to the Plabizarre guide, for a setup with no risers and 54mm wheels, the hardware length should be 1 inch.
Here’s the math the manufacturers use:
| Riser Height | Hardware Length for 7-Ply Deck | Notes |
|---|---|---|
| No Riser | 1″ | The standard. |
| 1/8″ (3mm) | 1 1/8″ | Plabizarre and Independent agree on this length. |
| 1/4″ (6mm) | 1 1/4″ – 1 1/2″ | Sources disagree: Plabizarre says for 1/4″ risers, hardware length should be 1 1/4″. |
| 1/2″ (13mm) | 1 1/2″ – 2″ | Dooks recommends 1 1/2″ – 2″ for 1/2″ risers on a standard deck. |
Independent (via Tactics) specifies that for 1/4″ risers on thicker 8/9-ply decks, you should use 1 1/2″ – 2″ hardware. Deck thickness changes the equation.
The consequence of using bolts that are too short is obvious: the trucks aren’t secure. The consequence of using bolts that are too long is subtler but just as bad. Excess bolt thread sticking out the bottom can grind on curbs, concrete, and ramps, damaging the threads and making the nut impossible to remove later. It also looks sloppy.
The easy check: After you’ve tightened everything down, look at the bolt ends. You want the nut to be securely fastened with sufficient thread engagement. More than that, and your bolts are too long. Fewer than that, or if the nut is sucking into the truck baseplate, your bolts are too short. Go longer.
Riser Pads vs. Shock Pads: Material and Purpose
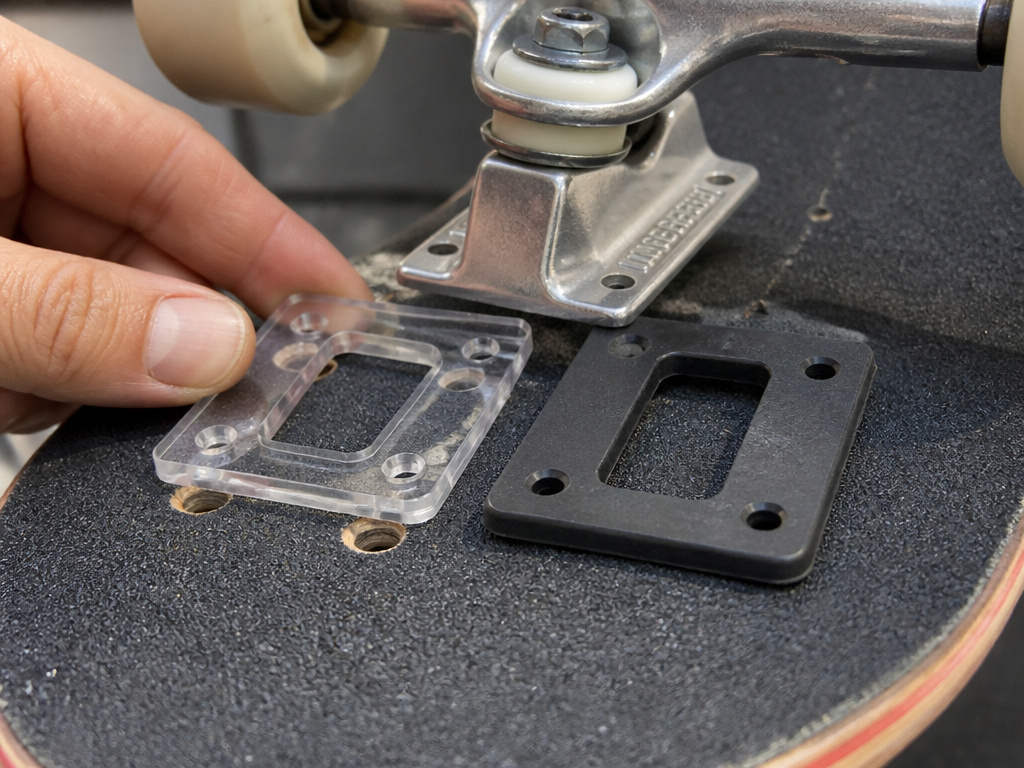
You’ll see these terms used interchangeably in shops, but manufacturers draw a distinction. It’s not just marketing, the material dictates the job.
A riser pad is made from hard plastic. Its primary job is to add height and prevent wheelbite. Because it’s hard, it doesn’t compress under load, so your deck height stays exactly where you set it. The Warehouse Skateboards guide is clear on this: “Riser pads are made from hard plastic.”
A shock pad is made from rubber or dense foam. Its primary job is to absorb vibration and shock, protecting your deck from stress cracks. The same Warehouse guide states: “Shock pads are made from rubber or dense foam.” The Skatedeluxe Wiki notes shock pads are normally 1/8″ tall, and they can compress slightly.
The Skatedeluxe Wiki adds another layer: they define any pad 1/4″ tall or higher as a riser pad, regardless of material. So a 1/4″ thick rubber pad would be a “riser” by their definition, but its rubber construction means it will still absorb shock.
So which do you need?
- If wheelbite is your main concern, get a hard plastic riser at the thickness your wheels require.
- If you ride rough ground and want a smoother ride and less deck damage, add a 1/8″ rubber shock pad, even with smaller wheels.
- Just remember to add both thicknesses when calculating your hardware length.
The Trade-Offs: How Risers Change Your Ride
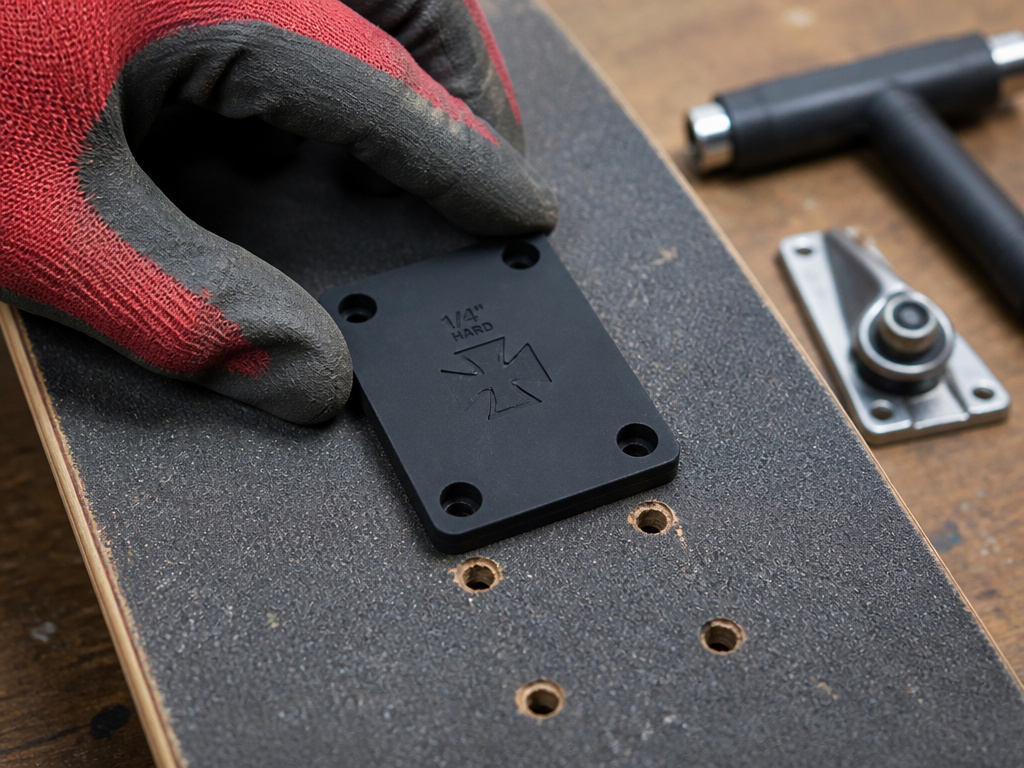
Adding risers isn’t free. You’re solving the wheelbite problem, but you’re changing your board’s geometry. Here’s what actually happens.
You gain clearance and lose stability. The higher your deck is off the ground, the higher your center of gravity. This can make the board feel a bit tippier, especially when you’re first getting used to it.
With hard plastic risers, the effect is negligible unless you’re adding a huge amount of height.
It can protect your deck. This is the underrated benefit. The area where the trucks mount is under immense stress during landings. A pad, especially a shock-absorbing one, distributes that force over a slightly larger area and cushions the impact. This can prolong the life of your deck and delay the appearance of pressure cracks around the truck holes.
The fix takes five minutes and costs a few dollars, but the confidence it gives you to carve harder is immediate.
Electric Skateboards and Angled Risers: The Exceptions
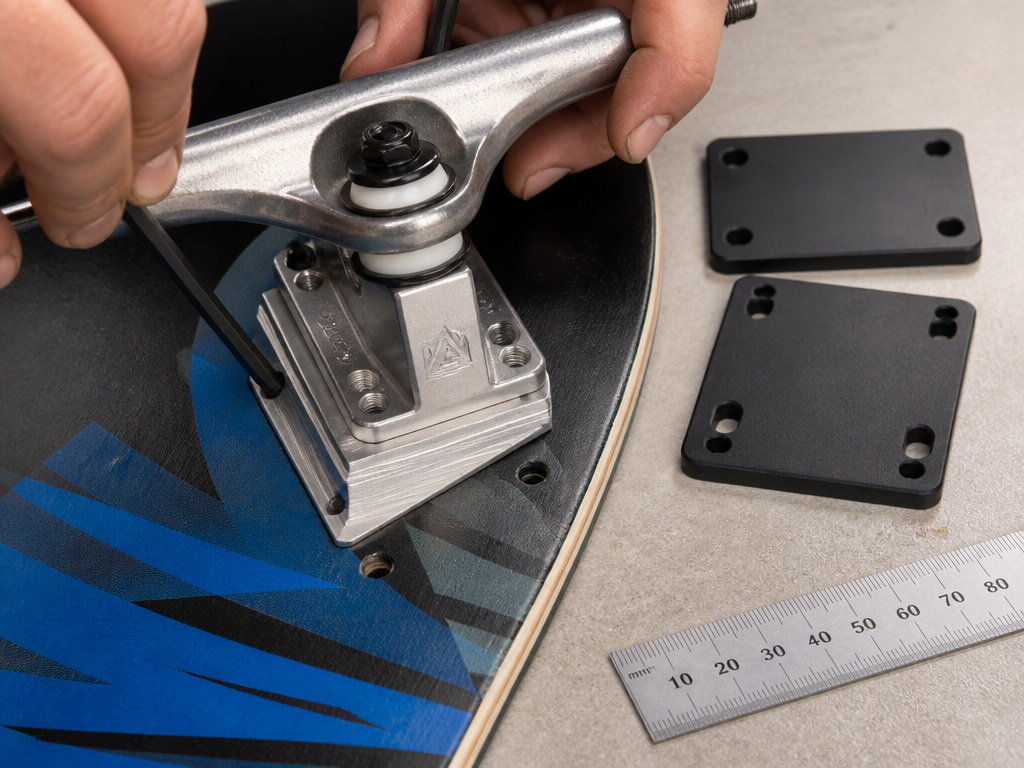
Standard skateboard riser advice hits a wall with electric longboards and specialty cruiser setups. The wheels are bigger, the speeds are higher, and the goals are different.
Electric Skateboard Riser Specs
Companies like Meepo and Linnpower make riser pads specifically for their models. These aren’t generic 1/8″ or 1/4″ pads.
- Meepo sells riser pads with dimensions of 77mm x 52mm x 12mm (the 12mm pads are made of ABS plastic). They also offer 6mm and 3mm rubber pads.
- Linnpower makes a 10mm Rear CNC Riser Pad (75 × 55 × 10mm) and a 10mm Front PU Riser Pad (78 × 54 × 10mm). They note that 10mm risers come pre-installed on their VIPER ER model and are “especially beneficial for riders using wheels larger than 105mm.”
The takeaway? If you’re riding an electric skateboard, check the manufacturer’s parts page first. The needed clearance for a 105mm wheel at 20 mph is a different calculation than for a 55mm wheel in a park.
Angled/Wedge Risers for Steering
This is where risers stop being just spacers and start tuning your ride. Angled risers, like the Century Tombstone series, are thicker at one end than the other. This changes the angle at which your trucks are mounted to the deck, which alters how they turn.
Century publishes the specs: their 1/2″ riser has a 17.5° slant, the 3/8″ riser has a 23° slant, and the 1/4″ riser has a 32° slant.
Common mistake: Installing angled risers backwards. Reversing them can deaden your steering feel.
These risers also feature slotted holes, as Century notes, “to fit all baseplates hole patterns without undesirable overhangs.” This is a small but critical design point that prevents the riser from hanging over the edge of the truck baseplate.
Installing Your Riser Pads: A Quick, No-Fuss Guide
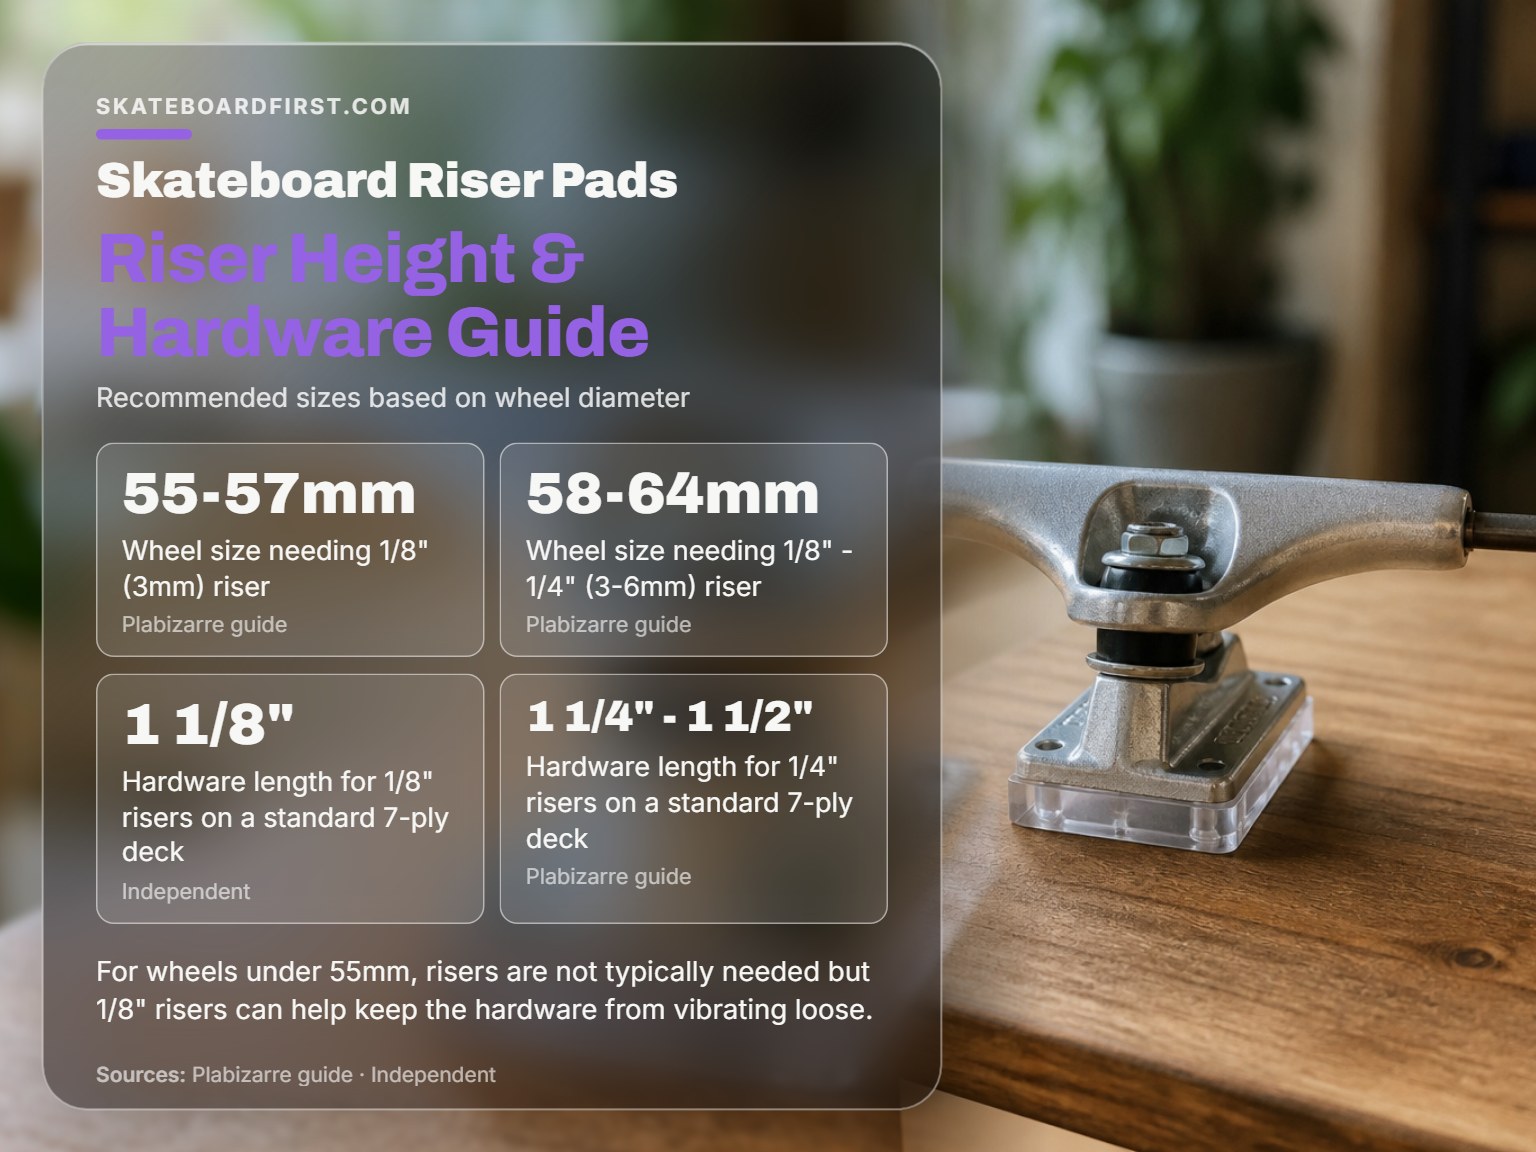
You don’t need a guide that overcomplicates this. It’s four steps if you have the right parts.
- Remove your old hardware. Use a skate tool or a 3/8″ wrench (for the kingpin nut) and a 1/2″ wrench or socket (for the deck bolt nuts). Keep the bolts, nuts, and washers together.
- Place the riser pad. Set it directly on the truck baseplate, aligning the holes. If you’re using a shock pad under a riser, put the shock pad against the deck first.
- Position the deck. Lower the deck onto the riser/truck stack. Make sure the truck is centered in the deck’s width.
- Thread the new, longer hardware. Hand-tighten all four bolts before using the wrench. Tighten them down firmly in a criss-cross pattern (like tightening a car tire) to ensure even pressure. Don’t crank them so hard you crush a rubber shock pad or strip the threads.
Before you start: Make sure your new hardware is the correct length. Deck bolt nut thread size is 10 (3/16″) – 32 UNF. Grade 5 is the lowest grade suitable for skateboard hardware, and Grade 8 is the most common.
That’s it. Go roll around a bit to get used to the new height before you try anything technical.
Frequently Asked Questions
What size riser pads should I get for 60mm wheels?
For 60mm wheels, a riser in the 1/8″ – 1/4″ (3-6mm) range is recommended, with 1/4″ being a conservative choice for maximum clearance. The Plabizarre guide lists 58-64mm wheels in the “1/8″ – 1/4″” range, and 1/4″ is the conservative, safe choice that guarantees good clearance. Pair it with longer hardware, noting that sources recommend 1 1/4″ – 1 1/2″ for 1/4″ risers on a standard deck.
What’s the difference between a 1/8″ riser and a shock pad?
1/8″ riser is typically hard plastic, and its main purpose is to add a specific height. A shock pad at 1/8″ is made of rubber or foam, and its main purpose is vibration damping. However, Skatedeluxe Wiki defines any pad 1/4″ or taller as a riser pad, regardless of material. They install in the same place, but the material creates a different ride feel. A hard 1/8″ riser might still be called a “shock pad” by some brands, creating the confusion.
Can I use riser pads on any skateboard?
Yes, as long as you use the correct longer hardware. They work with standard skateboards, longboards, and cruisers. The only potential issue is with certain old-school shaped decks or very narrow decks where a standard rectangular riser might overhang the edge. Brands like Century make slotted-hole designs to prevent this.
Do riser pads make popping tricks harder?
They can. Adding height increases the distance your tail must travel to hit the ground for the pop. The trade-off for wheelbite protection is often worth it, especially if you’re not focused on maximum pop height.
The Bottom Line
Your riser pad size isn’t a mystery. It’s a math problem with your wheel diameter as the main variable. Start with the wheel-size chart, then adjust for your truck tightness, looser trucks need more clearance. Never, ever install a riser without the corresponding longer hardware; that’s how trucks come loose.
For most street skaters with wheels under 54mm, you can skip risers entirely. If you’re stepping up to 56mm wheels for a smoother ride, a 1/8″ riser is recommended. For 58mm wheels, a riser in the 1/8″ – 1/4″ range is suitable, with correspondingly longer hardware. For electric board riders or anyone rolling on 70mm+ wheels, follow your manufacturer’s specs, the standard charts don’t apply.
One final check: after your first session with new risers, re-tighten your hardware. Everything settles in. After that, you’ve bought yourself clearance, and that means you’ve bought yourself the freedom to carve harder without that sudden, jarring stop.
