
How to Skateboard on Rough Roads: A Step-by-Step Guide
This post contains affiliate links. As an Amazon Associate, we earn from qualifying purchases.
Skateboarding on rough roads requires adjustments: softer wheels to absorb bumps, a more stable deck to handle uneven terrain, and a modified stance with your weight centered and knees bent to maintain control over cracks and debris.
The soft wheel is the single biggest change. It turns a board that chatters and stalls on rough asphalt into one that rolls over small imperfections, which is the core principle of how to skateboard on rough roads. That roll is what separates a useful commute from a frustrating, stop-and-start walk.
What follows is how to match your gear to the road, the body mechanics that keep you upright, and the safety rules that turn a risky idea into a practical skill, which is the essence of how to skateboard on rough roads. By the end, you’ll know how to read a road surface, choose your line, and get where you’re going without picking up your board every ten feet.
Key Takeaways
- Use soft wheels for rough roads; hard wheels stall on pebbles and vibrate painfully.
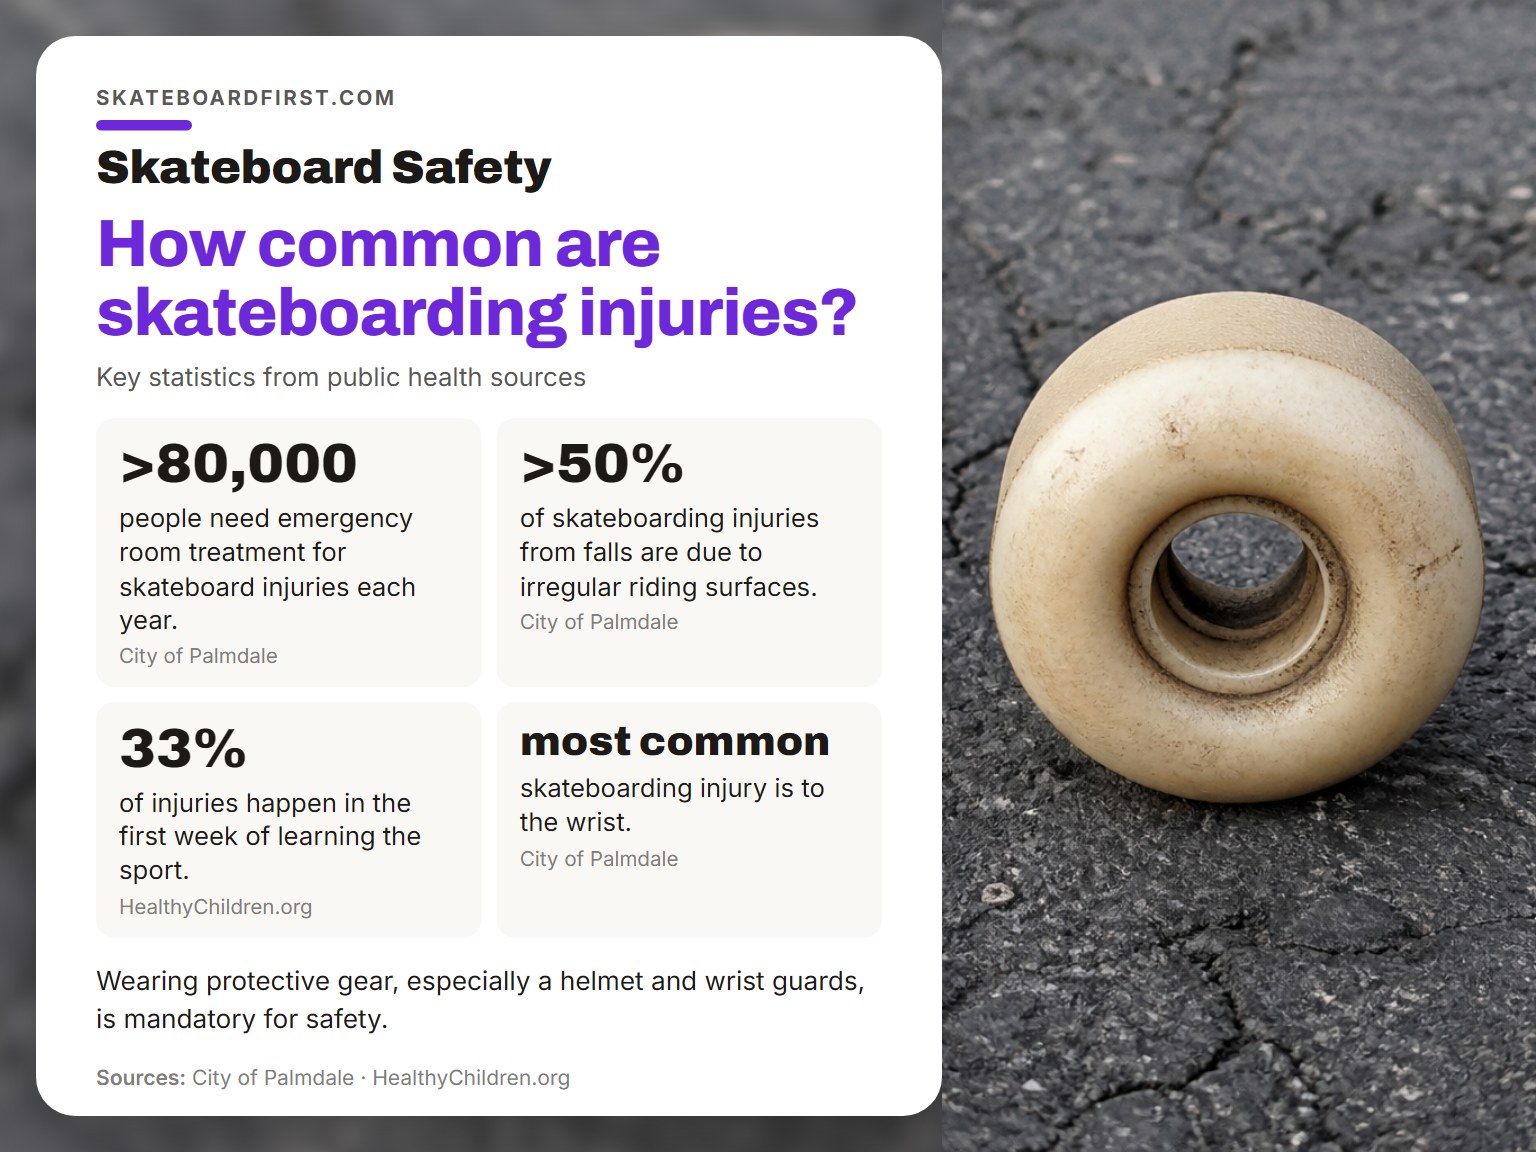
- Inspect your path before you ride; more than half of skateboarding falls are caused by irregular surfaces.
- Wrist guards are essential; wrist injury is the most common skateboarding harm, especially for beginners.
- One-third of injuries happen in the first week; master pushing, turning, and stopping on smooth ground before tackling rough roads.
- Motorized skateboards are illegal for use on highways, sidewalks, bikeways, hiking or recreational trails in places like California; they are for private property only.
The Gear That Makes Rough Roads Rideable
Your standard street setup will fight you on rough pavement. The right gear doesn’t just make it easier; it makes it possible, which is the foundation of how to skateboard on rough roads.
The wheel is your first and most important change. Hard wheels, like the 99A+ duro common on trick boards, are designed for the smooth, grippy surface of a skatepark. On rough asphalt, they transmit every vibration directly to your feet and get stuck on the smallest pebble. Softer wheels compress over imperfections. Some wheels are designed specifically for cruising on rough ground.
A helmet should fit snugly with the chin strap fastened because it can come off upon impact if it is too loose. The helmet should be level with the head, not tilted back. Wear a helmet designed for skateboarding (hard shell with foam interior). – CPSC Skateboarding Safety Fact Sheet
Wheel size matters too. Larger wheels roll over cracks and gaps that smaller wheels will catch on. They also hold speed better, so you push less. Pair them with quality bearings; expensive ceramics are overkill here, to keep that roll going.
Your deck choice is next. A wider deck gives you a more stable platform, which is crucial when the board is bouncing around. A longer wheelbase (the distance between the trucks) also increases stability at the cost of quicker turning. If you’re modifying an existing board, start by tightening your trucks. A looser truck might be great for carving in a park, but on unpredictable terrain, the extra wobble can lead to a speed wobble, that violent side-to-side shimmy that throws riders.
| Gear Component | Rough Road Recommendation | Why It Works |
|---|---|---|
| Wheel Durometer | 78A – 86A (Soft) | Absorbs vibration, rolls over small debris. |
| Wheel Size | Larger (e.g., 55mm+) | Clears cracks and holds speed longer. |
| Deck Width | Wider | Provides a stable, confidence-boosting platform. |
| Truck Tightness | Snug | Reduces unwanted wobble on uneven surfaces. |
| Essential Safety Gear | Helmet, Wrist Guards, Knee Pads | Wrist injury is the number one injury in skateboarding (City of Palmdale). |
For a deep dive on this, see our guide on choosing the best skateboard wheels for bumpy roads.
Body Mechanics: The Stable Stance for Unstable Ground
Good technique on smooth concrete can be bad technique on rough roads. The goal shifts from explosive power to sustained balance.
Keep your weight centered over the board, not leaning forward on your front foot like you might when pushing for speed. On a rough road, a front-heavy stance means the front wheels hit a bump and stop dead, pitching you forward. Distribute your weight evenly, or even slightly back, to let the front wheels lift and roll. Bend your knees. They are your suspension. A stiff-legged ride lets every bump travel up your spine; soft knees absorb shock.
Your push should be shorter and more controlled. Long, powerful strides are for smooth pathways. On rough ground, you want quick, deliberate pushes that keep you moving but allow you to reset your balance quickly. If you feel a speed wobble starting, the board shimmying side-to-side, crouch lower and shift your weight forward. Riding forward and crouching reduces the wobble’s effect, as noted in the CPSC skateboarding safety fact sheet.
Foot placement is everything when crossing a major crack or a patch of gravel. As you approach, shift your weight to your back foot to unload the front trucks, letting them hop over the obstacle. Then, quickly shift your weight forward as the rear wheels cross. It’s a gentle rock, not a jump. Trying to brute-force over something will often stop the board and leave you running off it.
Where this goes sideways: Leaning too far forward when you see a hazard. Your instinct is to look and lean toward the problem, but that loads the front wheels and guarantees they’ll catch. Look, but keep your weight back.
The 3-Step Pre-Ride Check That Prevents Falls
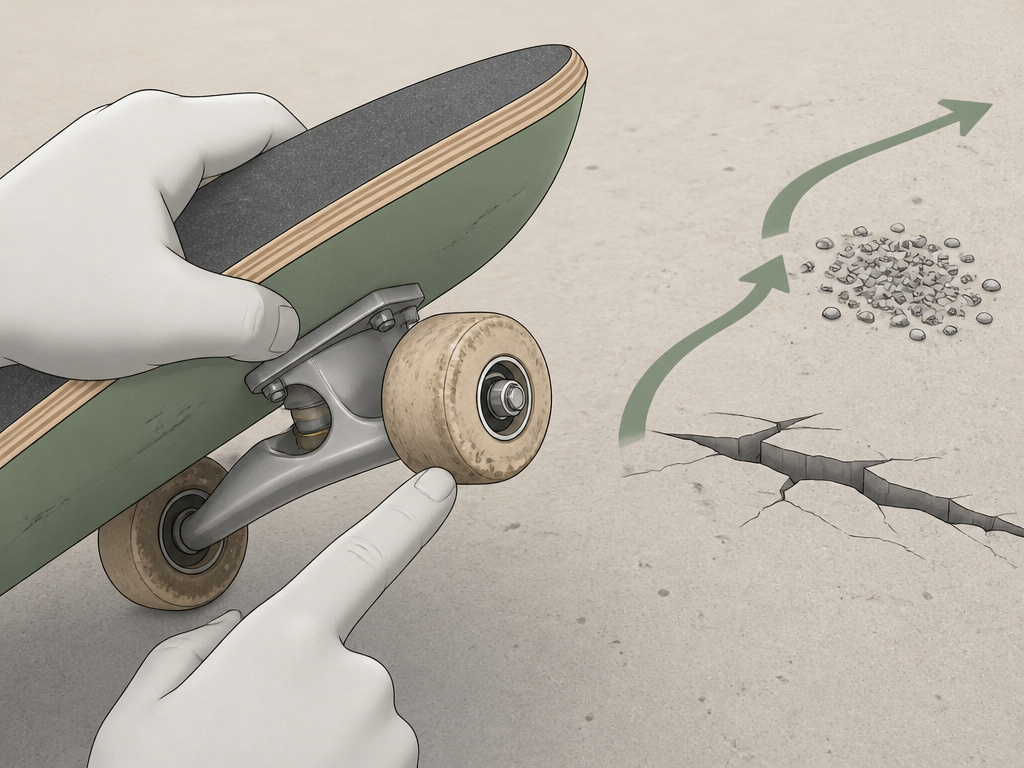
More than half of skateboarding injuries caused by falls are due to irregular riding surfaces (City of Palmdale). A one-minute inspection routine catches most of them.
- Inspect Your Board. Before every session, pick it up. Spin each wheel, it should spin freely for a few seconds without a gritty sound. Check for flat spots on the wheels (a sign of rough braking). Grab the board and try to wiggle the trucks side-to-side; there should be very little play. A wobbly truck magnifies every bump. This mirrors the official advice to “check for excessive play (looseness) and any broken or cracked parts” from the Consumer Product Safety Commission guidelines.
- Scan Your Path. Don’t just look at the ground directly in front of you. Look 10-15 feet ahead. You’re searching for three main hazards: cracks wider than your wheel, loose gravel or sand patches, and drainage grates. A crack parallel to your direction of travel is usually fine; one perpendicular to you is a potential wheel-stopper. Sand is like ball bearings under your wheels, it offers zero traction for turning or stopping.
- Plan Your Line. Based on your scan, mentally map your route. This might mean gently arcing around a cluster of pebbles or angling across a crack instead of hitting it straight on. Always have an “escape route”, a clear path to the side where you can step off if you lose control. Never ride into a situation you can’t ride or step out of.
This routine is your best defense against the unexpected. For more on handling specific obstacles, learn how to ride over cracks on a skateboard.
How to Identify and Avoid Specific Road Hazards
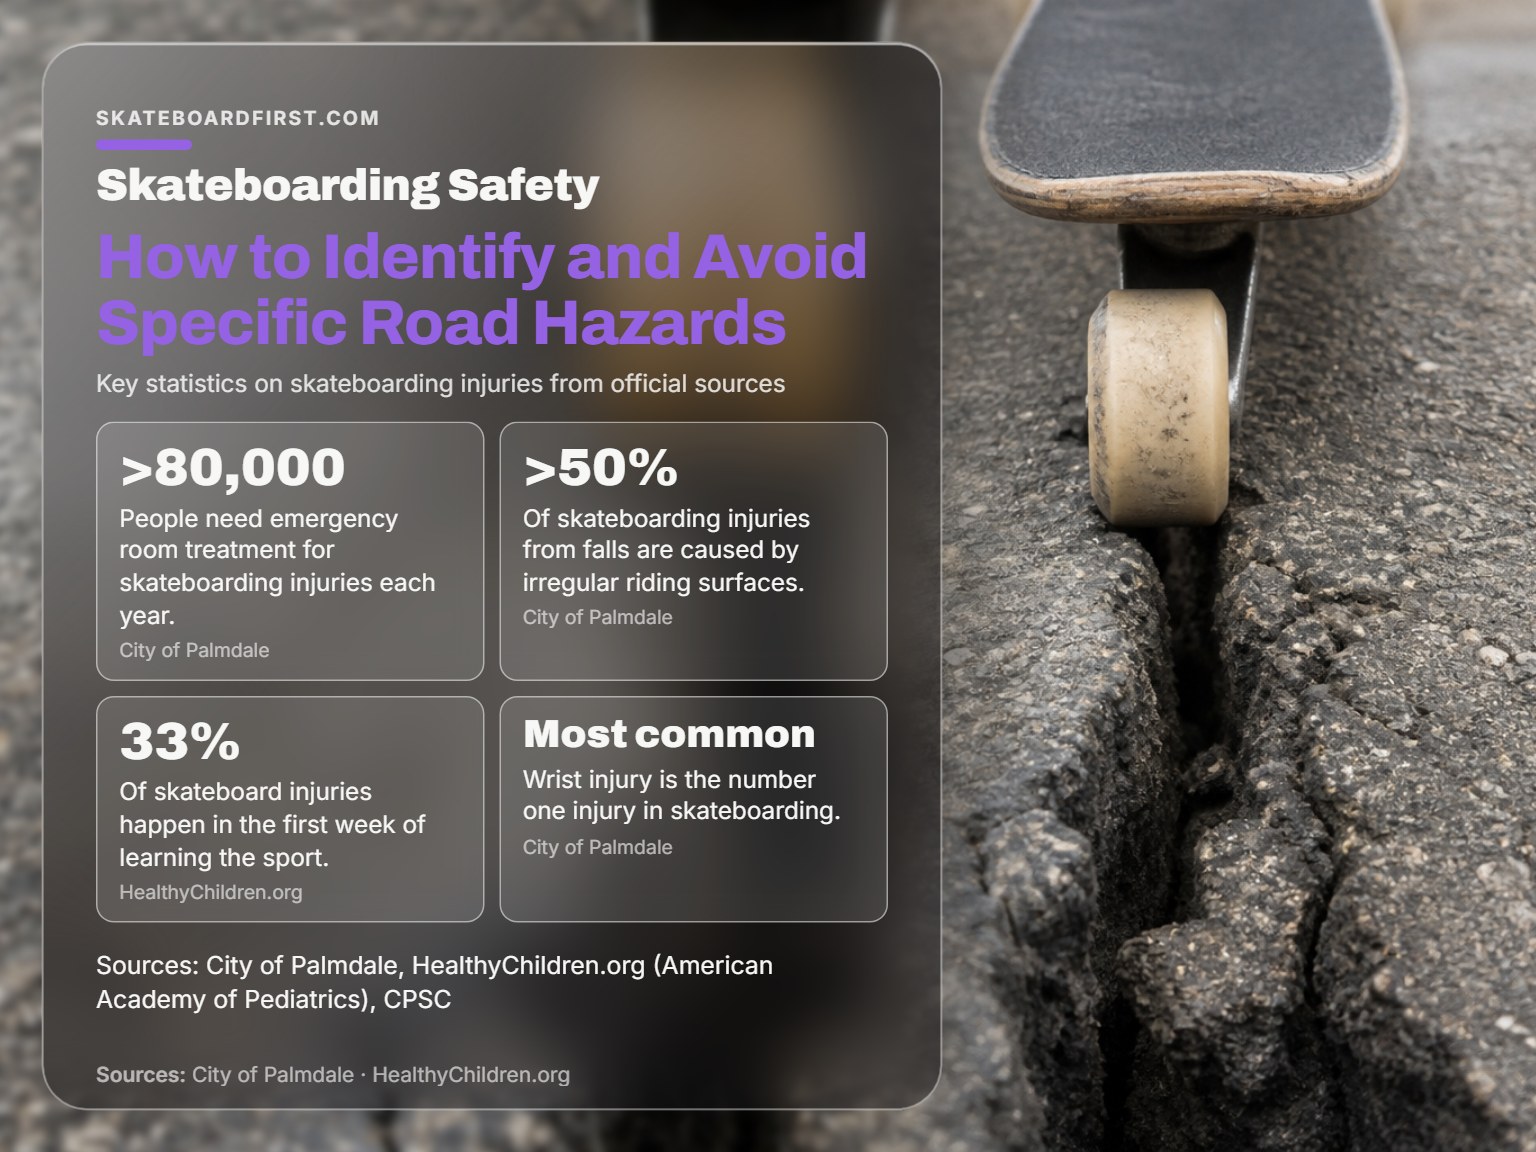
Not all rough roads are created equal. Learning to read the surface helps you choose battles you can win.
Asphalt vs. Concrete: Old asphalt gets brittle and crumbles, leaving a surface like a cobblestone road. New asphalt is often smoother but can be sticky in heat. Concrete sidewalks are usually smoother but are interrupted by expansion cracks and driveway dips. Sidewalks are generally safer from traffic but have more predictable obstacles.
The Four Worst Offenders:
- Potholes: The king of hazards. If you can’t go around, you must unweight the board and almost “jump” over it, keeping the board under you. If it’s too deep or wide, stop and walk.
- Gravel & Sand: These act like lubricant under your wheels. If you must cross, go straight, don’t turn, and don’t try to brake. Maintain a steady, slow speed.
- Wet Leaves/Moss: As slippery as ice. Avoid at all costs.
- Metal Surfaces (Grates, Manhole Covers): Slick when dry, treacherous when wet. Cross them at a 90-degree angle if possible; going across diagonally can slide your wheels out.
The key is proactive spotting. Your eyes should be constantly scanning the ground 10-20 feet ahead, not down at your feet. Developing this habit is the single most important skill for road skating. For a focused guide on a common nuisance, read our tips on how to avoid pebbles when skateboarding.
Safety Rules You Cannot Bend
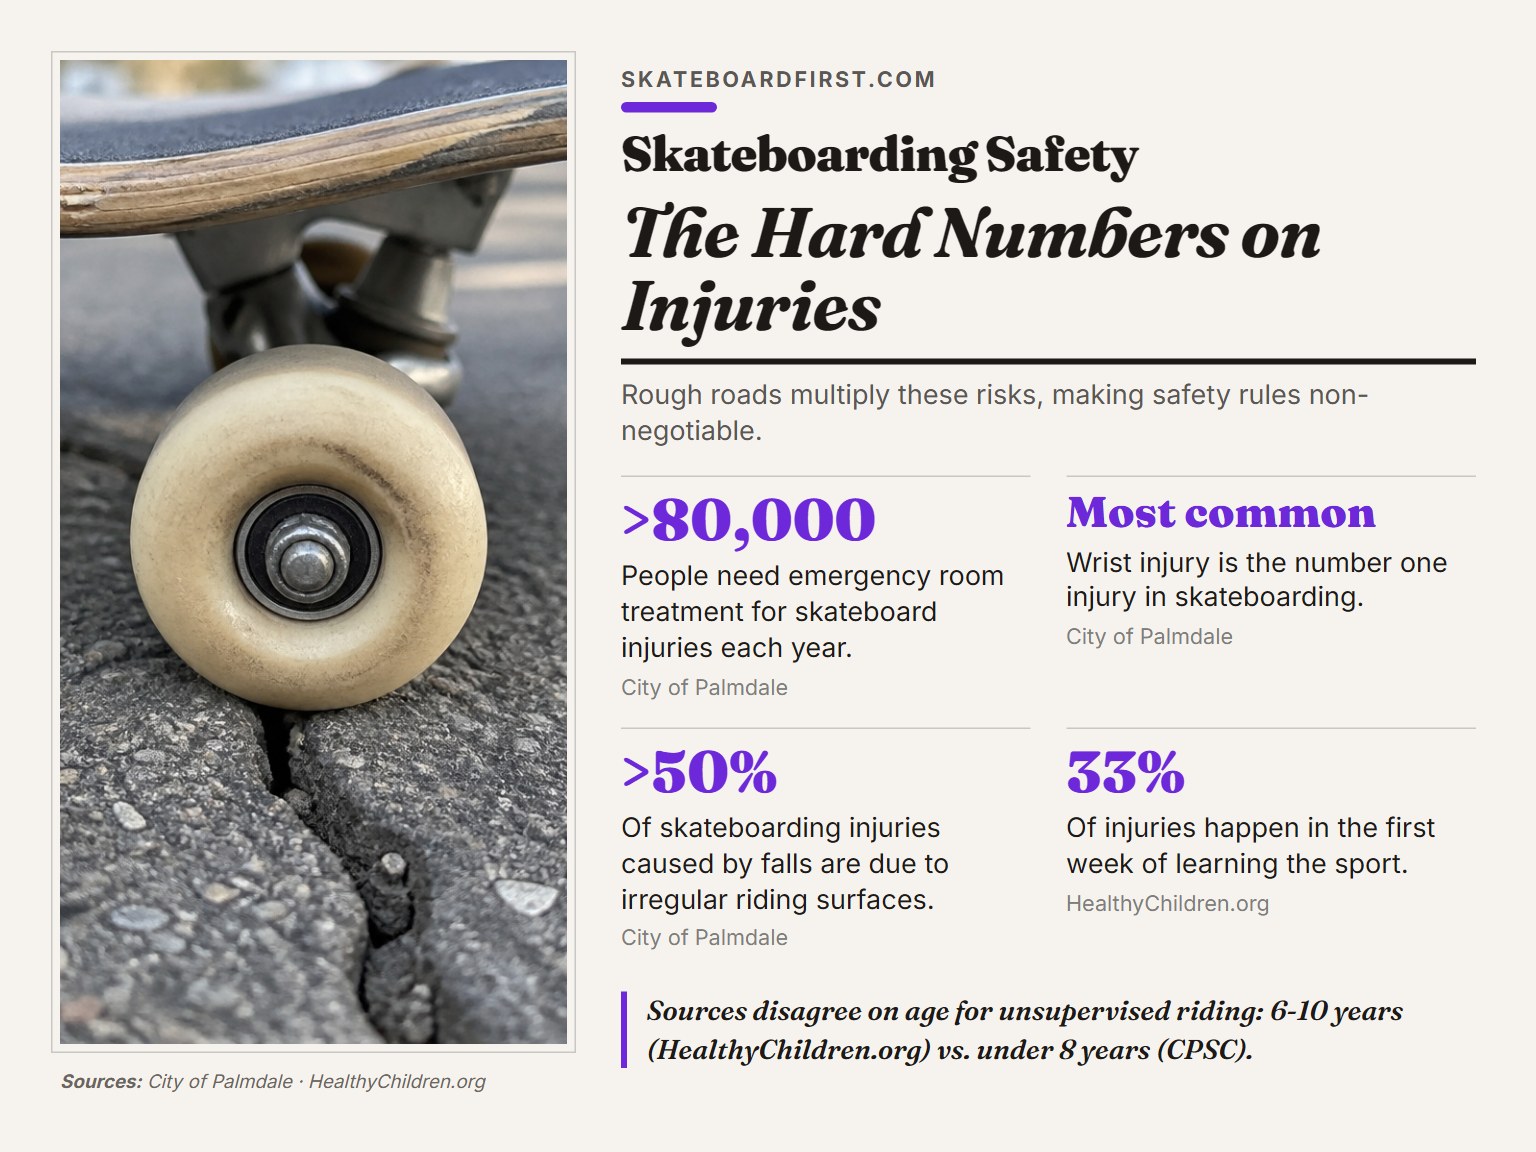
The statistics are not abstract. More than 80,000 people need hospital emergency room treatment each year for injuries related to skateboarding (City of Palmdale). Rough roads multiply the risks, making these rules absolute.
Gear is Mandatory. This isn’t a style choice. The data is clear: wrist injury is the number one injury in skateboarding. Wrist guards prevent the reflexive, palms-out fall that breaks wrists and scaphoids. A snug, level helmet is your last-line defense against a head injury. Knee and elbow pads prevent the deep, gravel-embedded road rash that takes weeks to heal.
Location Matters. Most young skateboarders are injured on public roads or sidewalks (HealthyChildren.org). Skateparks are infinitely safer. If you must use roads, choose quiet residential streets with smooth pavement over busy arterials. Remember, motorized skateboards are illegal for use on highways, sidewalks, bikeways, hiking or recreational trails in places like California, they’re for private property only.
The Buddy System. Never ride alone on unfamiliar rough roads. If you take a hard fall, having someone there to call for help or just help you up is critical. The official advice is straightforward: “Never ride alone. Accidents happen. Ride with friends and bring a phone.”
Speed Kills Confidence. “Go slow – skateboards do not have brakes,” warns the City of Palmdale. On rough ground, speed turns a manageable bump into a launch pad. Your maximum safe speed is the speed at which you can comfortably step off the board and run out a fall. Anything faster is a gamble.
| Rule | The Consequence of Skipping It | Timeline |
|---|---|---|
| Wear Wrist Guards | Fractured wrist or scaphoid from a fall. | Immediate on first serious fall. |
| Skate With a Friend | Stranded with an injury, unable to call for help. | Relevant on any session. |
| Inspect Your Path | Wheel catches in a crack, causing a high-impact fall. | Fall happens within seconds of encountering the hazard. |
| Avoid “Skitching” | Being pulled under a vehicle’s wheels if the driver accelerates or turns. | Risk is present the entire time you’re holding on. |
For a complete look at where you can legally and safely skate, explore our article about surfaces you can skate on.
Wheel Durometer Decoded: A Simple Comparison
All “soft wheel” advice is useless without knowing what the numbers mean. Durometer (the “A” number) measures hardness. Here’s how it breaks down for rough roads.
For beginners focused on comfort, start with very soft wheels. Some wheels are designed as hybrids for both cruising and tricks. You can explore more about soft skateboard wheels for specific recommendations.
Budget-Friendly Setup for Rough Roads
You don’t need a $300 custom board. You can adapt what you have.
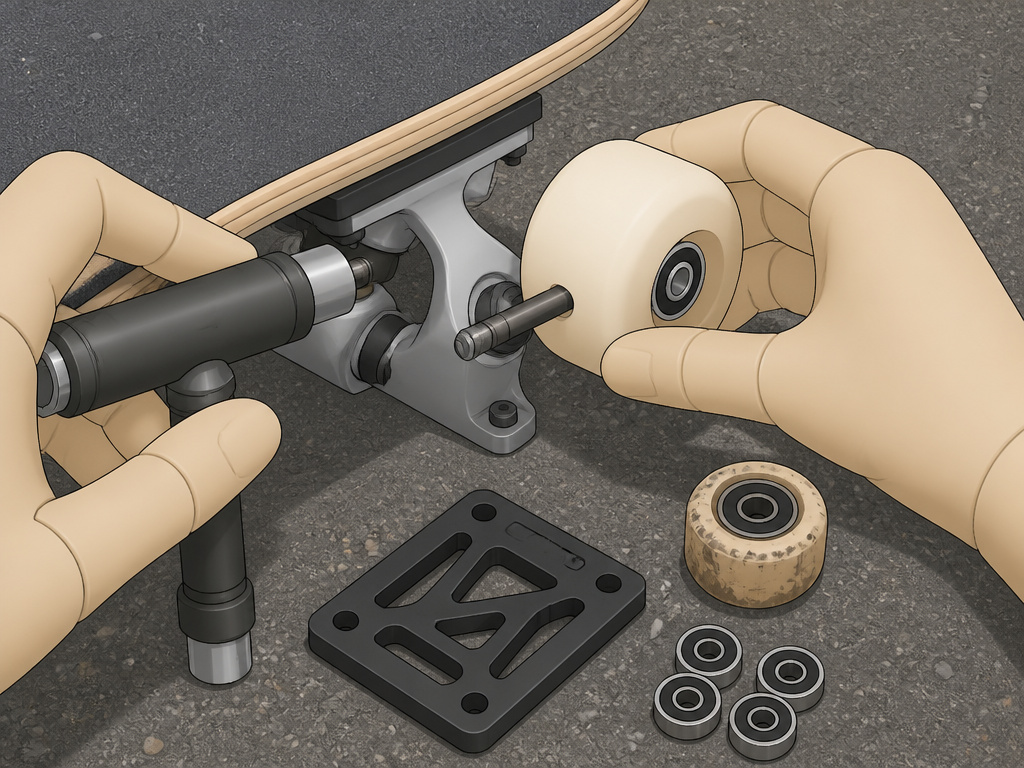
If you have a standard trick board, your cheapest and most effective upgrade is swapping the wheels. A set of soft wheels can be an affordable upgrade. You might also need a riser pad (a small plastic spacer) to prevent wheel bite if the new wheels are larger. Tighten your trucks down for stability, it’s free.
For a bit more investment, consider new bearings. Don’t get sucked into the ceramic hype. A clean set of standard steel bearings will roll fast and last years if maintained. Which brings us to maintenance: rough roads grind grit into your bearings and grind down your wheels. Clean your bearings every few months if you’re skating dirty roads regularly. Check your wheels for flat spots.
The goal is to achieve a smoother ride without breaking the bank. A comfortable, reliable board you actually want to ride is worth ten fancy setups that sit in the closet.
How does skateboarding on asphalt compare to smooth surfaces?
Skateboarding on rough asphalt is fundamentally different from riding on a smooth park surface. Irregular riding surfaces account for more than half of all skateboarding injuries from falls. The vibration and instability are constant, demanding greater focus on terrain inspection for holes, bumps, rocks, and debris that can jam your wheels. On smooth concrete, you can focus on tricks; on asphalt, your primary goal is maintaining control. This means riding slower than you think you can, as skateboards have no brakes, and using a forward, crouched stance to improve stability and reduce the risk of speed wobble, which is more likely on uneven ground.
Frequently Asked Questions
Can you learn to skateboard on rough roads?
You can, but you shouldn’t. One-third of skateboard injuries happen in the first week of learning the sport (HealthyChildren.org). Your first weeks should be on the smoothest, most forgiving pavement you can find. Master pushing, turning, and stopping there. Once those are muscle memory, you can gradually introduce rougher surfaces with the right gear.
Is 99A too hard for street skating on rough roads?
Yes, 99A is too hard for typical rough asphalt. These wheels are designed for the smooth, grippy surface of skateparks or very fresh concrete. On rough roads, they will vibrate intensely, stall on small pebbles, and make the ride unpleasant and unstable. For street skating on real-world roads, a softer wheel is a better choice.
What is the best skateboard for rough roads?
There’s no single “best,” but the ideal rough-road skateboard has these features: a wider deck for stability, softer wheels, and tight trucks to reduce wobble. Many skaters use a “cruiser” style board for this purpose. You can build one or buy a complete from brands like Santa Cruz or Landyachtz that are designed for this exact use.
How do you stop on a rough road?
The two safest methods are the foot brake and the powerslide. For the foot brake, simply drag the sole of your back foot on the ground. On rough roads, be prepared for more vibration. A powerslide is more advanced but more effective: kick the board out sideways so the wheels slide across the pavement. This is much easier on softer wheels (86A and below) than on hard park wheels. Practice both on smooth ground first.
The Bottom Line
Skating rough roads is a game of preparation, not bravery. The preparation is concrete: soft wheels, a pre-ride scan, and wrist guards every single time. The American Academy of Orthopaedic Surgeons guide on injury prevention exists because the consequences of skipping these steps are documented and severe.
Your first move after reading this should not be to hit the worst road you know. It should be to check your current wheels. If they’re hard and small, your next session is a trip to a smooth lot to practice stopping and turning. Once that’s automatic, swap for softer wheels and find a slightly rough bike path. Build the skill like you’d build a callus, gradually.
The road doesn’t care how good your ollie is. It only cares if you can roll over its cracks and stop before its intersections. Master that, and the city opens up.
