
How to Analyze Your Skate Footage: Step-by-Step
This post contains affiliate links. As an Amazon Associate, we earn from qualifying purchases.
To analyze your skate footage, film in 4K or 1080p at 60 frames per second, prop your phone for a side angle, and watch the clip at half speed to check three things: foot placement on the board, body posture over the trucks, and the timing of your pop. A 2024 Frontiers in Neuroergonomics study shows that extracting clear data from high-motion activity requires specific cleaning methods; the same principle applies to your video, you need the right setup to see the signal in the noise.
The right setup means locking your camera settings before the trick. If your phone’s autofocus hunts or the exposure shifts mid-try, the clip becomes a pulsing distraction, not a clear record. You can’t analyze what you can’t see, which is why a key step is learning how to analyze your skate footage.
What follows: a three-step method for your review session, the most common physical errors video catches that you can’t feel, and a guide on how to analyze your skate footage using free tools, from your phone’s camera to game editors, to get a professional-grade breakdown without a film crew.
Key Takeaways
- Film in 4K or 1080p at 60 fps. This allows you to slow the clip to half speed without losing smoothness, turning a blur of motion into a clear sequence.
- For self-filming, prop your phone at ankle height for a side view; multiple attempts filmed this way can reveal a consistent foot placement error you swore wasn’t there.
- In your review, watch the board, not the skater; your feet and the deck’s reaction tell the story, not your face or arms.
- Use the free slow-motion editor in the EA skate. Game or your phone’s built-in editor to scrub frame-by-frame; paying for analysis software is almost never necessary for beginner and intermediate skaters.
- If an attempt feels wrong but you landed it, save the clip anyway; the flaw that will break the trick on concrete shows up in the successful practice version first.
The 3-Step Review Session (What to Look For First)
Open your video editor, pick one clip, and run through this sequence. Jumping straight to the trick’s climax is how you miss the setup error that caused the problem.
First, watch the rollout and stance. Before any pop or flip, how is your weight distributed? Are you rolling straight, or is your body already twisting? Your back shoulder often dips before you even tell it to, a tilt that pulls the board offline on takeoff. The sound here matters, too, a clean, sharp pop from the tail hitting ground is distinct from a muted thud where the tail drags.
Second, go frame-by-frame through the trick’s peak. Freeze it at the highest point of your ollie or the mid-point of your kickflip. Here, you’re checking geometry. The Skate Labs guide insists on filming “head to wheels.” That’s why. You need to see if your front foot is centered for a clean slide or if it’s hanging off the edge, killing your leveling power.
Common mistake: Analyzing only the landing. The mistake that doomed the trick happened 200 milliseconds earlier, in the air. If you crashed, rewind.
Third, watch the landing and rollaway twice. The first time, look for stability. Does the board stick to your feet, or do you have to chase it down? The second time, mute the video. A smooth, quiet rollaway sounds like wheels on pavement. A shaky, unbalanced landing has a stuttering clack-clack-clack as the board wobbles side-to-side before you regain control. That sound is your core and ankles not being tight, and it’s impossible to hear while you’re skating.
This order, approach, peak, landing, gives you a cause-and-effect chain for how to analyze your skate footage. A rushed approach leads to a low peak. A sloppy peak forces a desperate landing. Fix the first link.
How to Film Yourself for Effective Analysis
You can’t analyze blurry, shaky, or poorly framed footage. The goal isn’t cinematic beauty; it’s clinical clarity. Your phone is enough.
Set your phone to 4K or 1080p at 60 frames per second. According to the Skate Labs guide, 60 fps allows you to ‘slow a clip to half speed later.’ This is your most important tool. The higher frame rate captures more moments in time, so when you slow it down, the motion is smooth, not choppy. Before you record, tap and hold on the spot where the trick will happen to lock focus and exposure. This stops the image from pulsing and refocusing as you move, which is critical for a stable review.
Pick your angle based on the trick. The guide outlines three:
- Long lens (1x or 2x): Stand back. This shows the whole spot and is best for judging speed and distance on gaps or stairs.
- Fisheye style (0.5x ultra-wide): Get low and close. It exaggerates motion, making it great for seeing board rotation and foot placement in detail.
- Follow cam: Move with the skater. Best for analyzing flow and line linking in a park run.
For self-analysis of basic tricks like ollies or shove-its, the side-angle “long lens” view is the most informative. Prop your phone against a water bottle, a shoe, or a skate tool at ankle height, positioned to your side. This gives you the profile view you need to judge your posture and foot position. I prop mine against a bottle. Ten attempts filmed this way showed my back foot was creeping toward the edge of the tail. I’d have sworn it was centered.
Start recording a few seconds before the setup and keep going until you roll away. The roll away proves the make, and the setup shows the preparation.
Common Beginner Mistakes Revealed by Video
Your brain lies to you mid-trick. It fills in gaps and convinces you your form is textbook. Video doesn’t lie. These are the physical errors it catches most often.
Foot placement is almost never where you think. In an ollie, the back foot should be in the pocket of the tail, toes near the edge to apply force. Video routinely shows beginners with their foot flat in the tail’s center, losing pop. For kickflips, the front foot should flick off the side of the nose. Video often catches a downward stomp in the middle, which creates a slow, wobbly rotation. The fix is tactile: you have to re-teach your feet where “the pocket” and “the flick point” are through slow, stationary reps while watching the screen.
Shoulders and hips rotating early. You think you’re popping straight up, but your shoulders open toward your front side a split-second before your feet leave the board. This subtle twist can cause the board to spin unintentionally. You can’t feel this twist in the moment; you only see its effect on video. The cure is to focus on keeping your shoulders parallel to the board throughout the entire motion by practicing effectively.
The “ghost pop” or “scoop drag.” This is a failed pop masked by a frantic foot movement. You jump, your back foot swoops backward in a scooping motion, and the board may even leave the ground a little. On video, you’ll see the tail never actually snaps against the ground. The sound is wrong, a scrape, not a crack. This means you’re jumping before you pop, pulling the board with you instead of snapping it into the air. The timeline is clear: the jump comes first, the pop is an afterthought.
| What You Feel | What Video Shows | The Fix |
|---|---|---|
| “I’m popping hard!” | Tail never touches ground. | Practice stationary “pop, then jump” timing. |
| “My flick is good.” | Foot stomps down, not out. | Do flick drills without jumping, watching the shoe’s toe point. |
| “I’m staying straight.” | Shoulders open 30° before takeoff. | Roll with arms crossed to lock upper body. |
Tools and Apps: From Free to Professional
You don’t need expensive software. Start with what you already own.
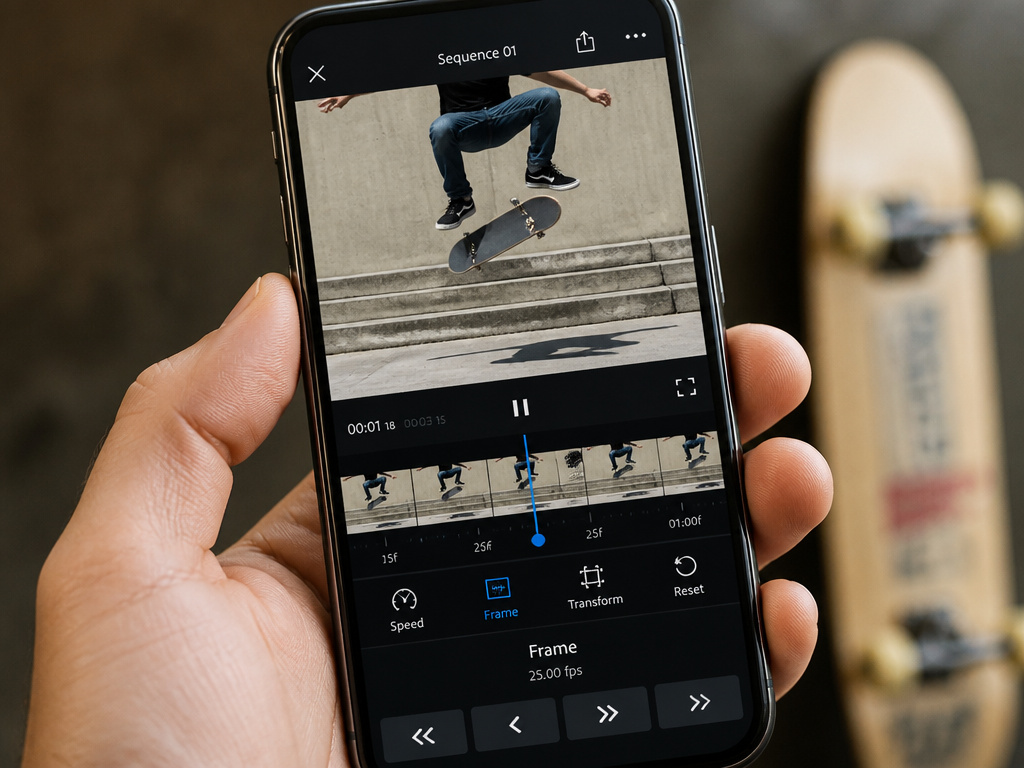
Your phone’s built-in photo app is the most powerful free tool. On iPhone, use the edit function on a slo-mo video to adjust the slow-motion segment. On Android, look for “frame advance” in the gallery video player. You can scrub through frame-by-frame. For a more detailed editor, the EA skate. Game includes a clip editor that allows export resolutions from 360 to 2160 pixels and playback speed adjustment from 0.5x to 2x. It’s a free, robust option for stitching clips and controlling playback.
PopSense is a niche app that samples accelerometer and gyroscope data at 50 Hz from an Apple Watch or iPhone to derive trick counts and “pop” metrics. It’s for data nerds who want numbers on their session’s intensity, not visual form analysis.
Advanced motion capture is still in the lab. A 2024 Bioengineering study on markerless motion capture for skate skiing reported mean differences of 24.0 to 40.8 mm for joint positions compared to marker-based systems. The tech isn’t consumer-ready, but it points to a future where your phone could overlay skeleton diagrams on your clips. For now, your eye is the best motion tracker.
Where sources disagree: Using autofocus. The Skate Labs guide says lock it to avoid a pulsing image. Other filmmakers recommend auto-tracking. For analysis, lock it. A stable, slightly less sharp image is better than a perfectly focused one that racks focus during the trick and distracts your review.
Analyzing Specific Trick Types (Ollies vs. Flips vs. Grinds)
The checklist changes with the trick. Here’s what to prioritize.
For ollies and other pop tricks: Height is a secondary metric. First, check board levelness. At the peak, is the board parallel to the ground, or is the nose sky-high while the tail dips? Second, check foot contact. Does your front foot drag cleanly up the grip tape to level the board, or does it lose contact, causing the board to rocket? Use slow-motion to see the exact moment your front foot makes contact with the nose.
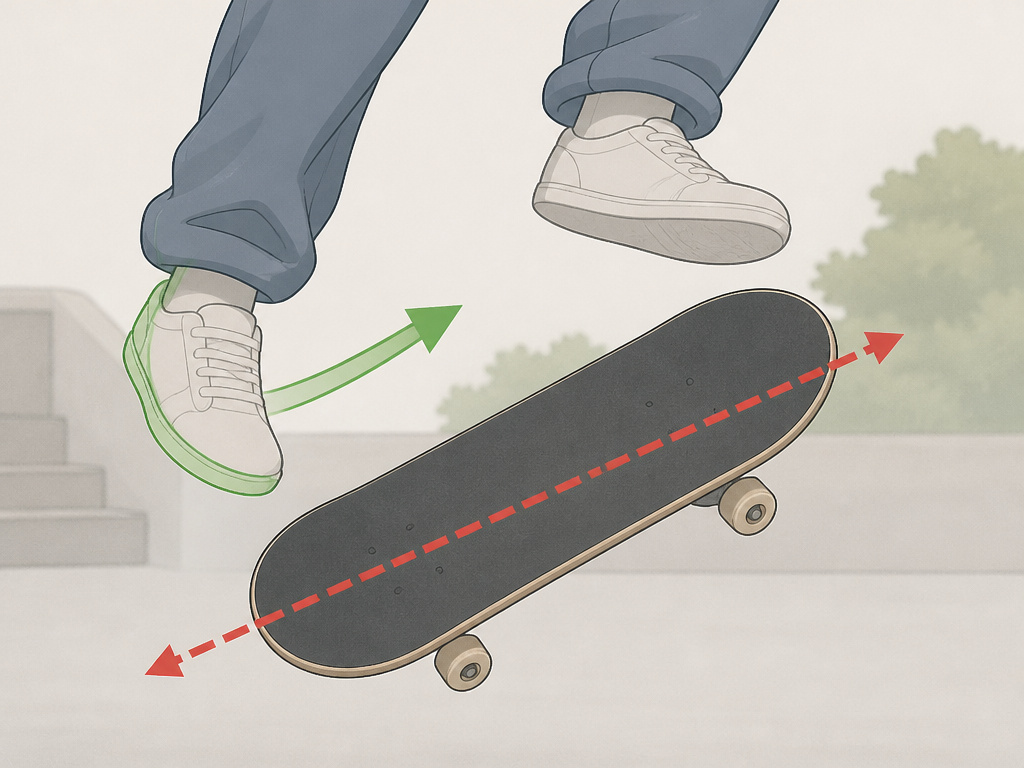
For flip tricks (kickflips, heelflips): The primary metric is rotation axis. Does the board spin around its length like a propeller, or does it wobble diagonally? A diagonal wobble means your flick and pop are not in sync. Also, watch your flicking foot after it leaves the board. Does it immediately retract, or does it follow through? A retracted foot often means you’re “catching” the flip too early with a stabbing motion, which kills rotation.
For grinds and slides: The focus is approach and lock-in. Before the trick, are you perfectly parallel to the ledge? At the moment of contact, does the board slap down onto the surface (a bad sign) or glide onto it smoothly? The sound tells you here, a clang versus a screech. Also, watch your weight distribution. Are you leaning too far over the board, causing it to slip out? The video will show your body’s center of mass relative to the trucks.
This specificity is why just watching skate videos helps. You subconsciously note these checkpoints.
The Neuroscience of Review: Why It Works
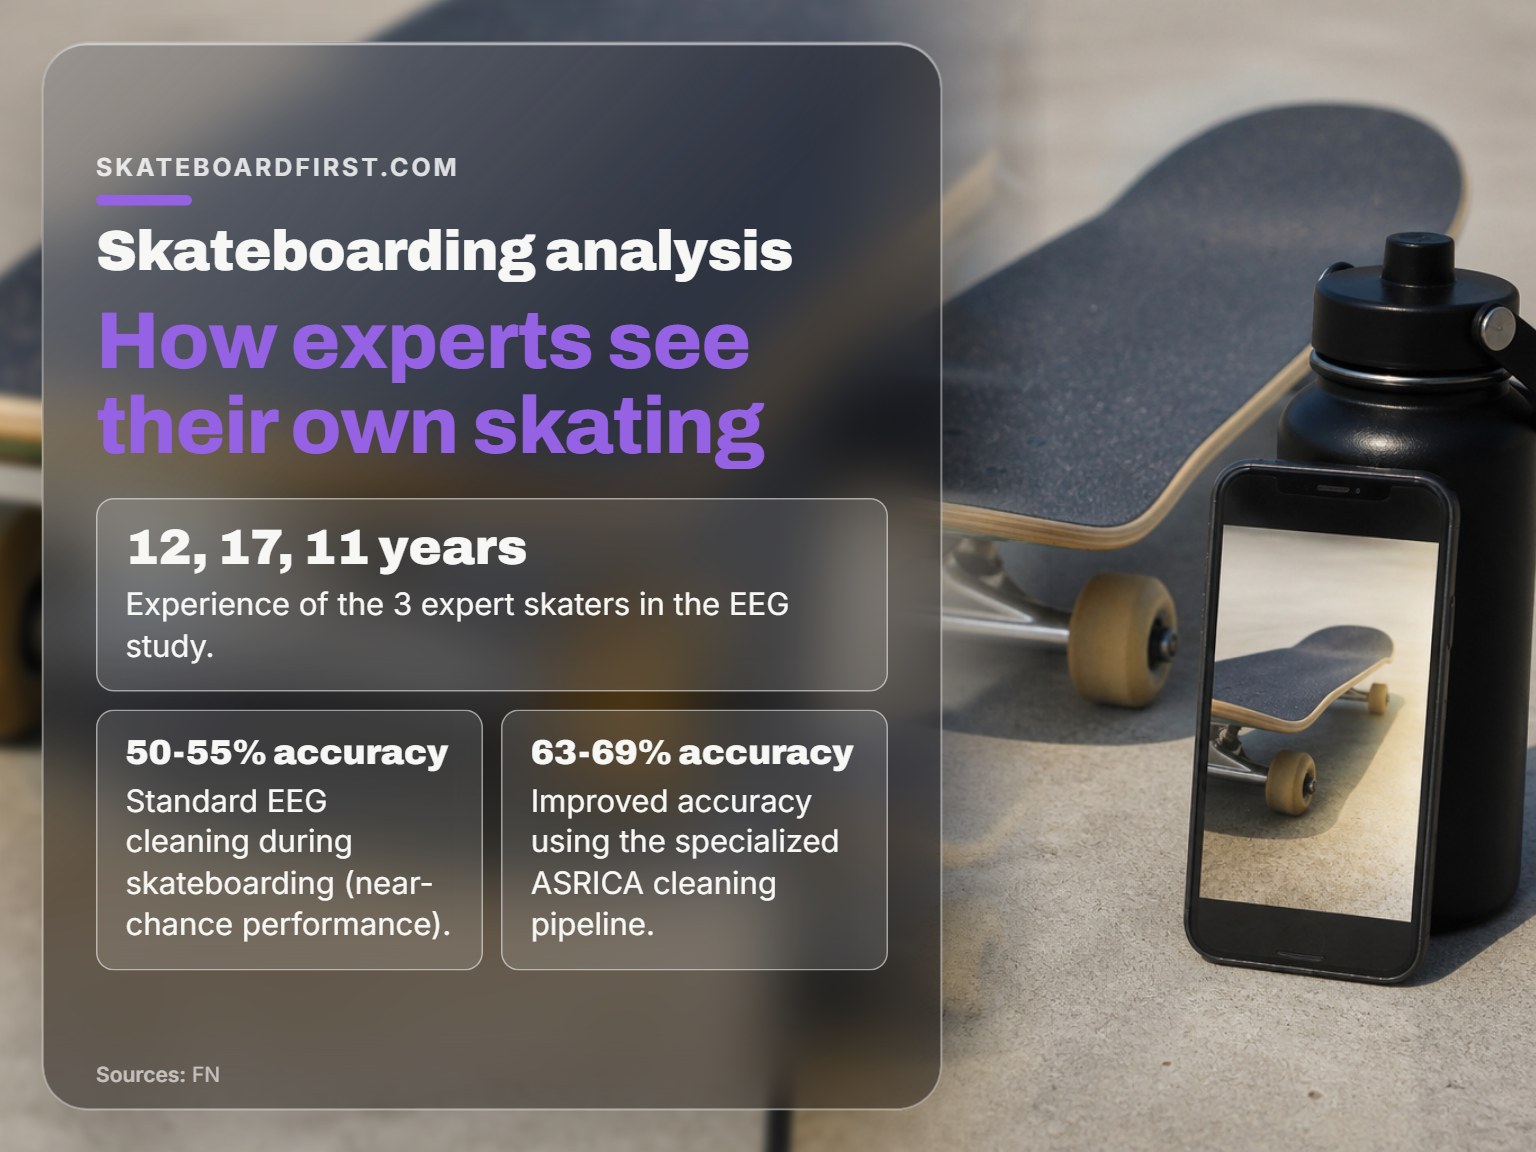
A 2024 study in Frontiers in Neuroergonomics provides a clue. Researchers had expert skateboarders wear EEG headsets while riding a half-pipe. They found that standard artifact cleaning failed; a specific pipeline called ASRICA (Artifact Subspace Reconstruction followed by Independent Component Analysis) was needed to extract clear brain signals from the extreme motion. The takeaway isn’t about EEG, it’s about process. Raw experience is noisy data. Structured review is the “ASRICA pipeline” for your skating: it removes the noise of how a trick felt and isolates the signal of how it actually happened.
The study’s three subjects had 12, 17, and 11 years of experience. They still needed a refined method to see clearly. You don’t need 17 years. You need a phone, a bottle to prop it on, and the discipline to watch your clips with a checklist, not just admiration. This method of tracking your progress turns random practice into deliberate practice.
Easy to miss: The mental load of filming yourself. If you’re worrying about camera angles and settings, your skating suffers. Dedicate a session purely to filming, then a separate session to analysis and focused practice. Splitting the tasks lets you focus fully on each.
Frequently Asked Questions
How do you do an analysis of a skate video?
You do an analysis by filming a trick at 60 fps, propping the camera for a side angle, and watching the clip at half speed. Focus on three phases: the setup (weight distribution), the trick’s peak (foot placement and board orientation), and the landing (stability and rollaway). Compare what you see to a known good example of the trick.
What is the best free software to analyze skate footage?
The best free software is likely already on your device. Use your phone’s built-in gallery app for frame-by-frame scrubbing and slow-motion playback. For more advanced editing and speed control on a computer, the video editor within the free-to-play EA skate. Game is an excellent option, allowing detailed playback speed adjustment from 0.5x to 2x.
Does watching skate videos make you a better skater?
Watching skate videos for enjoyment builds inspiration. Watching for analysis, actively breaking down how a skater sets up, executes, and lands a trick, builds understanding. Anecdotal reports from skaters, like one who watched videos nightly during a month off and returned feeling “right at home,” support the idea that visualization aids motor learning.
How can I tell if my pop is good from a video?
You can tell if your pop is good by watching your back foot and listening. A good pop shows the tail snapping crisply against the ground, with the board jumping upward from that snap. A weak or “ghost” pop shows the tail dragging or not making solid contact, and the board is lifted mostly by your jump. The sound is a clear crack, not a scrape.
What angle is best for filming flip tricks?
The fisheye style (0.5x ultra-wide lens) is best for filming flip tricks. Getting low and close with this angle exaggerates the board’s rotation and makes it easier to see if your flick is off the nose’s corner or if the board is tilting mid-flip. Remember the Skate Labs safety advice for fisheye filming: stay out of the landing zone and watch the skater, not just your screen.
Before You Go
The threshold for action is filming multiple attempts. Film ten attempts of the trick you’re working on, prop your phone at ankle height, and review them using the three-phase method. You will find a pattern you didn’t know existed, a foot out of place, a shoulder turning, a pop that’s all scoop and no snap.
That pattern is your next week’s practice goal. Not the trick itself, but the one mechanical flaw the video isolated. Fixing that flaw is how you progress faster. The video editor in the EA skate. Game is free. Your phone’s camera is free. The only cost is the time to look, really look, at what you’re actually doing instead of what you hope you’re doing.
Start your next session by adjusting your trucks to a comfortable tightness, then go roll for a while to feel the board. After that, set up the phone. The analysis happens after you skate, but the correction happens the next time you push.
