How to Axle Stall on a Skateboard: Step-by-Step
This post contains affiliate links. As an Amazon Associate, we earn from qualifying purchases.
To axle stall on a skateboard, ride up a quarterpipe backside, turn your shoulders 90 degrees as the front truck passes the coping, lock both trucks onto the coping, balance, then press your tail and pivot the nose back into the ramp to roll away. Master backside kickturns first and control your speed, too much speed pushes the truck over the coping and wrecks the stall.
That sequence is the map. The territory is what happens between those steps: where your weight goes, how your hips move the board, and the one mental commitment that separates a sketchy tap from a solid lock. Most tutorials give you the map. They skip why your front foot slides when you pivot back in, or why leaning back feels wrong but is the only way the tail presses cleanly. A key part of the territory is learning how to axle stall on a skateboard.
What follows is the territory. We’ll walk through the five concrete steps, the flat-ground drill that builds muscle memory, the gear that actually helps, and the single biggest disagreement among coaches about how to axle stall on a skateboard regarding how the truck should sit on the coping. By the end, you’ll know why the axle stall is the gateway to every other coping trick and how to make yours stick.
Key Takeaways
- Get backside kickturns on lock on a transition before attempting the stall; the motion is identical, just held at the apex.
- Approach with controlled speed; rushing the ramp pushes the truck completely over the coping and you roll away fakie, stalled out.
- Some coaches, like those at Onbolts.com, advise aiming to hug the back wheel against the coping’s pocket, not perch the whole truck on top, arguing it makes the exit easier.
- Settle your weight over the back foot to lock in, then shift forward as you set the front truck down, this controls the board, not you.
- Wear a helmet and pads; committing to a stall means accepting a fall onto the flat bottom or coping, and concrete wins every argument.
The Prerequisite: Backside Kickturns Are Non-Negotiable
You cannot build the roof before the foundation. For the axle stall, the foundation is a solid, comfortable backside kickturn on a quarterpipe or bank. If you’re still thinking about where your shoulders go or fighting to bring the board around, the stall will feel impossible. The stall is just a kickturn where you pause at the peak, with the trucks touching metal.
I learned this the hard way on a mini ramp. I could kickturn on flat ground, so I figured I was ready. My first attempt sent me flying over the coping because I turned my head but not my hips, the board went one way, my body another. A skater watching said, “Dude, just ride up and down for ten minutes. Get the turn without thinking.” He was right. After a session of just rolling up, turning, and coming back down, the stall clicked on the third try. The motion was already in my legs.
Common mistake: Rushing to the coping before the kickturn is automatic. The stall adds precision to an existing motion; trying to learn both at once overloads your brain and your balance.
That’s the physical truth. Your brain handles the turn. Your job is to add the lock-on. So if your kickturns are still wobbly, go practice them. The stall will wait.
The 5-Step Axle Stall Sequence
Break the trick into distinct phases. Thinking of it as one fluid motion is for later, after you’ve done it fifty times. For now, separate the approach, the lock, the settle, and the exit.
Step 1: The Approach and Foot Placement
Ride up the transition backside with enough speed to reach the coping, but not so much that you fly over it. Your back foot goes on the tail, near the bolts. Hang your toes just slightly off the toe-side edge, so you can press through your heel later. Your front foot sits high on the board, just over the front bolts, angled slightly toward the nose.
Why this foot position? The back foot controls the tail press for the exit pivot. The front foot, placed high, gives you the control to steer the board onto the coping and keeps your weight centered. A low front foot leaves you leaning too far forward, and you’ll nosedive on the drop-back-in.
Step 2: The Turn and Lock-In
As your front truck rises above the coping, start turning your head and shoulders. Your hips and legs will follow. This is the kickturn motion, but you’re going to stop it halfway. Aim to lock the back truck first, with your weight pressed into your back foot.
Here’s where sources disagree. Some coaches say to put both trucks fully on top of the coping. Others, like the tutorial at Onbolts.com, argue for hugging the back wheel into the pocket against the coping. The pocket method is easier for beginners because the truck is already on the ramp side, making the kick-turn back in simpler. The “on top” method is more stable for longer stalls but requires a more precise pivot to dismount.
| Method | Best For | Risk If Chosen Wrong |
|---|---|---|
| Pocket Lock | Beginners, smaller ramps | The truck can slip off if weight isn’t driven into the heel. |
| On-Top Lock | Longer stalls, linking tricks | Exiting requires lifting the whole truck back over the coping, which can hang up. |
Step 3: Setting the Front Truck and Balancing
Once the back truck is secure, set the front truck down onto the coping. Shift your weight forward onto your front foot. You should now be balanced on both trucks, staring down the transition. Take a breath here. Rushing the exit is the number one reason people slip out.
Settle on both trucks for a breath, then press the tail and pivot in. Rushing the drop back in means you never had control.
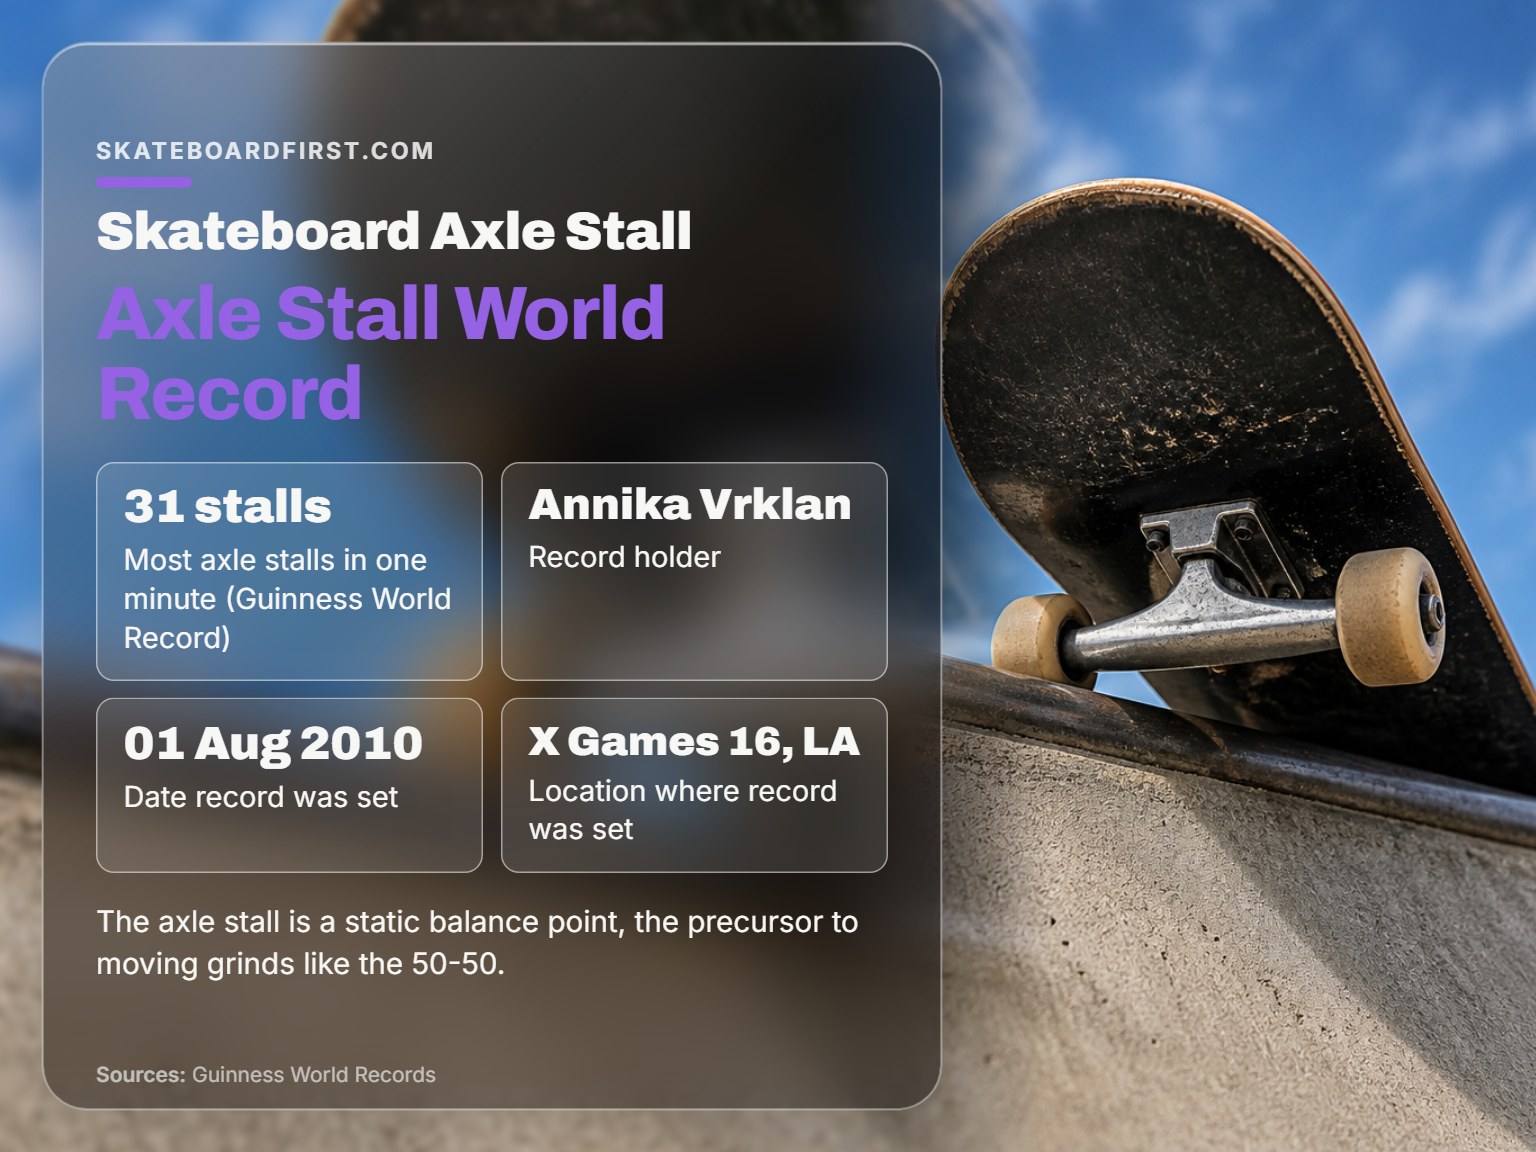
This balance point is the stall. The Guinness World Record for most skateboard backside grinds in one minute is 31, set by Annika Vrklan at X Games 16 in 2010. That’s a stall roughly every two seconds, which tells you how automatic the balance and exit become with practice.
Step 4: The Exit Pivot
To drop back in, press down on your tail slightly. This lifts the front trucks just enough to clear the coping. Pivot the nose back into the ramp by turning your hips and shoulders toward the transition bottom. Lean forward as the wheels touch. The board will want to roll down; let it.
If you pivot too soon, before the front truck is fully above the coping, you’ll land with the front truck short and hang up. Commit to the full 90-degree turn before you start the return.
Step 5: Rolling Away
As the wheels touch, keep your knees bent and your weight centered. Roll down the transition and prepare to push or set up for the next trick. Congrats, you just axle stalled.
Truck Positioning: The Great Debate
The technical heart of the stall is how the truck meets the coping when you learn how to axle stall on a skateboard. As noted, coaches are split. The HAL Open Science engineering study on skateboard dynamics cites the “Randal truck” as a common model, and while it doesn’t discuss stalls, it confirms that truck geometry and wheel hardness (measured on the durometer A scale, ranging from 75A to 97A) affect all board interaction with surfaces.
For the stall, the debate is about contact area and pivot efficiency.
- Pocket Lock (Back wheel hugged): Provides a positive stop. The wheel is against the coping, the truck is on the ramp side. To exit, you just pivot out, the truck is already where it needs to be. This is forgiving.
- On-Top Lock (Both trucks on coping): Maximizes stability. The entire axle is supported. However, to exit, you must lift the front truck back over the coping, which requires a more precise tail press and can lead to hanging up if you’re sloppy.
When first learning, try the pocket method. It builds confidence. As you get comfortable, experiment with setting the truck fully on top for a more solid, prolonged stall.
Practice Drills Off the Ramp
You don’t need a quarterpipe to learn the motion. Two drills build the muscle memory without the fear of falling.
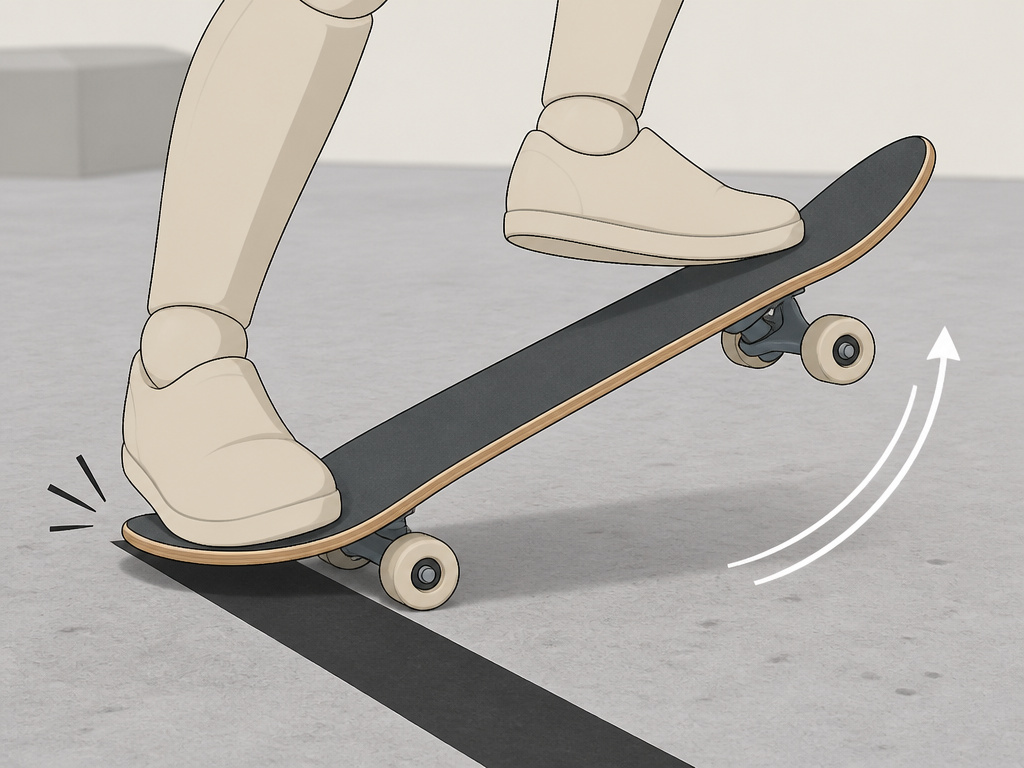
Drill 1: The Taped Line. On flat ground, lay down a line of tape. Practice rolling perpendicular to it, turning your shoulders 90 degrees, and “locking” your back wheels against the tape. Focus on the weight shift to your back foot. Then “exit” by pivoting away. This ingrains the turn and weight transfer.
Drill 2: The Parking Block. Find a low curb or parking block. Approach it as you would a ramp, at a shallow angle. Practice tapping your back truck onto the block and settling. The low height reduces consequence, letting you feel the lock without commitment.
I spent an afternoon on a parking block. The first ten tries, my truck bounced off. By try twenty, I could hold it for a second. That single second of balance was the feeling I needed to take to the ramp. The coping felt familiar, not foreign.
Gear That Helps (And What Doesn’t)
Your setup matters, but not in the way you might think.
Wheels: Softer wheels (lower on the durometer A scale) may grip the transition better on the roll-away, giving you confidence. Harder wheels (higher on the durometer A scale) may slide more predictably but can be sketchier for beginners. Don’t overthink it, if your wheels roll, they’re fine for learning stalls.
Trucks: Ensure they’re not too loose. A little resistance helps with the lock-in. If your kingpin is so loose you can turn sharply with a toe flick, tighten it a half-turn. Stability beats maneuverability here.
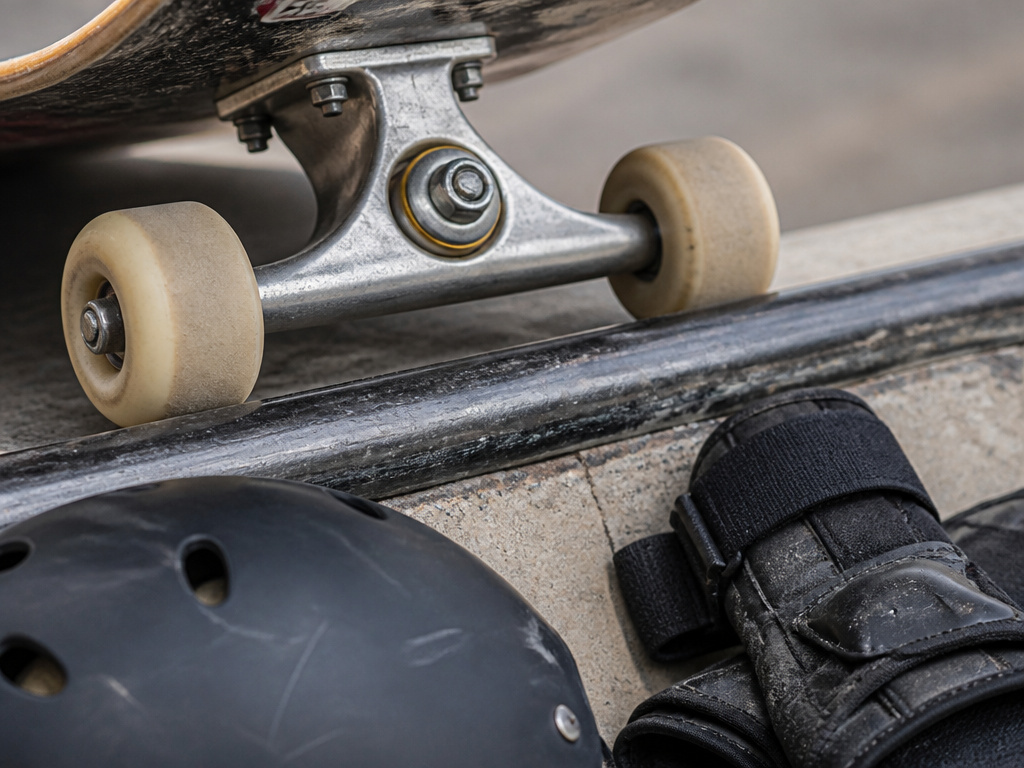
Safety Gear: This is essential. Wear a helmet and pads. You will fall. The goal is to walk away from the fall. I’ve seen more people quit from one bad slam than from a month of slow progress. Gear helps you commit mentally, which is a major part of the trick.
Before you start: A quarterpipe’s flat bottom is unforgiving. A helmet prevents head injury from falling backwards; wrist guards absorb the impact when you put your hands out. Missing either makes the learning process slower and more painful.
Linking the Axle Stall Into Lines
Once your stall is consistent, it’s no longer a trick, it’s a tool. Use it to link sections of a bowl or mini ramp.
The Simple Link: Pump for speed, stall on one coping, drop back in, pump to the opposite side, and stall again. This builds rhythm and shows you how the stall acts as a reset point in a line.
The Progression Link: From an axle stall, drop back in and immediately set up for a rock to fakie or a tail stall on the same wall. The stall teaches you the balance and weight shift for all other coping tricks.
A common progression after the axle stall is the backside 50-50 grind. The approach is similar, but you need a bit more speed and a slight angle to initiate the grind. The axle stall is the static version, the 50-50 is the moving version. Nail the stall first.
How to find a good axle stall video tutorial
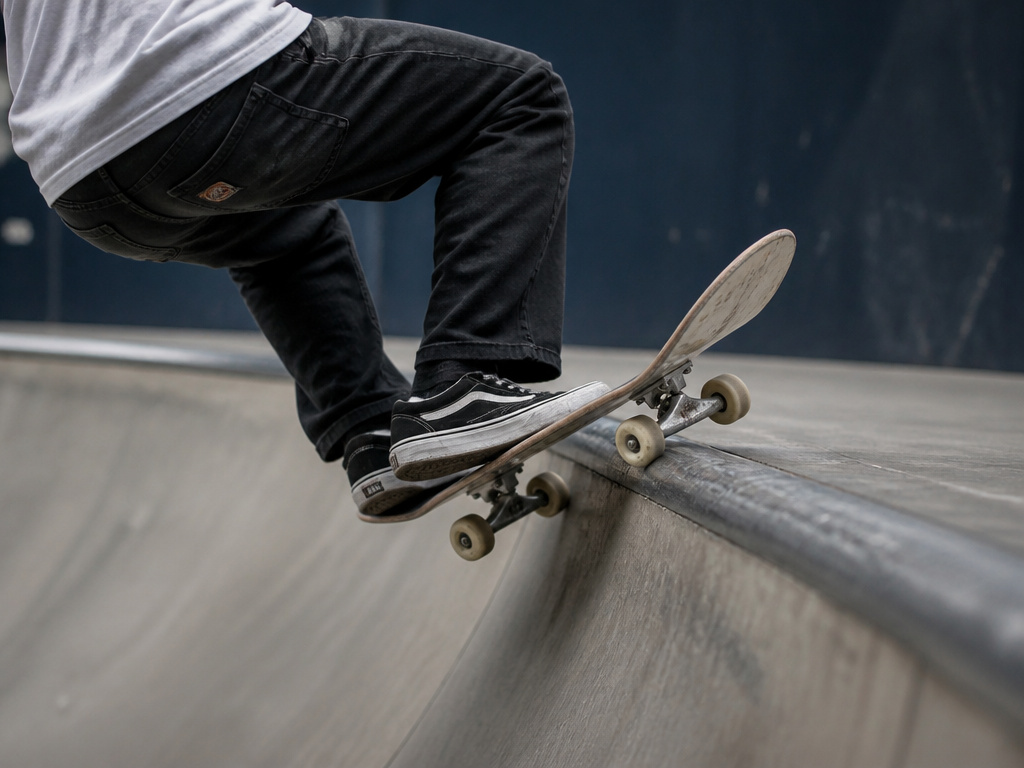
Watching the trick in motion is the fastest way to understand the timing and body mechanics. Look for videos that clearly show a backside approach on a quarterpipe. Pay close attention to the moment the front truck passes over the coping and the rider’s hips turn a full quarter. A tutorial that highlights the slight press on the tail to lock the back truck first is key, as many descriptions miss this detail. Notice how the rider settles their weight before pivoting back in. Avoid clips with excessive speed or advanced variations; you want a clean, fundamental stall to study.
Frequently Asked Questions
Are axle stalls hard to learn?
The axle stall is an intermediate trick. It’s harder than a kickturn but easier than a grind. If you have consistent backside kickturns on transition, the learning curve can be short if you have consistent backside kickturns. The difficulty is almost entirely mental: trusting the balance point on the coping.
What’s the difference between an axle stall and a backside 50-50?
An axle stall is static; both trucks lock onto the coping without movement. A backside 50-50 is a grind; you lock both trucks onto the coping with forward momentum, sliding along it. The stall is the prerequisite. You need the balance of the stall before you add the sliding motion of the grind.
Should I learn frontside or backside axle stalls first?
Learn backside first. It’s the natural direction for most skaters. Your body is open to the ramp, making it easier to see your landing and control the exit. Frontside stalls require a blind drop-in and feel more awkward initially. Get the nose stall and other variations after backside feels solid.
How do I overcome the fear of leaning back on the coping?
Practice on the smallest ramp you can find. The fear is rational, leaning back can mean falling from height. A smaller ramp reduces the consequence. Also, drill the weight shift on flat ground. Physically, you’re not leaning back over the abyss; you’re shifting your center of gravity over your back truck, which is on solid coping. Mentally, trust that the board will stick if your weight is in the right place.
What if my board keeps hanging up on the exit?
You’re pivoting too early or not pressing the tail enough. Make sure the front truck is fully above the coping before you initiate the turn back in. Press the tail deliberately to lift the front wheels. Hanging up is a timing and pressure issue, not a speed issue.
Before You Go
The axle stall isn’t a trick you check off a list. It’s a fundamental language of transition skating. Every session, aim for one clean stall. Not ten sketchy ones, one where you lock in, breathe, and exit smoothly. That single repetition does more for your balance and pumping confidence than a dozen rushed attempts.
Your next step isn’t a harder trick. It’s using the stall. Next session, after you drop in, pump once and stall. Just once. That’s how you build a line, and that’s how the stall stops being a trick and starts being part of your skating.
