
How to Edit a Skate Video: Step-by-Step Guide
This post contains affiliate links. As an Amazon Associate, we earn from qualifying purchases.
To edit a skate video, you need sharp footage filmed at 60 frames per second, clipped tight around the trick, and synced to music you have the rights to. Export it at the frame rate you filmed and at least 1080p for social media. The process is less about fancy software and more about matching three things: the shot, the sound, and the platform you’re posting to.
That 60 fps setting isn’t just for show. It’s your slow-motion insurance. When you film at 60 frames per second, you can cut the speed in half later and still have smooth playback, crucial for seeing if a foot actually flicked the board or just grazed it. Most beginner edits fail because the source footage is shaky 30 fps clips that turn to mush when you try to slow them down. Understanding how to edit a skate video starts with capturing the right footage.
What follows: the exact camera settings from a skateboarding field guide, two conflicting rules on clip length you need to know, a workflow for organizing clips before you open any software, and the one export mistake that makes Instagram chew up your video.
Key Takeaways
- Film at 60 frames per second (fps), this lets you slow clips to half speed without losing smoothness, a must-have for reviewing tricks.
- Use licensed music or app sounds; unlicensed tracks get videos muted or taken down on social platforms.
- Export at the frame rate you filmed and at least 1080p resolution to avoid compression artifacts on Instagram and YouTube.
- Sources disagree on clip length: Skate Labs advises trimming to ‘end a second after the roll away,’ while Nate Blackburn suggests letting ‘the camera run 10 seconds longer than you normally would after the action stops’ for B-roll.
- Watch your edit without sound, then listen to it without watching; this catches awkward cuts and audio glitches that ruin the flow.
The Filming Rules That Make Editing Easier
Editing starts before you hit record. If your footage is shaky, poorly lit, or filmed from a boring angle, no amount of cutting will fix it. The Skate Labs field guide lays out essential settings. Your phone is enough, but you have to set it up right.
Before you start: A dropped phone on concrete can be a costly mistake. Use a wrist strap if you’re moving, and never set your phone on a ledge where a rolling board could knock it off. A cracked lens ruins every clip before you even film it.
First, lock your focus and exposure. On most phones, you tap and hold on the spot where the trick will happen, a stair set, a rail, the flat ground where the ollie peaks. A small “AE/AF Lock” text should appear. This stops the camera from pulsing the brightness and blurring the focus as the skater moves through the frame. It’s the difference between a watchable trick and a flashing, auto-adjusting mess.
Second, skip the digital zoom. Pinching to zoom past your phone’s native lenses (like going from 1x to 3x) makes everything soft and mushy. The footage looks like it was filmed through wax paper. Instead, walk closer. Or switch between your phone’s real lenses: the 0.5x ultra-wide for a fisheye-style shot, the 1x standard lens, or the 2x telephoto. The Skate Labs guide is blunt: digital zoom makes footage mushy.
Here’s where sources disagree on a key point: how long to keep rolling after the trick.
The Skate Labs method is surgical: “Trim each clip to start a beat before the setup and end a second after the roll away.” It’s a tight, focused clip meant for a feed.
Nate Blackburn from Motion Boardshop argues for more buffer: “Let the camera run 10 seconds longer than you normally would after the action stops. That’s when all the funny stuff happens!” He’s after the candid B-roll, the celebration, the frustration, the board shooting into a bush.
So which is right? Both. For your main trick clip, use the Skate Labs rule. But for follow-cam lines or solo sessions, let the camera roll. You can always trim the extra, but you can’t get back the reaction shot you missed because you stopped recording too soon.
Camera Height: The “No-Zone” Rule
Another point of disagreement is camera height. The Reddit community wisdom is simple: “get low so things look bigger and no ass shots.” Nate Blackburn gets more specific: “Avoid holding the camera anywhere between the bellybutton and the top of the head, it quickly gets boring to watch.”
The middle zone is the default for most people just pointing a phone. It’s also the most visually boring angle for skateboarding. It makes gaps look smaller and tricks feel less dynamic. Go low for drama, or go high for a follow-cam overview. The bellybutton-to-head zone is where energy goes to die.
How to Film When You’re Skating Solo
You don’t always have a filmer. The Red Bull guide suggests two tools for solo sessions: a trusted tripod and tape or chalk to mark your spots.
Set the tripod, frame your shot, and mark an X on the ground where you need to start your push to stay in frame. It’s tedious, but it works. A more advanced method is buttboarding, skating while seated to keep the camera steady and mobile. It takes practice to not look like a wobbling mess, but it’s the key to fluid follow-cam shots without a second person.
Common mistake: Relying on your phone’s built-in microphone for all audio. The wind noise alone can drown out board sounds and music. For solo filming, record a separate “clean” audio track of just the board sounds at the spot, or plan to use music that covers the audio completely.
Organizing Your Clips Before You Open an Editor
Your camera roll is a chaotic mess of 47 clips from three sessions. Dumping them all into an editing timeline is a recipe for a headache. You need a system.
Start by reviewing everything. This is where analyzing your footage pays off. Watch each clip at full speed, then in slow motion. Use your phone’s native editing tools to make rough trims right away, saving a “selects” album. Delete the obvious failures, the slams where the board rockets into the filmer’s shins, the clips where you’re completely out of frame.
| Clip Type | What to Look For | Where to Use It |
|---|---|---|
| Clean Make | Full trick, good roll-away, steady camera. | Main clip for the sequence. |
| B-Roll | Reactions, slams, scenery, setup pushes. | Cutaways between tricks or intro/outro. |
| Atmosphere | Wide shots of the spot, skaters chatting, setting up. | Opening shots, transitions. |
| Audio Wild | Clear board sounds, laughter, spot noise. | Audio layer under music or for emphasis. |
Once you have your selects, name them. “Ollie_Stair3_Clean” is better than “IMG_4593.” This seems obsessive until you’re 30 minutes into an edit and can’t find the one perfect kickflip clip.
The Simple Edit: Music, Cuts, and Pace
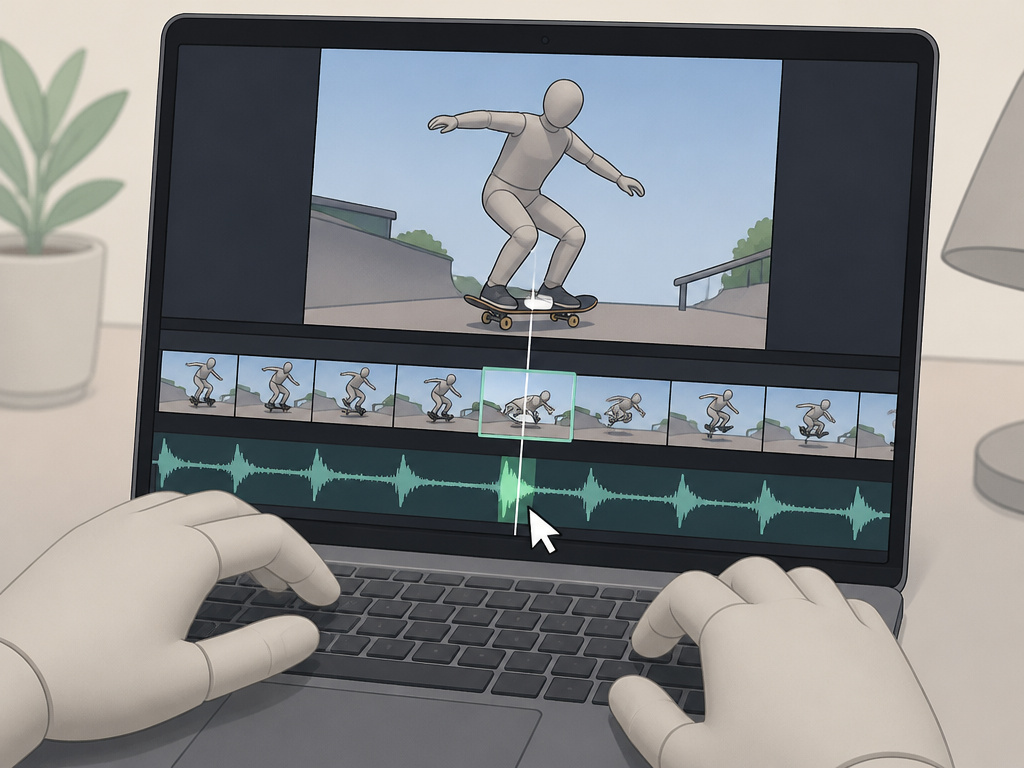
You don’t need Adobe Premiere. Free software like iMovie, DaVinci Resolve, or even your phone’s built-in editor can handle most of the work when you learn how to edit a skate video. The goal is to assemble your selects into a sequence that has rhythm.
Start with the music. This is a strict rule. The Skate Labs guide and Red Bull article both warn: use a song you have the rights to, or the sounds inside the app you post to. Unlicensed songs get videos muted or taken down. Platforms have built-in music libraries, use them. Pick a track, drop it onto your timeline first, and listen to it a few times. Find the natural beats.
Now lay your best trick clip on the timeline. Align the moment the wheels hit the ground after the trick with a strong beat in the music. This sync is what makes an edit feel professional instead of random.
Where this goes sideways: Overusing slow-motion or fast-motion. Nate Blackburn’s tip is direct: “Don’t overdo it with the slow-mo. Or the fast-mo.” Use slow-mo to highlight the peak of a trick or a gnarly slam. Use fast-motion for quick, stylistic transitions or to shorten a long setup push. If every clip has a speed change, the effect loses all impact.
Keep clips short. Blackburn says, “Don’t show the rider riding away after a trick for 5 seconds.” The Skate Labs method is to ‘end a second after the roll away.’ The viewer’s brain gets the trick quickly. Lingering on the ride-away kills momentum.
The Two-Step Audio Check
After your first cut, do these two checks, exactly as Nate Blackburn prescribes:
- Play the video and listen to the sound without actually watching it. Close your eyes. Do you hear awkward jumps in audio? Does the music cut out strangely? This catches audio edits your eyes would miss.
- Play the video without sound. Watch it muted. Does the pacing feel off? Do the cuts feel jarring? This shows you the pure visual rhythm.
Most amateur edits fail one of these tests. The audio check usually reveals a half-second of dead silence between clips, or a music track that ends too abruptly.
Color Grading for Gritty Skate Footage
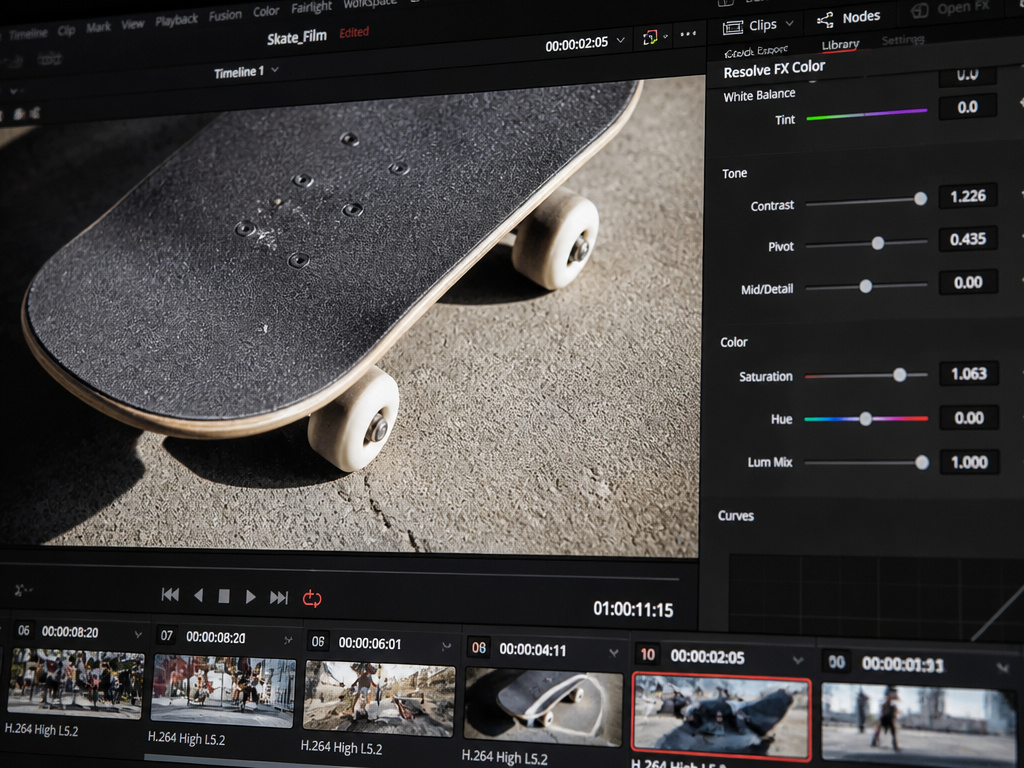
Color grading is where you give your video a specific look, warm and sunny, cold and blue, high-contrast and gritty. Most skate footage benefits from a slight contrast bump and a tiny saturation increase to make concrete and grip tape pop.
Don’t go overboard. You’re not making a Hollywood movie. A simple adjustment layer across your entire timeline with slight increases in contrast and saturation can make concrete and grip tape pop, while lifting shadows slightly can reveal detail.
Avoid heavy filters or “LUTs” that turn everything orange or teal. They date quickly and distract from the skating. The goal is to make the footage look how your eye remembers the session, not like a neon Instagram filter.
Exporting for Instagram, YouTube, and TikTok
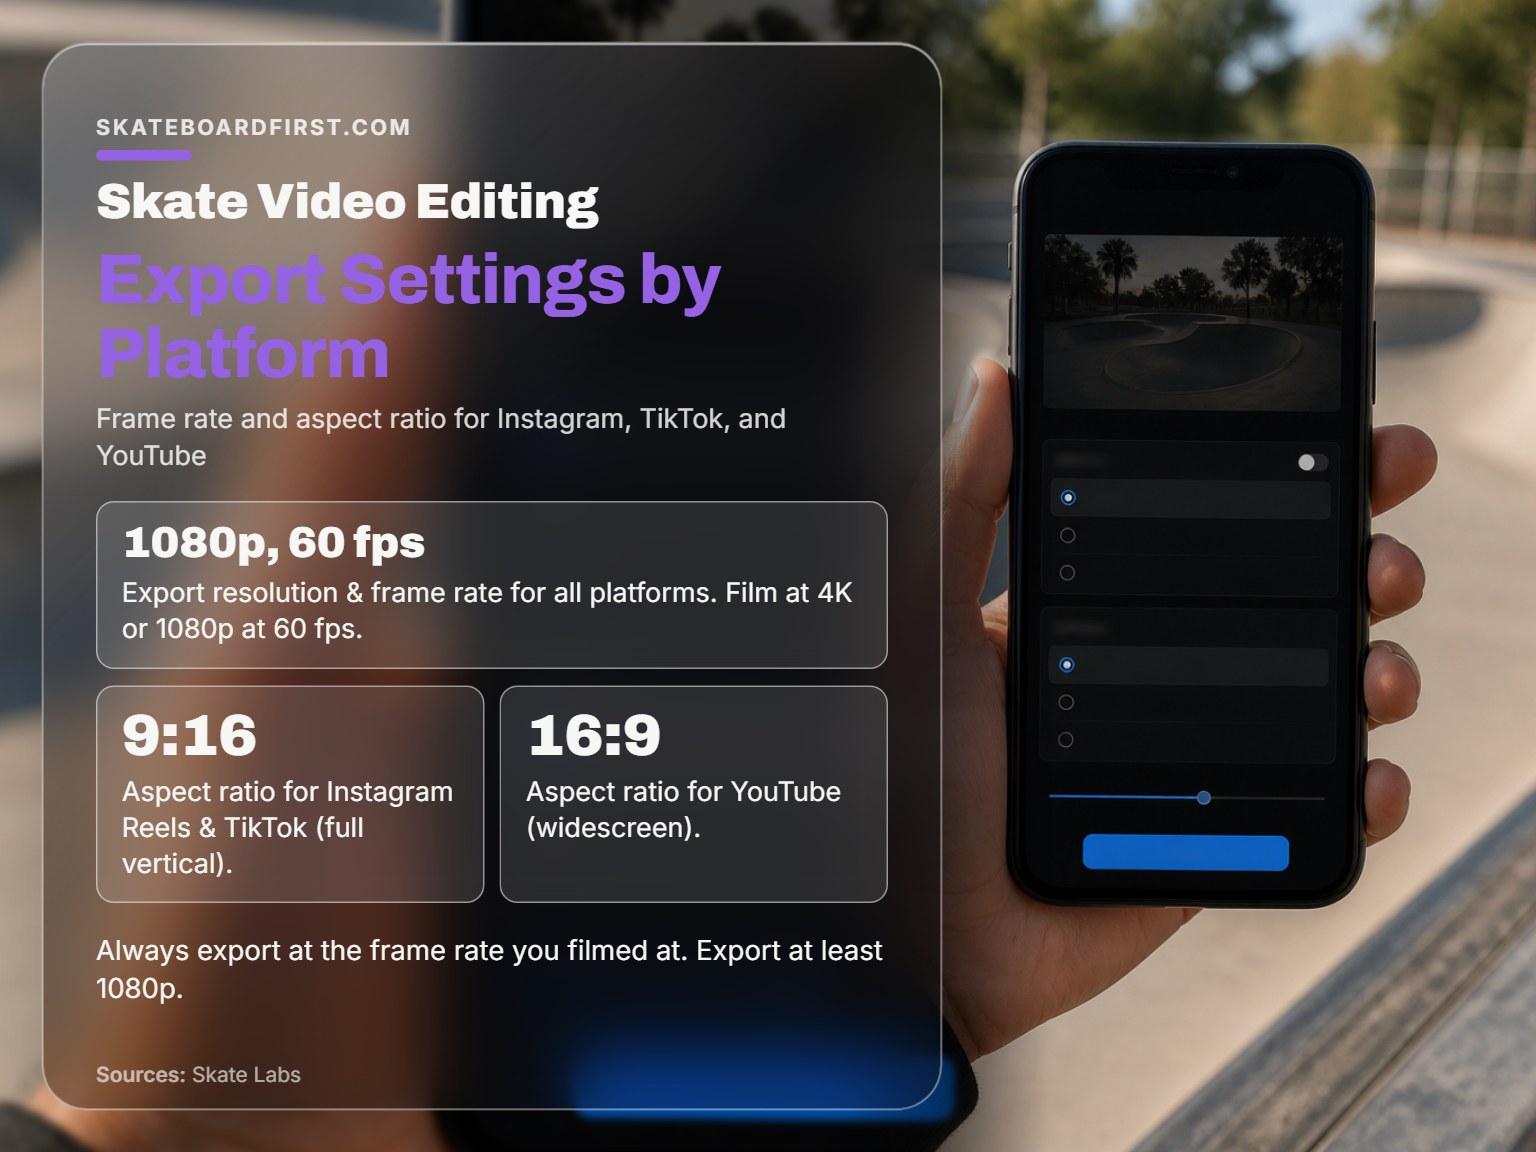
Your masterpiece is done. Now you have to get it out without it looking like a pixelated mess. The Skate Labs rule is clear: “Export at the frame rate you filmed at, and at least 1080p.”
But each platform has its own hunger. This table breaks it down:
| Platform | Best Aspect Ratio | Resolution & Frame Rate | Notes |
|---|---|---|---|
| Instagram Feed | 4:5 (Portrait) or 1:1 (Square) | 1080p, 60 fps | The 4:5 ratio uses more screen real estate. Music copyright detection is very strict. |
| Instagram Reels / TikTok | 9:16 (Full Vertical) | 1080×1920, 60 fps | Vertical is mandatory. Text and titles must be in the “safe zone” (center) to avoid being cut off. |
| YouTube | 16:9 (Widescreen) | 1080p or 4K, 60 fps | Higher resolution is rewarded. You can use longer songs under fair use, but licensed is still safer. |
The biggest export mistake is letting your software “optimize” the frame rate. If you filmed at 60 fps, export at 60 fps. Converting to 30 fps will make your smooth slow-motion look choppy. It’s the technical equivalent of filming a trick perfectly and then uploading a blurry screenshot.
How to Structure a Full Video Part
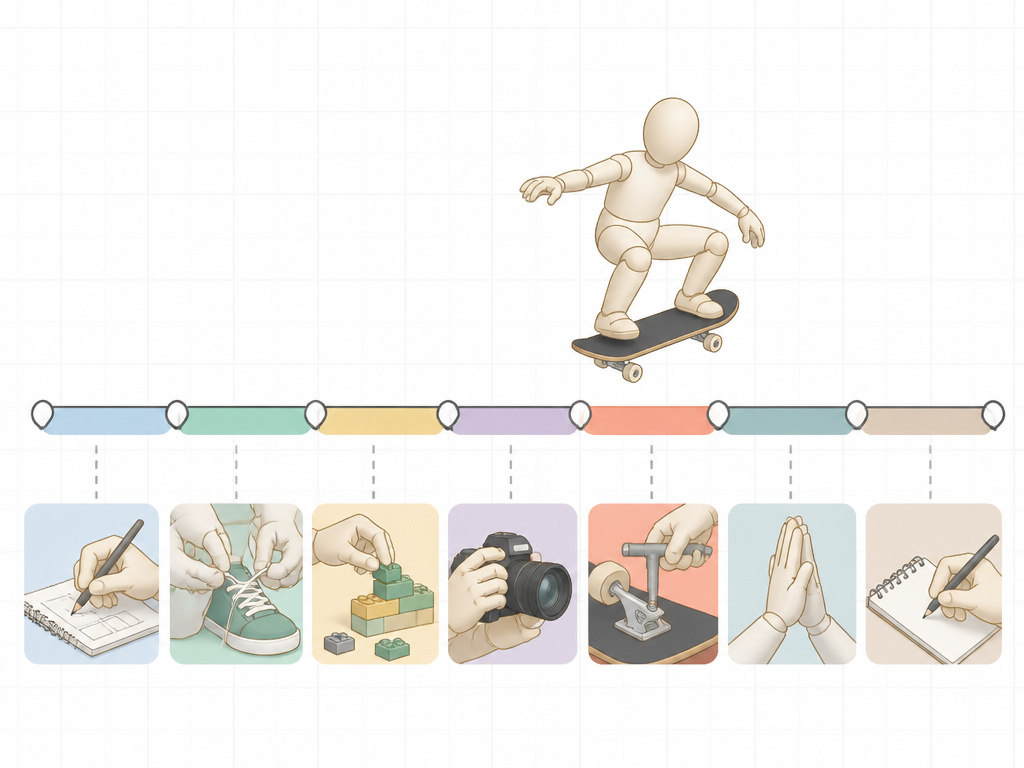
You’ve made a 60-second Instagram clip. What about a full skate video part? The structure is what separates a collection of clips from a memorable part.
A classic part has an arc:
- Intro (5-10 seconds): A quick, stylish establishing shot of the skater or the location. No tricks yet.
- Warm-up Trick (Clip 1): A solid, clean make to establish the skater’s skill level.
- Build-Up (Clips 2-4): Progressively more difficult or stylish tricks.
- B-Roll Interlude (15-20 seconds): A section of slams, laughs, and spot shots set to a quieter part of the song. This builds personality.
- Heavy Hitters (Clips 5-7): The biggest, most technical tricks of the part.
- Ender: The best trick, often on the most iconic spot.
- Outro (5 seconds): A simple shot of the skater rolling away, skating off, or a final text card with their name.
This isn’t a rigid formula, but it’s a framework that works. It gives the viewer a journey, not just a highlight reel.
How to use slow motion and set clip length
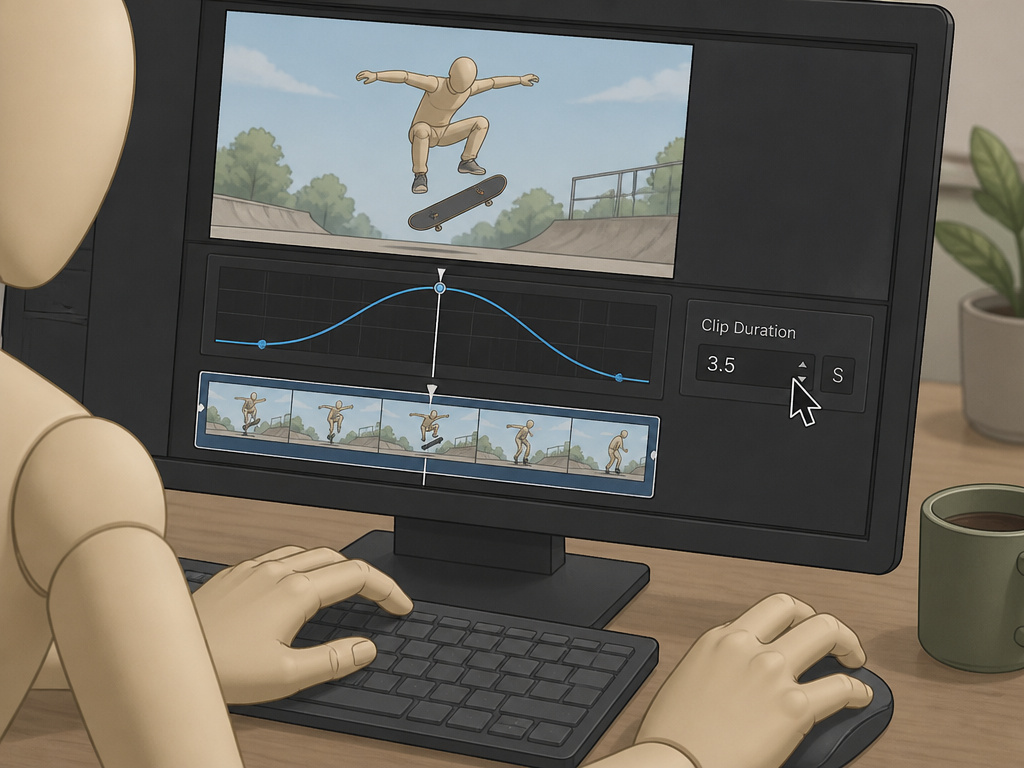
When you learn how to edit a skate video, filming at a high frame rate gives you the flexibility to create smooth slow-motion effects later. When you edit, keep your clips concise. Start each trick a beat before the setup and end it just after the skater rolls away cleanly. Sources offer different advice: Nate Blackburn says to avoid a 5-second ride-away, while Skate Labs suggests ending the clip a second after the roll away. Vary your camera angles between clips; putting two shots from the same perspective back-to-back looks repetitive. Don’t overuse slow-motion or speed effects. They are tools for emphasis, not a default setting. The goal is a natural rhythm that matches the energy of your song and the skating.
Frequently Asked Questions
What’s the best free software to edit skate videos?
For beginners, free editing software is perfectly capable. For more control, DaVinci Resolve is a professional-grade free option with a steeper learning curve. Smartphone editing apps are powerful for quick, platform-specific edits. The software matters less than your footage and your understanding of pacing.
Why does my skate video look choppy after I upload it?
This is almost always an export issue. You likely exported at a different frame rate than you filmed. If you filmed at 60 fps, you must export at 60 fps. Also, ensure your resolution is at least 1080p. Platforms compress everything, and starting with a low-quality export gives them even less data to work with, resulting in a blocky, choppy mess.
Can I use any song from Spotify or YouTube in my edit?
No. Using copyrighted music without permission is a direct violation of the platform’s terms of service. Your video will be muted, blocked in certain countries, or taken down entirely. Use the platform’s built-in music library, purchase a license from a music licensing service, or use copyright-free music. The Red Bull article explicitly warns that platforms may pull videos with unlicensed music.
How long should a skate video edit be?
For social media, keep edits concise. For a full video part on YouTube, keep the edit focused. Attention spans are short. Nate Blackburn’s advice to “keep clips short and concise” applies to the whole edit, too. It’s better to leave people wanting more than to have them click away halfway through.
How do I make my edits more dynamic?
Vary your angles. Never place two clips filmed from the exact same camera angle back-to-back. It feels static. Follow a long-lens shot with a close fisheye shot. Mix in a follow-cam clip. Use the different angles you filmed to create visual interest. Also, play with the timing of your cuts relative to the music, not every cut needs to be on the beat, but being consistently off-beat feels sloppy.
Before You Go
The single biggest upgrade to your edits won’t be a new software plugin. It’ll be filming with intention. Set your phone to 60 fps, lock the focus, and get out of that bellybutton-height no-zone. The rest, the cutting, the music sync, the export, is just practice.
One rule most guides skip: if you’re serious about starting a skate YouTube channel or sharing clips consistently, build a simple folder system on your computer today. Name it “2025_Edits,” with subfolders for “Raw_Footage,” “Selects,” and “Exports.” Ten minutes of organization saves an hour of searching later. Your future self will thank you when the footage from three sessions ago is easy to find.
Now go film, cut it tight, and send it out.
