
How to Slide on a Longboard: The 3-Step Progression
This post contains affiliate links. As an Amazon Associate, we earn from qualifying purchases.
To slide on a longboard, you follow a three-step progression: master foot braking for control, learn a low-speed hands-down slide (the Coleman) for stopping, then graduate to stand-up slides for speed checks. The U.S. Consumer Product Safety Commission states a helmet “can mean the difference between life and death,” and slide gloves with plastic pucks are absolutely essential for hands-down techniques.
That sequence is the only one that builds control without skipping to the part where you get hurt. Most guides tell you to “just go faster” or list six different slides without telling you which one to try first. Learning how to slide on a longboard is fundamental. That leaves you on a hill with more options than skill, which is how people end up with dislocated shoulders and long breaks from the sport.
What follows is the exact path, the gear specs that make sliding possible, and the common failures that stop a slide before it starts. You’ll know which slide to learn, what your wheels need to be, and how to practice without a steep hill when figuring out how to slide on a longboard.
Key Takeaways
- Foot braking is your first and most important safety skill, the LongboardsUSA glossary calls it “the first thing a rider needs to learn” to be safe.
- Your first intentional slide should be a low-speed Coleman slide (heelside hand-down); it’s the safest way to learn board control and stopping with gloves.
- Slide gloves are mandatory for any hands-down slide; the pucks are made of a special durable plastic for smooth slides, per the LongboardsUSA glossary.
- Wheel durometer (hardness) decides your slide. For learning, aim for wheels in the 80a to 86a range or above 90a.
- Never practice slides on fine gravel. A Reddit injury report warns it’s the quickest route to infection if you fall and tear skin; damp pavement is a safer, if icier, alternative.
The 3-Step Progression Path for Beginners
You don’t start with a stand-up slide. You start with the skill that keeps you from running into a curb at 20 miles per hour. The federal safety guidelines are clear on the stakes, and the LongboardsUSA glossary specifies foot braking as “the first thing a rider needs to learn.”
Foot braking is the first thing a rider needs to learn when longboarding in order to be safe.. LongboardsUSA Glossary
That’s your step one. It’s not glamorous. It looks like dragging a foot. But it teaches you balance, weight shift, and how to scrub speed without losing control. A rider who can’t foot brake is a rider who will eventually grab the board and jump off, which is how you sprain an ankle on flat ground.
Step two is your first real slide. Here’s where sources publicly disagree, and you need to know both sides.
Some community guides push the “push-up slide” as a first move. The Polyboards community guide, however, explicitly argues against this. It champions the Coleman slide as the first and safest slide to learn for stopping. Their reasoning is solid: the Coleman is more reliable, steerable, and efficient on your gloves because you’re in a stable, low squat. The push-up slide puts you in a more precarious, upright position where a mistake can send you over the front of the board.
I side with the Coleman-first camp. The lower center of gravity gives you more room for error. When you’re learning, error is your constant companion.
Step three is moving from stopping to controlling speed with stand-up slides. This is where you graduate from “how do I stop” to “how do I manage this hill.” It comes only after steps one and two feel automatic.
Gearing Up: What You Actually Need on Your Body
The CPSC doesn’t mince words: “Wearing a helmet can mean the difference between life and death.” They specify a skateboarding helmet, a hard shell with a foam interior, that fits snugly with the chin strap fastened and sits level on your head, not tilted back.
That’s your baseline. For sliding, you add layers.
Slide gloves are not optional. The LongboardsUSA glossary describes them as having “a plastic puck mounted to the palm,” made from a special durable material for smooth slides. Without them, your first attempted Coleman will grind the skin off your palms. A Reddit user’s practical tip: duct tape over the back of your pants can save them from shredding during those early, awkward sits.
Knee and elbow pads are next. The CPSC recommends them, and for sliding, they’re your primary impact points. Wrist guards are also highlighted by the CPSC as “especially important for reducing the risk of fractures.” You will fall. These items decide whether that fall ends your session or just bruises your ego.
Finally, flat-soled shoes. Running shoes with big treads will grip the board when you don’t want them to, making foot placement clumsy. A simple skate shoe gives you the board feel you need.
| Gear | CPSC / Source Mandate | Consequence If Skipped |
|---|---|---|
| Skateboarding Helmet | “Hard shell with foam interior”; worn level and snug. | Head injury on any fall, from mild concussion to severe trauma. |
| Slide Gloves | Plastic pucks on palm for durable, smooth slides. | Severe palm abrasion on first hands-down slide attempt; loss of control. |
| Knee & Elbow Pads | “Use knee and elbow pads.” (CPSC) | Direct impact injuries to joints; prolonged recovery from practice falls. |
| Wrist Guards | “Especially important for reducing the risk of fractures.” (CPSC) | Fractured wrist or scaphoid bone from instinctive hand-catching falls. |
| Flat-Soled Shoes | “Wear flat-soled shoes.” (CPSC) | Poor board feel and control; tread can catch during slides or foot braking. |
Your Gear Dictates Your Slide
Your board and wheels aren’t passive tools. They have a direct conversation with the pavement, and if you don’t speak their language, you won’t slide. You’ll just carve harder until you fall.
The big debate begins with board length. For general beginner riding, the American Academy of Orthopaedic Surgeons suggests shorter decks are easier to balance and handle. But for downhill and sliding, sources disagree. The CPSC notes that “longer boards increase stability,” which directly combats speed wobble, while a Reddit anecdote points out that a higher board, like a pintail, can give more torque for initiating slides.
Wheels are where the magic happens. The LongboardsUSA glossary gives us the specs:
- Soft wheel sliding uses wheels “typically in the durometer range of 80a to 86a.” These are forgiving. They grip more, slide more predictably, and are ideal for learning.
- Hard wheel sliding uses wheels “with higher durometer typically above 90a.” These break into a slide more easily but are less predictable and require more speed control.
The glossary also explains the contact patch, the part of the wheel touching the ground. “Larger contact patches result in wheels with more grip. Smaller contact patches result in wheels that are easier to slide.” For learning, wheels in the 80a to 86a durometer range are typical. You get enough grip to feel stable, but not so much that you can’t break traction.
Trucks matter too. The CPSC advises keeping “trucks, wheels, nuts, and mounting screws tightened properly to improve stability at higher speeds.” For sliding, you might start with them tighter for stability, then loosen them slightly as you get comfortable to make the board more responsive to your leans.
Where this goes sideways: Using the wrong wheels. Trying to learn slides on soft, grippy cruiser wheels (like 78a) is a battle against physics. You’ll carve and jump off, never breaking traction. Get a dedicated sliding wheel.
How to Practice Your First Slide (Coleman) Safely
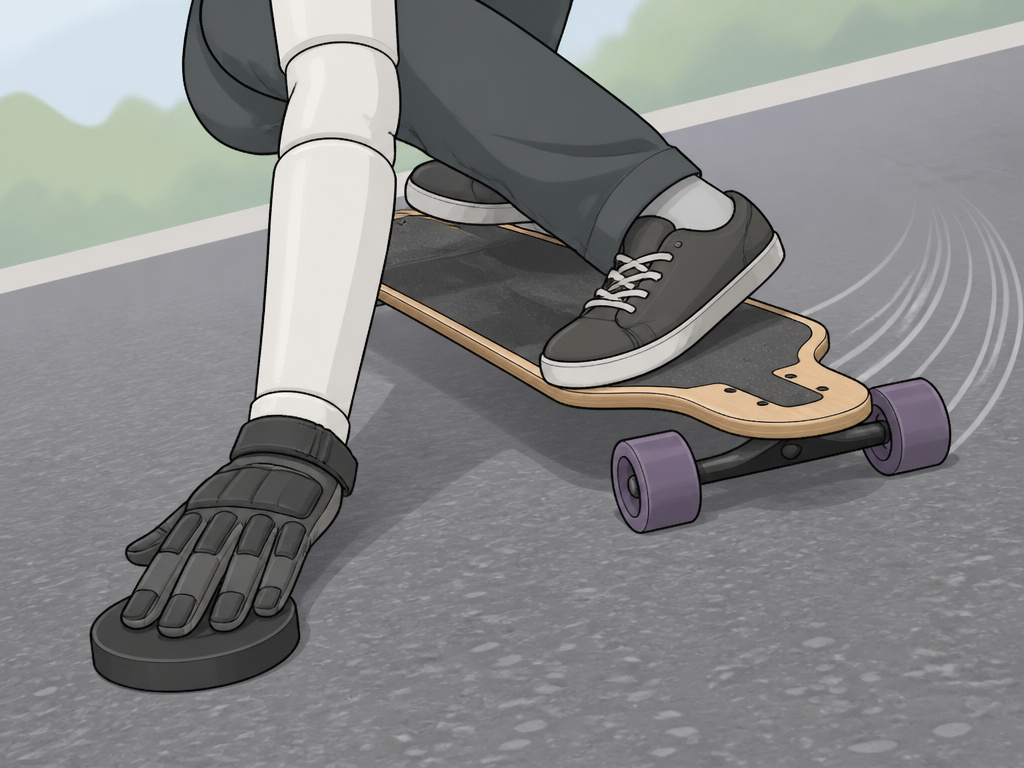
You need a smooth, flat parking lot with a gentle incline to practice how to slide on a longboard. Not a hill. A Reddit anecdote suggests a “good speed for learning slides is sprinting speed no less.” You need enough momentum to let the board roll, but not so much that you’re terrified.
- Gear up. Helmet, slide gloves, knee pads, elbow pads. This is absolutely essential.
- Get rolling. Push to a comfortable, jogging pace. You should be able to run it off if you need to.
- Set your stance. As you roll, get into a low crouch. Your back foot should be on the tail, toes pointed slightly inward. Your front foot is across the board near the front trucks.
- Initiate the carve and sit. Look over your front shoulder (for a heelside Coleman). Begin a gentle heelside turn. As you turn, lower your body and reach your gloved hand down toward the pavement behind your back foot.
- Touch down and lean. Place your glove puck on the ground. This is the commitment moment. Shift your weight onto that hand and off the board. Your back foot will naturally push the tail out, and the board will start to slide sideways.
- Control the slide. Keep your weight on your hand and your eyes looking in the direction of the slide. To end it, simply shift your weight back over the board and let the wheels grip.
Common mistake: Reaching down before you carve. This makes you unstable and can cause a high-side fall (board shoots out from under you). The carve loads the trucks and sets the board up to slide; the hand is just a pivot point.
Your first dozen tries will feel awkward. You might not slide at all. That’s fine. You’re building the muscle memory of the carve-and-sit motion. Speed will come later.
Choosing Your Next Slide: Toeside and Stand-Up
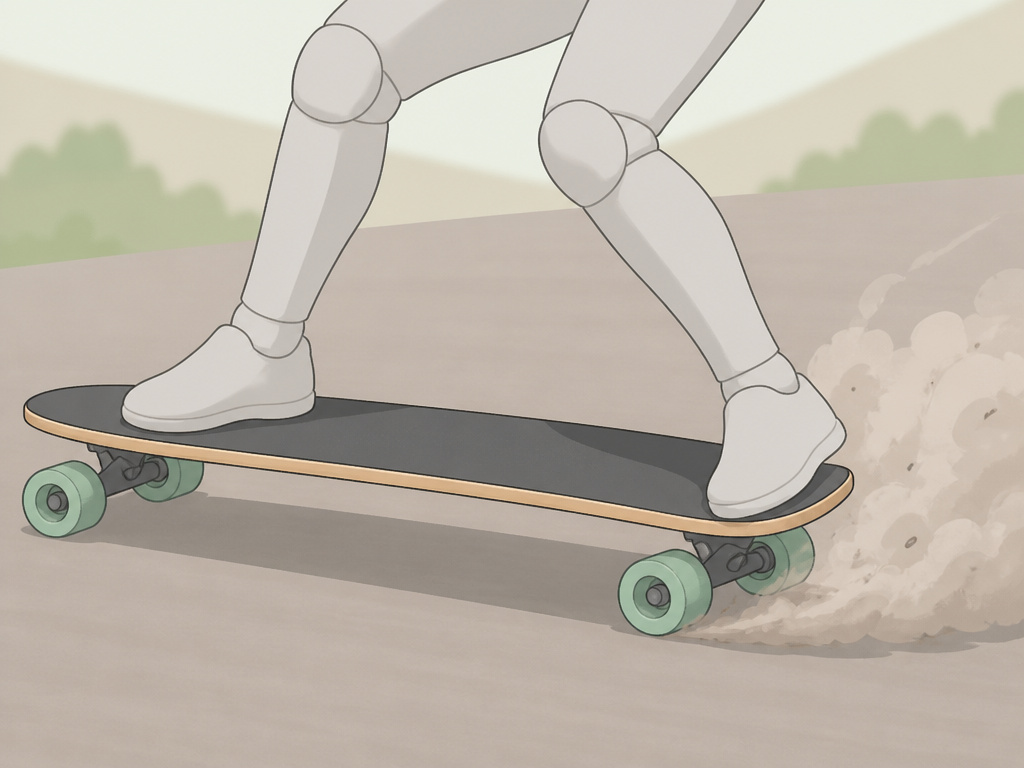
Once the Coleman feels like a reliable stopping tool, you can branch out. Your next move depends on your goals.
If you want to slide on both sides, a toeside hands-down slide is the logical counterpart to the Coleman. The mechanics are similar but mirrored; you look over your other shoulder and reach across your body. It feels less natural for most people because you’re sliding “blind” to your direction of travel.
For speed control without stopping, you move to stand-up slides. These are done without putting a hand down. They require more speed, more precise weight shift, and a confident kick from your back foot. A common community tip is to hang your heel or toe off the edge of the board slightly to gain more purchase.
The LongboardsUSA glossary mentions a “shut down slide”, a slide to a complete stop, often used at the end of a run. They note it can be done at high speeds in an emergency, but the rider must warn others behind them because it’s dangerous for anyone following.
| Slide Type | Best For | Prerequisite Skill | Key Risk |
|---|---|---|---|
| Coleman (Heelside) | First slide; safe, reliable stopping. | Solid foot braking, comfortable crouching. | High-siding if weight isn’t committed to the hand. |
| Toeside Hands-Down | Sliding on your “other” side; full control. | Consistent Coleman slides. | Sliding blind to direction of travel; easier to wash out. |
| Stand-Up Check Slide | Scrubbing speed mid-hill without stopping. | Strong, controlled carves at speed. | Losing the slide and regaining grip suddenly (hook-up). |
| Shutdown Slide | Emergency stopping at high speed. | Expert-level slide control. | Dangerous for riders behind if not warned. |
Troubleshooting: Why Your Board Won’t Slide
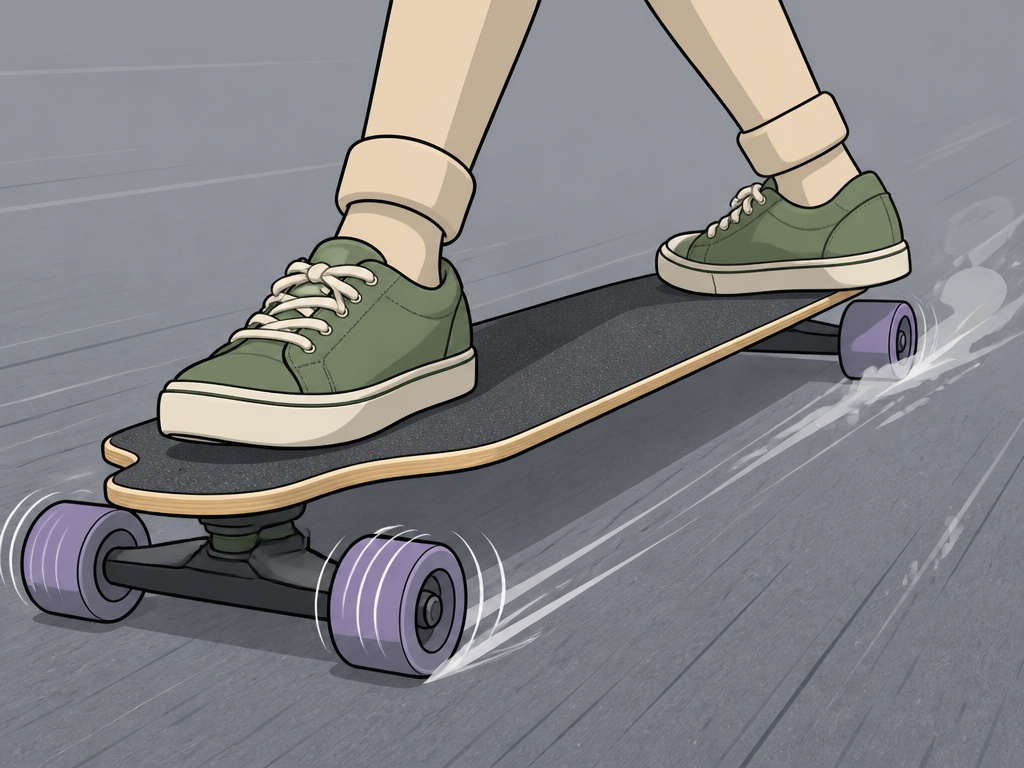
You’ve got the gear, you’re on the right wheels, you’re going fast enough, but the board just won’t break traction. Here are the usual suspects.
- You’re not committing your weight. This is the number one issue. Sliding requires you to shift your weight off the board and over your pivot point (your hand for Coleman, your front foot for stand-ups). If your center of gravity stays over the board, it will keep gripping. You have to want to slide more than you want to stay upright.
- Your speed is too low. While you start slow, there is a minimum threshold. A Reddit user described a “good speed for learning slides is sprinting speed no less.” You need enough momentum for the wheels to overcome their grip.
- You’re not carving first. Don’t just kick the board out. Initiate a turn. The pre-carve loads the trucks and starts the board turning; the slide is an extension of that turn.
- Your wheels are too grippy. Check the durometer. If they’re below 80a and have a large contact patch, they’re made for cruising, not sliding. You’re fighting their design.
- You’re freezing up. Fear causes you to stiffen. A stiff rider can’t move their weight dynamically. Breathe, stay low, and focus on the motion, not the outcome.
A final, critical warning from the CPSC: “You can lose control of your skateboard at any speed.” Respect the board. Progress incrementally.
What are pendulum and pre-drift slides?
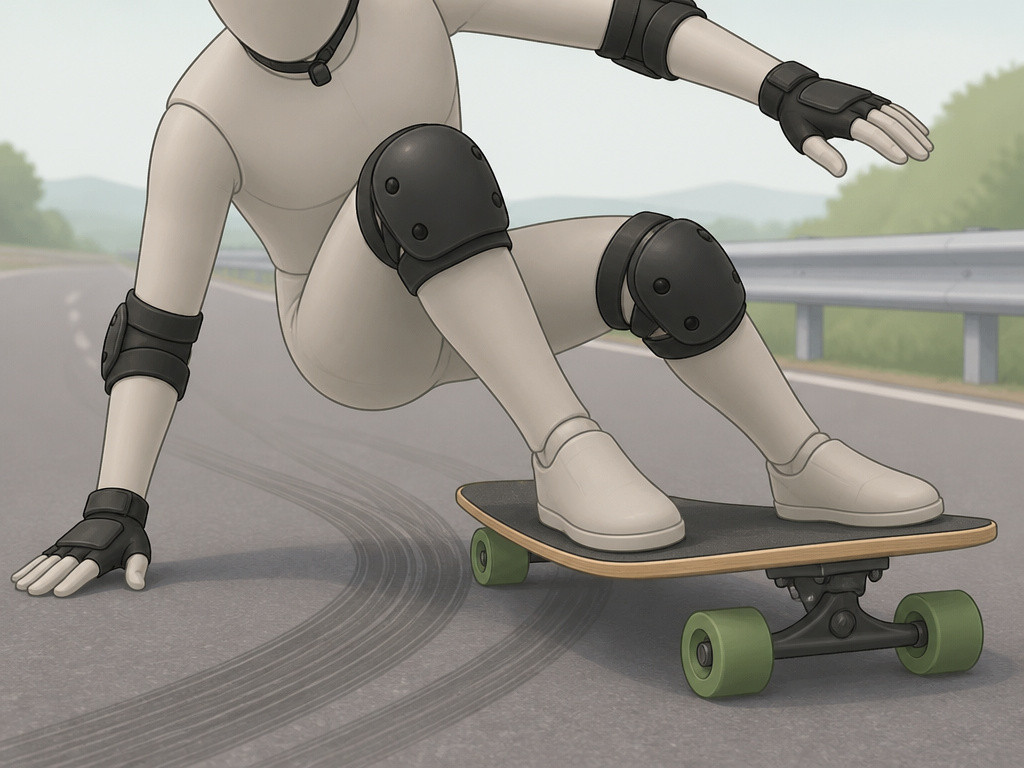
Two common slide types for controlling speed are the pendulum and the pre-drift. A pendulum slide is a controlled, swinging slide often used to scrub speed before a corner. A pre-drift is initiated before entering a turn to set your line and manage speed through the curve. For learning, start on a board that feels stable; longer boards and those with wider wheel spacing can offer more control. Always wear a helmet designed for skateboarding, with the chin strap fastened and the helmet level on your head. Wrist guards, knee pads, and elbow pads are crucial, as falls are part of the process. Practice at a good, consistent speed and inspect your terrain for hazards before you start.
Frequently Asked Questions
What is the easiest slide to learn on a longboard?
The easiest and safest first slide is the Coleman slide (a heelside hand-down slide). Community guides explicitly recommend it over the push-up slide for beginners because of its stability, steerability, and glove efficiency. This allows you to learn board control from a low, stable position.
Can you slide on any longboard?
Technically, yes, but some boards make it much harder. A board designed for cruising with soft, grippy wheels will make sliding difficult. A board and wheel setup intended for sliding is recommended. The board’s intent matters.
Do you need special wheels to slide?
Yes. You need wheels with the right durometer (hardness) and contact patch. For learning, wheels in the 80a to 86a durometer range (soft) or above 90a (hard) are typical. Wheels with a smaller contact patch slide more easily. Standard 78a cruiser wheels will fight you.
How fast do you need to go to slide?
You need enough speed to overcome the grip of your wheels. For a first Coleman slide in a parking lot, you need enough speed to overcome the grip of your wheels. As the Reddit anecdote noted, it often feels faster than it looks.
How do you stop a longboard without sliding?
The primary non-sliding stopping technique is foot braking, which the LongboardsUSA glossary calls the first thing a rider needs to learn for safety. You also use air braking (standing up to create wind resistance) and, as a last resort, jumping off and running it out, though knowing how to fall on a longboard safely is crucial for that last option.
The Bottom Line
Sliding isn’t a trick you try on day three. It’s a control skill you earn after you’ve mastered the fundamentals of pushing, turning, and foot braking. The federal Consumer Product Safety Commission guidelines and medical AAOS skateboarding safety PDF exist because the consequences of getting it wrong are real and documented.
So here’s your single next step: if you can’t foot brake to a controlled stop every single time, go practice that. If you can, get a set of slide gloves and an 80a-86a durometer wheel. Find a gentle slope and practice the carve-and-sit motion of a Coleman at a jogging pace. Ignore every video of someone flying down a mountain. Your goal isn’t to look cool; it’s to build one reliable tool that keeps you safe so you can keep riding.
