
How to Remove Graphics From a Skateboard Deck
This post contains affiliate links. As an Amazon Associate, we earn from qualifying purchases.
To remove graphics from a skateboard deck, you have three main paths: sand it off with coarse-grit sandpaper, soften the adhesive with heat and peel, or dissolve the paint with a chemical solvent. The Skate One forum recommends sanding as the easiest and safest way, while 3M presents a hierarchy of methods for adhesive-backed films. Heat peeling is clean but risks tearing brittle graphics. Sources disagree on the use of chemical solvents: the Skate One forum recommends only mechanical sanding, while Reddit users suggest chemicals like brake parts cleaner or acetone.
The choice between those three paths hinges on two things: the type of graphic you’re removing and what you plan to do with the deck afterward. A factory-printed graphic on a sealed deck is different from a thick adhesive vinyl sticker, and a board destined for a fresh paint job needs different prep than one you just want sticker-free. Understanding how to remove graphics from a skateboard deck is key to this decision.
What follows: a breakdown of when each removal method works and fails, the exact sandpaper grits and temperatures that get results, and the full refinishing process if you want to go from stripped wood to a new custom finish.
Key Takeaways
- Sanding with 80-grit sandpaper followed by 220-grit is the most controlled way to remove graphics and prep the wood for refinishing, but it creates a lot of dust.
- For heat-assisted peeling, the graphic needs to be uniformly heated to 160°F to 200°F (72°C to 93°C). Cold tape tears into tiny, frustrating pieces.
- Prolonged UV exposure makes graphics brittle and harder to remove cleanly. A sun-bleached deck is a candidate for sanding, not peeling.
- If you plan to repaint, avoid enamel paint. It can take over 30 days to fully cure, while acrylic or nitrocellulose lacquer dries in 24 hours.
- After cleaning the deck, dry it thoroughly and leave it to finish drying for a few days before using it.
The 3-Step Removal Method Matrix
Your first decision in the how to remove graphics from a skateboard deck process is how aggressive you want to be. This isn’t about picking the “best” method; it’s about matching the tool to the job. The factory finish, the graphic’s condition, and your end goal decide everything.
Here is a quick comparison to point you in the right direction.
| Method | Best For | Biggest Risk | End Result |
|---|---|---|---|
| Sanding | Factory-sealed decks, sun-damaged graphics, prepping for a new paint job. | Removing too much wood, creating an uneven surface. | Bare, sanded wood ready for sealing and painting. |
| Heat Peeling | Adhesive-backed vinyl stickers or newer graphics on a smooth, sealed surface. | Graphic tearing, leaving adhesive residue that requires additional cleaning. | A clean deck with the original sealant mostly intact. |
| Chemical Solvents | Removing stubborn paint layers or graphics where sanding isn’t an option. | Damaging the wood’s glue layers, causing warping or delamination. | Stripped wood that may be chemically compromised and need extensive drying. |
Before you start: Wear a dust mask for sanding, work in a well-ventilated area for chemicals, and keep heat tools moving to avoid scorching the wood. The deck is seven layers of maple pressed together; localized heat or solvent soak can weaken those bonds.
The rest of this guide walks you through each method in detail, including the tools you’ll need and the specific mistakes that turn a two-hour job into a weekend project.
Sanding: The Go-To for Full Refinishing
When you want to take the deck down to bare wood and start fresh, sanding is the only method that guarantees a clean slate. It’s also the only method recommended by experienced board builders on forums like Skate One, who treat graphic removal as the first step in a full refinish.
A Reddit user states an electric sander is needed for deck sanding, otherwise it takes a very long time. A random orbital sander is ideal, but even a basic sheet sander will save you hours of frustration.
The Grit Progression That Actually Works
The process is straightforward, but the grit sequence matters. Jumping from coarse to fine too quickly leaves deep scratches; skipping the fine grit leaves the surface too rough for a smooth new finish.
-
Start with 80-grit sandpaper. This coarse grit will remove the graphic, the clear coat, and the stain down to the bare maple. Don’t press hard, let the sander’s weight do the work. The goal is to remove material evenly across the entire deck surface. Skip this, and you’ll be sanding twice as long with a finer grit, or you’ll miss spots of graphic that bleed through your new paint.
-
Switch to 220-grit sandpaper. Once the graphic is gone and the wood is uniformly exposed, swap to 220-grit. This removes the “swirl marks” from the 80-grit and smooths the surface. Pay extra attention to the curved concave of the deck and the rails (sides), where paint and clear coat tend to pool and be thicker.
Common mistake: Trying to remove every last trace of graphic with the 80-grit. Once the color is gone and you see consistent wood, move on. Sanding one spot too long creates a low point that will be visible as a dip in your final finish.
The sensory cue here is sound and feel. The 80-grit makes a loud, aggressive whirring sound and you’ll feel significant vibration. The 220-grit is noticeably quieter and the sander glides more easily. If you’re still fighting drag after switching, you probably haven’t removed enough material with the coarse grit.
After sanding, you have a bare deck. It will feel dry and slightly fuzzy to the touch, that’s raised wood grain. Don’t apply anything yet. Wipe it down with a tack cloth to remove all dust, then let it sit in a cool, dry place for a few days. This allows any leftover moisture from the air or your skin to balance out. Sealing a damp deck traps that moisture and can lead to delamination later.
Heat and Peel: The Clean(ish) Option
For adhesive-backed stickers or newer screen-printed graphics, heat can soften the glue enough for a clean peel. This is the method I’ve used for removing stickers from decks I didn’t want to fully refinish. The goal is to warm the adhesive layer without overheating the graphic or the wood.
The official word from 3M, a major adhesive manufacturer, is that for “Removable with Heat” films, you need uniform heat between 160°F to 200°F (72°C to 93°C). A hair dryer on its highest setting can hit the lower end of that range, but a heat gun gives you more consistent control.
Where this goes sideways: Using heat on a graphic that’s been in the sun for years. Prolonged UV exposure makes the film brittle and the adhesive stronger, according to 3M’s technical bulletin. The graphic will tear into a hundred little pieces, leaving you to pick at it with a fingernail or revert to sanding.
Here is the step-by-step that avoids that mess.
- Remove your trucks. This gives you clear access to the entire deck surface and makes peeling around the hardware holes much easier. It’s the same first step for grip tape removal.
- Apply heat evenly. Apply heat evenly. Hold the heat gun or hair dryer at a distance where you can uniformly heat the graphic and keep it moving. Don’t focus on one spot, you’re aiming to warm the entire graphic evenly. You’ll know it’s ready when you can push a corner up with your fingernail and the adhesive stretches slightly instead of snapping.
- Peel slowly and at a low angle. Use one hand to hold the deck steady and the other to pull the graphic back on itself, close to the surface. A fast, upward yank will tear it. If it starts to tear, stop, reheat that section, and try again.
Once the graphic is off, you’ll likely have leftover adhesive residue. A product like Goo Gone and a plastic scraper will take care of it. For a more aggressive clean, you can lightly sand the residue off with 220-grit paper, but that will scuff the factory sealant. If you plan to apply new grip tape directly, the residue doesn’t matter, the new tape will stick right over it.
Chemical Solvents: The Last Resort
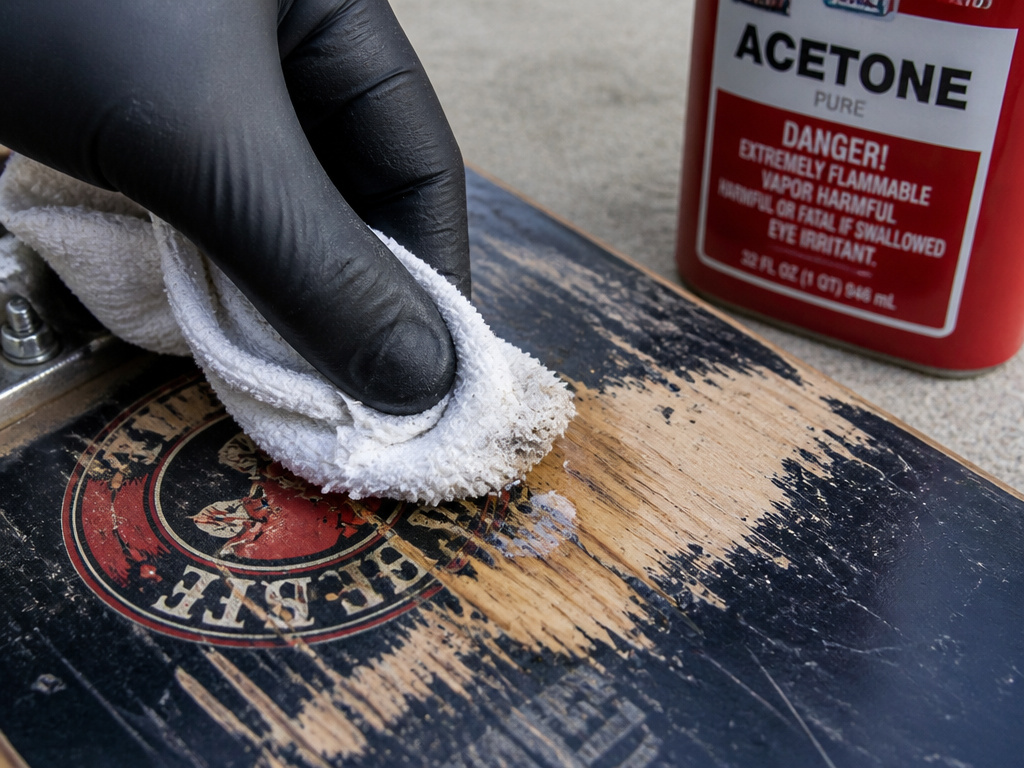
Sometimes a graphic is too stubborn for sanding and too brittle for heat. This is where chemical solvents enter the chat, but they come with a warning label written in experience. On Reddit and forums, you’ll see recommendations for acetone, brake parts cleaner, or paint thinner to “dissolve” graphics.
It can work. Anecdotal reports say brake parts cleaner or acetone on a rag can scrub paint down to the wood. The problem is what those chemicals do to the deck on the way down.
The deck is held together with waterproof wood glue between the maple plies. Strong solvents can wick into the edges of the deck or through any tiny crack in the sealant, softening that glue. The result might not be immediate, but a deck that’s been soaked with solvent is more prone to warping or delaminating under stress later.
If you go this route, use the least aggressive solvent that does the job (often isopropyl alcohol first), work outdoors with gloves and a mask, and never let the solvent pool or soak into the wood. Scrub with a rag or pad, and be prepared to need a follow-up sanding to smooth the surface.
I learned the hard way that cold tape tears. I once tried to peel a sticker off a deck in my cold garage without heating it. It shattered into confetti, and I spent the next hour scraping adhesive residue with a razor blade, a job that should have taken two minutes with a hair dryer. Now the hair dryer is part of my toolkit.
The Refinishing Roadmap (If You’re Starting Over)
Imagine you have sanded your deck down to bare wood. You’re looking at plain maple and thinking about a custom paint job. This is where the real time investment begins, but the process from the Skate One forum is a proven blueprint.
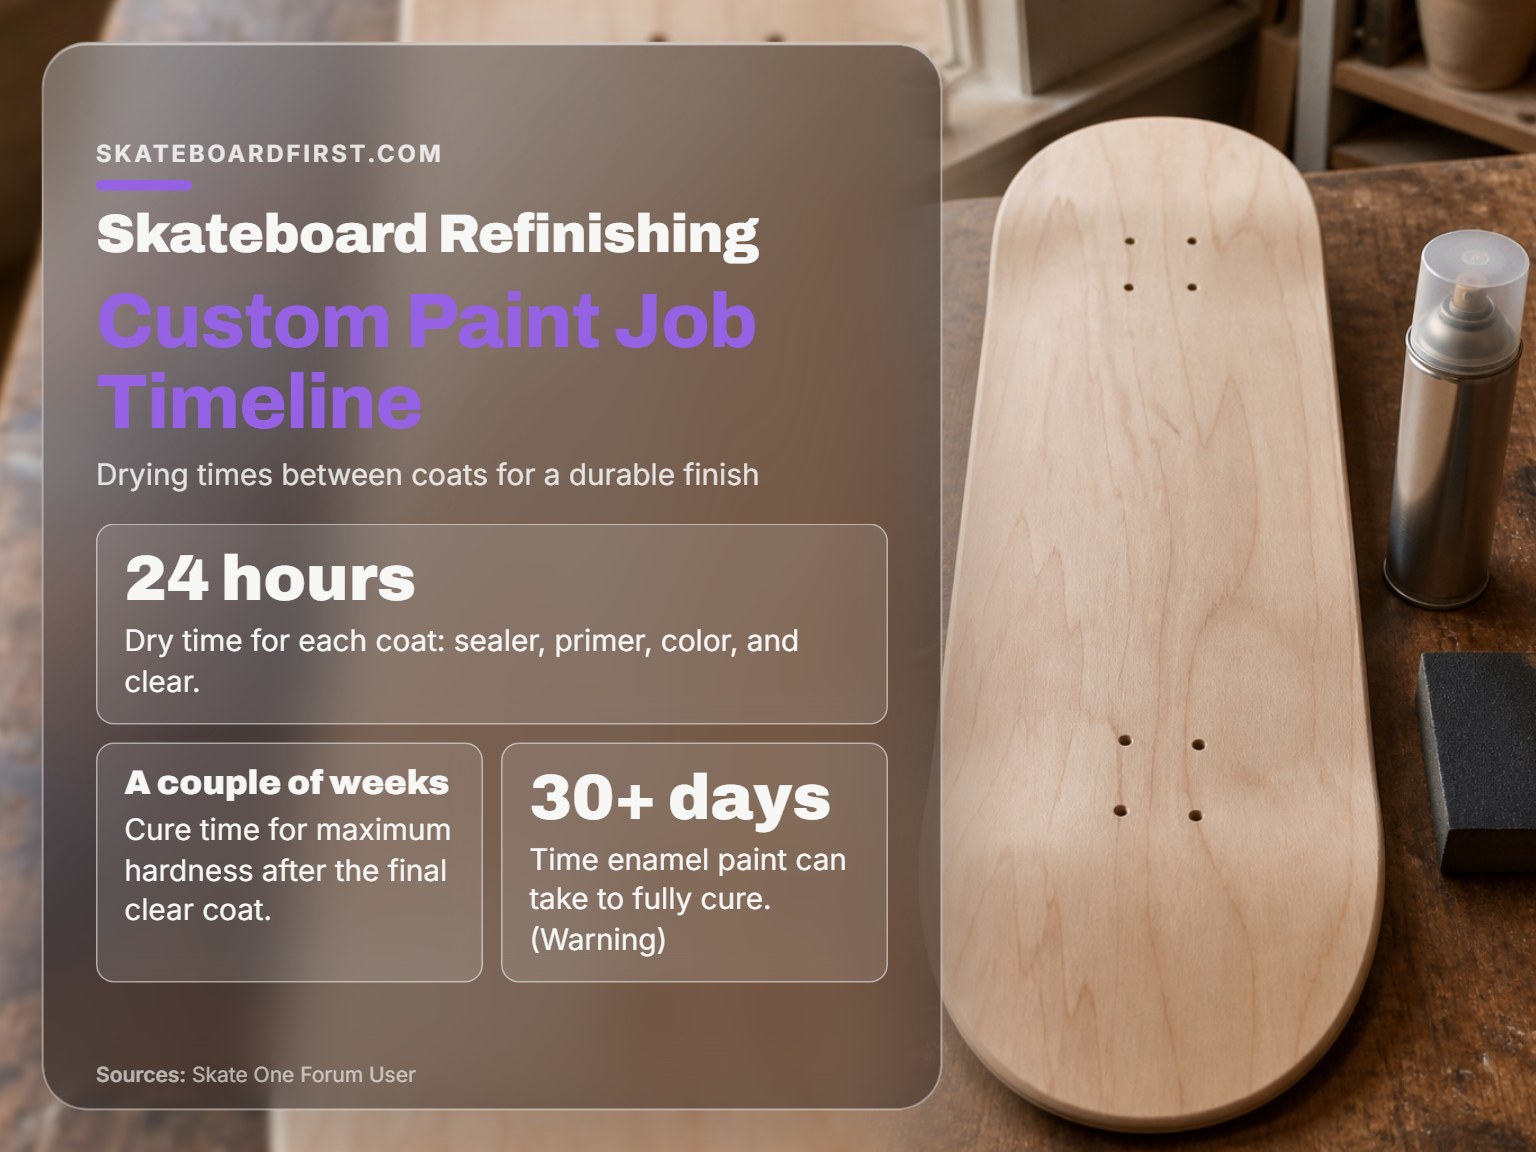
The following table outlines the stages and, most importantly, the drying times between them. Rushing these steps is the number one cause of a finish that feels gummy, scratches easily, or doesn’t adhere properly.
| Stage | Product | Purpose | Dry Time |
|---|---|---|---|
| 1. Seal | Sanding Sealer (spray can) | Fills the wood grain for a smooth base. | 24 hours |
| 2. Prime | White Primer (acrylic lacquer) | Creates a uniform surface for color adhesion. | 24 hours |
| 3. Color | Color Coat (acrylic or nitrocellulose lacquer) | Your design or solid color. | 24 hours |
| 4. Clear | Lacquer Clear Coat (matte or gloss) | Protects the color and provides final texture. | 24 hours |
| 5. Cure | Time | Lets the finish reach maximum hardness. | A couple of weeks |
The forum advice is emphatic about paint choice: do not use enamel paint. It can take over 30 days to fully cure. Acrylic or nitrocellulose lacquer uses fast-evaporating solvents (like acetone), so it dries to the touch in minutes and cures fully in a day. This timeline is why most custom board painters work with lacquers.
Each “24 hour” dry time is essential in humid or cool conditions. Apply the product according to its instructions and let the deck dry for the specified time. After the final clear coat, you can technically grip and skate it after a few days, but for maximum durability, especially if you do board slides, letting it cure for a couple of weeks makes a noticeable difference.
This whole refinishing project is a commitment. If that feels like too much, remember that a sanded-bare deck doesn’t need paint. You can simply apply a clear coat or even just grip it raw for a natural wood look. For a clean, graphic-free start without the work of painting, many skaters just buy one of the many great blank decks on the market.
Frequently Asked Questions
Can I remove a graphic without damaging the wood?
You can minimize damage, but you can’t guarantee zero impact. Sanding removes a thin layer of wood. Heat can warp wood if concentrated. Chemicals can penetrate. The “safest” method for the wood’s integrity is often careful heat peeling, but that only works for certain graphics.
Will a heat gun ruin my skateboard deck?
Not if used correctly. Keep the heat gun moving and use a setting that uniformly heats the graphic to 160°F to 200°F (72°C to 93°C) without scorching the wood. Do not hold it stationary on one spot, as you can scorch the wood, break down the glue between plies, or create weak spots. The goal is to warm the adhesive, not bake the deck.
What’s the fastest way to remove skateboard graphics?
For a single stubborn sticker, a heat gun and plastic scraper is fastest. For a full factory graphic, an electric sander with 80-grit paper is the most direct path, though it’s messy. Chemical solvents can be fast but involve significant clean-up and risk.
Can I paint directly over old graphics?
You can, but you shouldn’t. The old graphic and clear coat create a non-porous surface that new paint doesn’t adhere to well. It will chip and peel quickly. For a lasting custom paint job, always sand down to bare wood, seal, and prime.
How do I get rid of sticky residue after peeling a graphic?
Use a commercial adhesive remover like Goo Gone or Citri-Strip. Apply it to the residue, let it sit for a few minutes as per the instructions, then wipe away with a rag. For a light clean, isopropyl alcohol can work. For a more thorough clean, a light sanding with 220-grit will remove it entirely.
The Bottom Line
Removing a graphic is a means to an end. Decide what that end is before you pick up a tool. If you just want a different look, consider slapping a new sticker over the old one or buying a blank. If you want a truly custom deck, embrace the sanding dust.
The one rule that overrides all others in the how to remove graphics from a skateboard deck project: let the wood dry. After sanding, after chemical cleaning, even after a thorough wipe-down, give the deck a few days in a stable environment. Rushing to apply sealer or grip tape to a board that hasn’t released its moisture is how you end up with bubbles under your new grip or a finish that never fully hardens.
For most people, the sweet spot is sanding. It’s physical work, but it’s predictable. You control the depth, you see the progress, and you end with a surface you know is ready for whatever comes next. And if you discover a deep scratch during the process, you’re already set up to sand it out. Start with 80-grit, follow with 220, and you’ve got a blank canvas.
