
How to Switch Ollie on a Skateboard: Step-by-Step
This post contains affiliate links. As an Amazon Associate, we earn from qualifying purchases.
To switch ollie on a skateboard, you perform an ollie with your feet in your opposite, or switch, stance. This requires a flawless regular ollie first, then dedicating two weeks to riding switch to build comfort before attempting the trick.
The gap between a regular ollie and a switch ollie involves mental and muscular adaptation. Your non-dominant leg has to execute the pop and your weaker side has to control the front foot motion. A key hurdle is learning how to switch ollie on a skateboard. This disconnect can cause stalling in progress.
What follows is a breakdown covering the debate on front foot mechanics, key prerequisites, and helpful drills.
Key Takeaways
- Master a flawless regular ollie before attempting switch; trying both at once often leads to frustration.
- Commit to two weeks of exclusive switch riding before adding the pop, comfort in the stance is crucial.
- Your shoulders dictate board direction; keep them straight and aligned with the board to land straight.
- Sources disagree on front foot motion: while many describe a ‘slide’, the Skate IQ video argues for an ‘up and back’ motion where the foot rolls back under the knee to level the board.
- Avoid pushing mongo in switch; it reinforces bad balance and delays true stance comfort.
Is a Switch Ollie a Beginner Trick?
This is the truth. An ollie is not a beginner trick. A switch ollie is even less so.
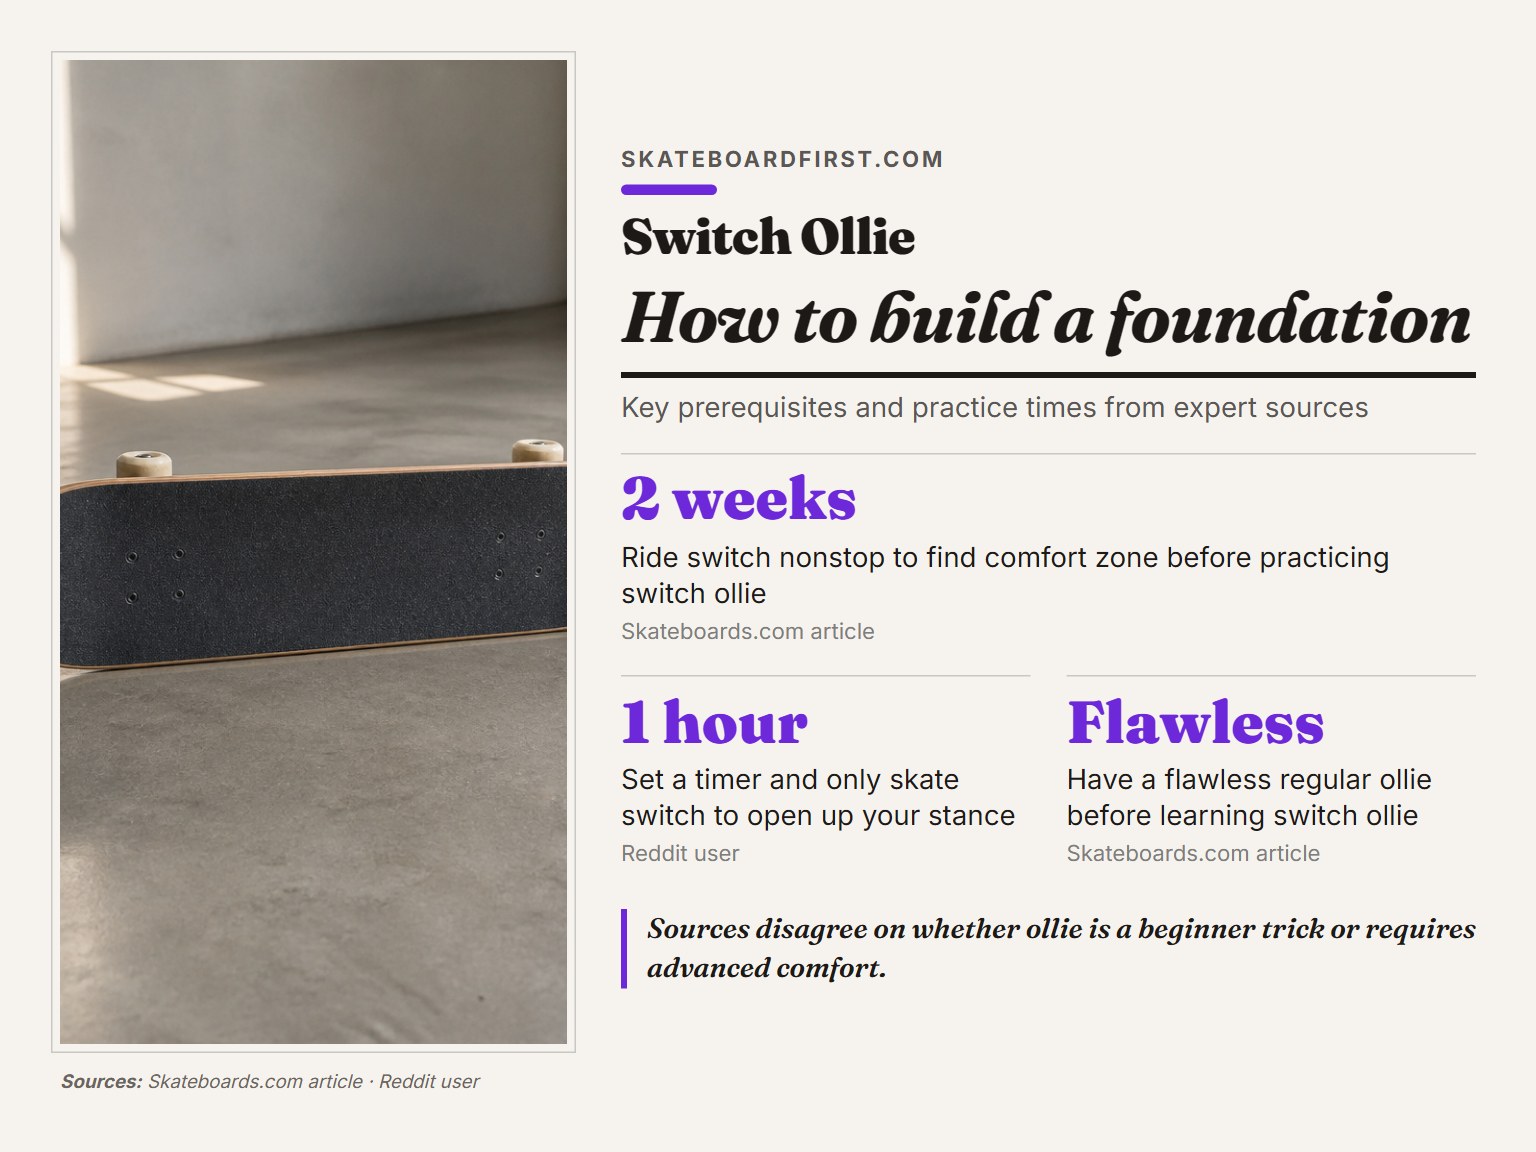
While many beginner tutorials present the ollie as a foundational trick, some sources like the Reddit community argue that ‘Ollies are NOT a beginner trick’ and require significant board comfort first, which is doubly true for the question of how to switch ollie on a skateboard. You see a video, you stand on your board for the first time, and you try to mimic the pop. It often doesn’t work because a foundation of board comfort is missing. Some sources, like a Reddit user, suggest you need to be very comfortable on a board first, while the Skateboards.com article focuses on having a flawless regular ollie before learning switch ollie. That means pushing, turning, stopping, and riding switch without thinking about it.
The Skateboards.com article states your regular ollie must be flawless before you learn switch. Ignoring this prerequisite can lead to slow progress on both tricks. Your regular ollie is the foundation. If it’s shaky, your switch version will be unstable.
Common mistake: Jumping to switch ollies before having a solid, rolling regular ollie. You’ll split your focus and can develop bad habits in both stances.
So what are the real prerequisites? Beyond a flawless regular ollie, you need the board control that comes from riding in your switch stance for everything. Not just a few pushes. Everything.
The Mechanics: Regular vs. Switch
A regular ollie and a switch ollie use the same physics. The difference is which leg is in charge.
In your regular stance, your dominant back foot provides the explosive pop. Your dominant front foot guides the level-out. In switch, those roles reverse. Your weaker back foot has to generate the same crisp pop. Your weaker front foot has to execute the precise slide, or, as we’ll see, the “up and back” motion.
This reversal exposes muscular and coordination imbalances. Your pop foot might not be strong enough. Your guiding foot might not have the ankle control. That’s why the two-week period of riding switch is recommended to condition the underused muscles before you tackle how to switch ollie on a skateboard.
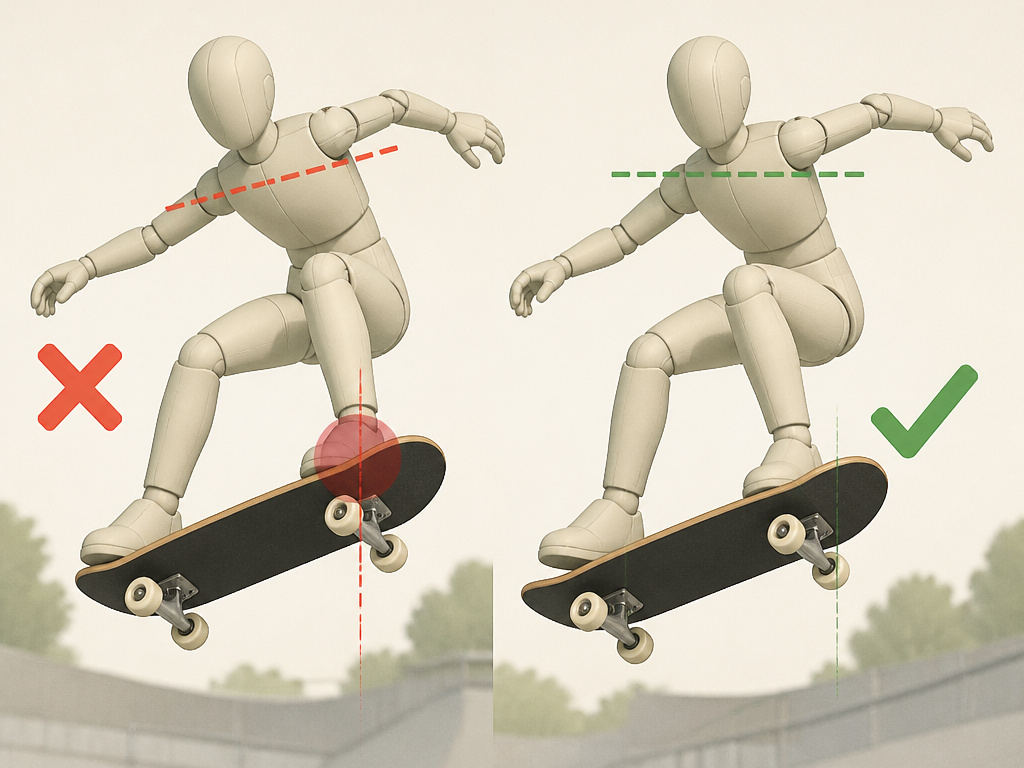
Your shoulders are the rudder. The Red Bull guide emphasizes that your shoulders must be straight and line up with the board. If you open your shoulders, the board will turn frontside. If you close them, it turns backside. In switch, maintaining straight shoulder alignment can be challenging. Focus on keeping your shoulders straight and aligned with the board.
The Switch Ollie Step-by-Step
This assumes you have a flawless regular ollie and have spent time riding switch to build comfort.
1. Find Your Switch Stance
Place your front foot in a comfortable position. The Skateboards.com article notes your front foot may need to move forward more than usual. Your back foot should be on the tail. The Skateboards.com article notes it might need to be moved further back on the tail. The Skateboards.com article notes your front foot may need to move forward more than usual, and your back foot might need to go further back on the tail.
2. The Pop and Jump
Crouch down, then explode upward. As you jump, aggressively stomp the tail down with your switch back foot. This is the same “pop” motion used for a regular ollie, but it will feel weaker and less coordinated. That’s normal. Focus on the jump, your body needs to rise to give the board space to come up.
3. The Front Foot Motion (This is the Debate)
Here’s where tutorials diverge. The commodity advice says “slide your front foot up the board.” The Skate IQ video argues this is misleading. Their analysis shows the front foot should go “up and then roll back under the knee” to control the board’s nose.
I’ve found the “up and back” description more accurate. Your front foot does slide up the grip tape to initiate the lift, but if you only slide up, the board’s nose will point skyward. To level the board, you need to push the nose forward slightly by rolling your ankle and bringing your foot back toward your body. This “up and back” motion is what gets the board flat.
4. Level and Land
As the board levels, tuck your knees up. Your eyes should be on the board, not your feet. Spot your landing. Keep those shoulders straight. Extend your legs to meet the board and absorb the impact with bent knees. Aim to land on the bolts, not the middle of the deck.
5. Ride Away Switch
This is the final test. Can you land and maintain your switch stance, rolling away smoothly? If you revert immediately to regular, you’re not comfortable yet. The goal is to land and keep riding in switch.
Why Your Switch Ollie Turns (And How to Fix It)
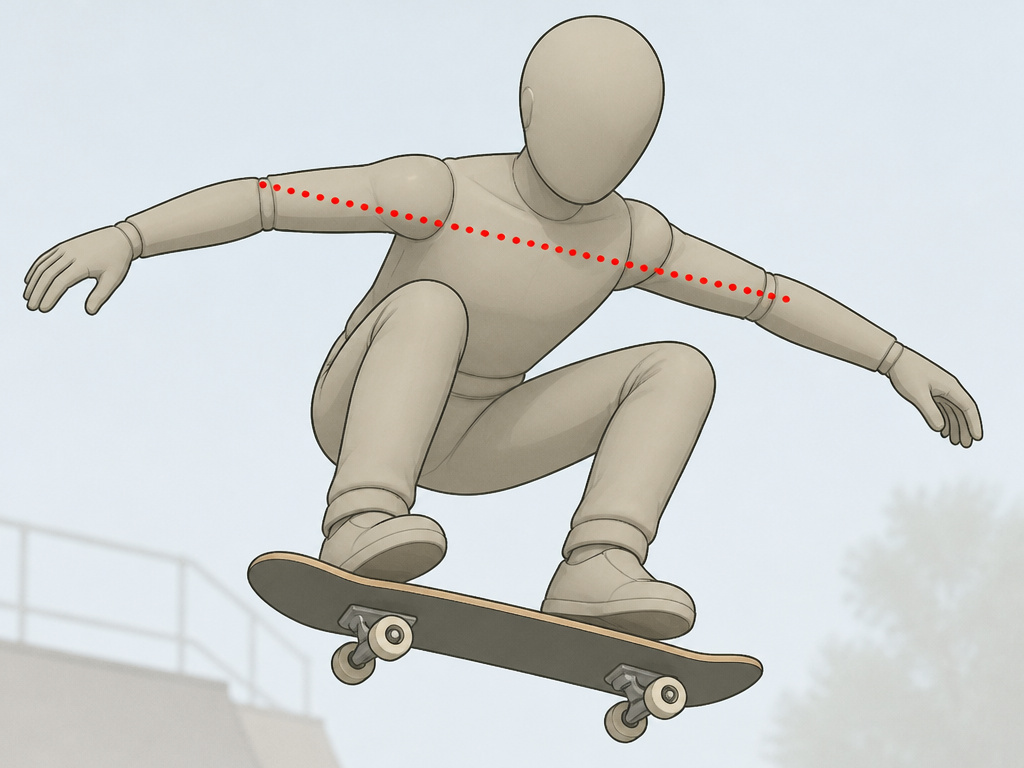
The board turns because your shoulders turn. It’s that simple, and that hard to fix.
When you’re uncomfortable in switch, your upper body twists to compensate for the awkward lower body position. You might open your leading shoulder (turn frontside) or drop your trailing shoulder (turn backside). The board follows.
Where this goes sideways: Letting your shoulders rotate during the jump. You’ll land crooked every time, often slipping out, until you consciously drill shoulder alignment.
The Fix: Practice stationary ollies on grass or carpet. Don’t even worry about height. Focus entirely on keeping your shoulders parallel to the board throughout the entire motion. Film yourself. The video doesn’t lie. Once that feels natural, try it at a slow roll.
Another culprit is an uneven pop. If you’re not popping the tail straight down, but slightly off to the side, the board will rocket away from you. This is usually a foot placement issue, make sure the ball of your back foot is centered on the tail.
Drills to Build Your Switch Ollie
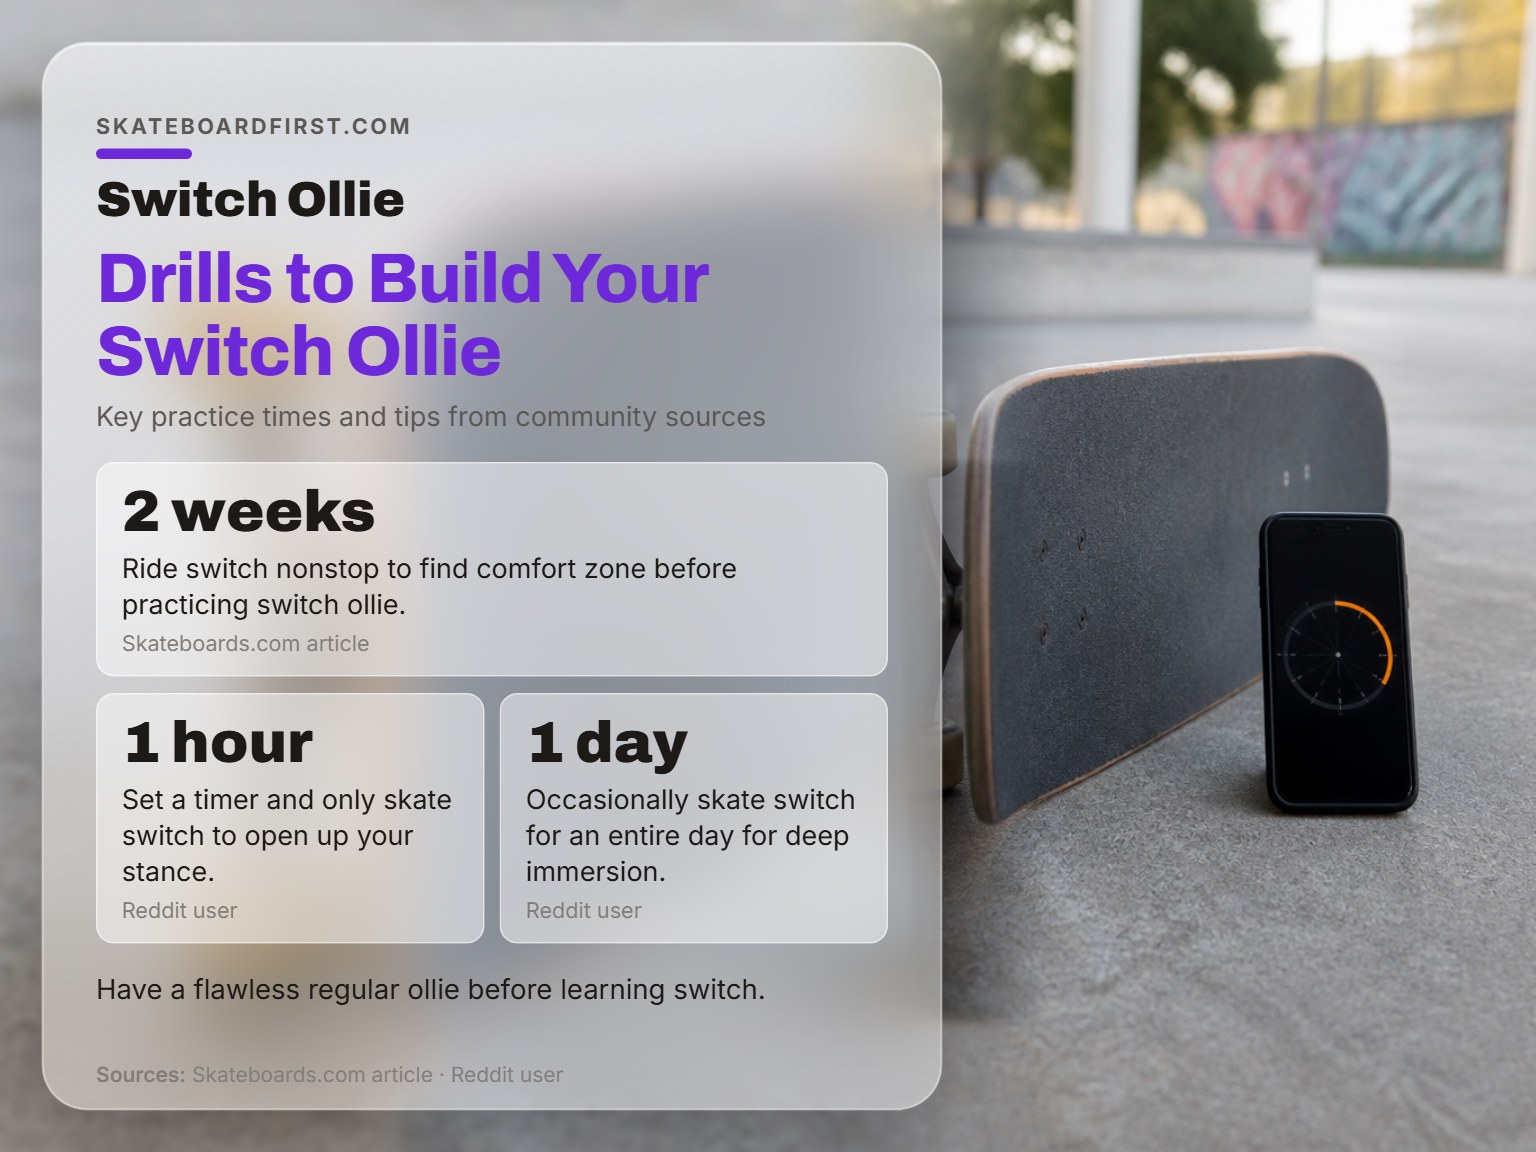
Don’t just try the full trick over and over. Break it down with these drills, sourced from community tips and instructor advice.
| Drill | Purpose | How To |
|---|---|---|
| Switch Hippy Jumps | Builds comfort jumping in switch stance. | Roll in switch, jump straight up, land back on the bolts. No pop. |
| Tail Scrapes | Isolates the pop motion. | Roll in switch, lift your front foot, and scrape the tail on the ground without getting off the board. |
| Nollie Timing Practice | Helps with the unnatural nose-pop timing for related tricks. | Draw a line. Ride towards it and pop the nose before you reach the line. |
| One-Hour Switch Sessions | Forces deep stance immersion. | Set a timer and do not ride regular for a full hour. Push, turn, cruise—all switch. |
| Ollie Up Curbs | Applies the ollie to a real obstacle. | Find a low curb. Ollie while moving up onto it in your regular stance, then focus on the motion. |
A Reddit user’s advice is golden: set a timer for 1 hour and only skate switch. Occasionally, skate switch for an entire day. It makes the little things more fun and rewires your balance.
Common Switch Ollie Problems
This table maps symptoms to their most likely causes. Use it to diagnose your attempts.
| Symptom | Likely Cause | Quick Fix |
|---|---|---|
| Board doesn’t leave the ground | Not jumping, or popping too late. | Focus on jumping first, then adding the tail snap. |
| Board rockets away | Off-center back foot pop, or shoulders turned. | Center ball of back foot on tail. Drill stationary shoulder alignment. |
| Nose points up, board doesn’t level | Front foot only slides “up,” not “up and back.” | Practice the front foot roll-back motion stationary. |
| Landing crooked every time | Shoulders are rotating during the jump. | Practice on grass, focusing on keeping shoulders parallel to the board. |
| Can’t land on bolts | Not tucking knees up, or looking down at feet. | Look at the board, not your feet. Bring knees to chest. |
How a Switch Ollie Fits Into Other Tricks
Learning this trick isn’t just about adding one move to your bag. It opens the door to your switch game.
Once you have a consistent switch ollie, you can start exploring switch vs fakie and how they differ. A switch ollie is the foundation for switch kickflips, switch heelflips, and switch 180s. Similarly, mastering the switch pop helps with the opposite-end-of-the-board pop for a nollie.
Think of it as learning to write with your left hand. It’s painfully slow at first, but once the neural pathways form, your overall control and creativity expand. The same applies to a fakie ollie, it uses a similar unfamiliar pop but from a rolling start that feels different.
Frequently Asked Questions
How long does it take to learn a switch ollie?
If you already have a solid regular ollie, expect to spend at least two weeks building pure switch riding comfort before the pop starts to feel natural. The Skateboards.com article explicitly recommends riding switch for two weeks nonstop first. After that, it may take another few weeks of dedicated practice to get a consistent, rolling switch ollie.
Is it okay to push mongo when learning switch?
No. The Skateboards.com article warns to avoid pushing mongo when learning switch. Pushing mongo (using your front foot to push) creates a unstable, awkward stance and makes it harder to set up for tricks. It reinforces bad balance. Force yourself to push properly in switch, even if it’s slower at first.
Why does my switch ollie feel so weak?
Your non-dominant leg is weaker. The muscles needed for a powerful pop and controlled slide are underdeveloped. The two-week switch riding period is designed to start building that strength. Supplemental exercises like squats and calf raises can help, but there’s no substitute for the specific muscle memory built on the board.
Can I learn switch ollies before regular ollies?
Technically, yes. But it’s wildly inefficient. You’d be learning the most complex version of the trick first. All tutorials and community advice stress that a flawless regular ollie is the prerequisite. You need that blueprint in your dominant stance before reversing it.
Before You Go
The one rule most guides skip: if you haven’t committed a solid block of time to pure switch riding, you’re not ready to practice switch ollies. Go back to step zero. Push, turn, and cruise in switch until it stops feeling like a novelty and starts feeling like a viable way to move.
Your first session will likely be a disaster. That’s fine. Don’t compare your switch ollie to your regular one. They live on different timelines. Focus on clean execution over height, straight landings over distance, and the small win of a cleaner pop each time.
Everything above assumes you’ve built the foundational comfort. If you’re still wobbling when you push switch, that’s your only job today.
