
How to Ride a Longboard for Beginners: Step-by-Step
This post contains affiliate links. As an Amazon Associate, we earn from qualifying purchases.
To ride a longboard as a beginner, you need four things: protective gear, a stable stance, a methodical pushing technique, and a reliable way to stop. Start on a flat, smooth surface like an empty parking lot. Your first session should focus solely on pushing, riding on your front foot, and practicing the foot brake. Turning comes after you can stop confidently.
That sequence, gear, stance, push, stop, is the only way to build control before you add speed or hills. Skip any step, and you’re borrowing trouble. The most common beginner injury isn’t from a high-speed crash; it’s from losing balance at a walking pace and not knowing how to fall or stop, which is why learning how to ride a longboard for beginners starts with these fundamentals.
What follows is a walkthrough of each fundamental skill, the gear that actually helps, and how to navigate the conflicting advice you’ll find online about the how to ride a longboard for beginners question. By the end, you’ll have a practice plan for your first week that focuses on control, not speed.
Key Takeaways
- Wear a helmet and wrist guards every time, the CPSC notes wrist guards are especially important for skateboarding, and a helmet can be the difference between a scare and a life-changing injury.
- Find your natural stance (regular or goofy) before you move, and commit to pushing with your back foot; pushing “mongo” (with your front foot) is a debated habit that can limit your balance and progression.
- Master foot braking on flat ground before you attempt any slope; if you can’t stop comfortably, you’re going too fast for your current skill level.
- Start on a wide-open, paved, and flat surface to control your speed and build confidence without the pressure of traffic or obstacles.
- Tighten your trucks slightly when you begin; the CPSC advises this improves stability at higher speeds, and it reduces the wobble that throws new riders.
Gear Up First: Your Non-Negotiable Safety Kit
You will fall. Planning for that fact is what separates a rough session from a trip to urgent care. The U.S. Consumer Product Safety Commission is blunt: wearing a helmet can mean the difference between life and death. This isn’t about looking pro; it’s about walking away.
Your kit starts with a skateboarding helmet. It needs a hard shell and foam interior, it must fit snugly with the chin strap fastened, and it should sit level on your head, not tilted back. Wrist guards come next. The CPSC singles them out as especially important for skateboarding. When you fall, your instinct is to put your hands out. Wrist guards channel that impact away from your bones. Knee and elbow pads are smart additions, especially for your first few weeks.
Before you start: A loose helmet flies off on impact. A wrist guard worn over a loose sleeve can slide and fail. Gear only works if it’s fitted and secure. Take two minutes to adjust everything.
I learned this the hard way watching a friend try to “just cruise” without pads when learning how to ride a longboard for beginners. A simple crack in the pavement sent him down. His palms hit first, and the sprain took him off the board for a month. The sound of that fall, a sharp slap followed by a gasp, is why my helmet goes on before the board even comes out of the car. That moment reshaped my entire approach to beginner advice.
Choosing and Prepping Your First Board
If you already have a board, great. If you’re looking, the advice out there is contradictory. The American Academy of Orthopaedic Surgeons suggests shorter decks are best for beginners because they are easier to balance and handle. Meanwhile, the CPSC, in its section on preventing speed wobble, states that longer boards increase stability. This is a point of disagreement among sources.
Both, in context. Look for a board described as a “cruiser” or “carver” with softer wheels (a durometer between 78A and 84A, according to the Euroskateshop guide). Softer wheels roll smoothly over cracks and pebbles.
Before your first ride, do a pre-flight check. The CPSC says to always check for excessive play and any broken or cracked parts. Tighten the kingpin nut on your trucks to ensure they are secure. The CPSC recommends keeping trucks tightened properly to improve stability. You can always loosen them later for easier turning. Spin the wheels. They should spin freely for a few seconds. If they stop immediately, the axle nuts might be too tight, or the bearings might need a look.
Finding Your Stance: Regular, Goofy, and the Mongo Debate
Before you push, you need to know which foot goes forward. Stand straight and have a friend gently push you from behind. The foot you step forward with to catch your balance is likely your front foot on the board. If it’s your left, you’re “regular.” If it’s your right, you’re “goofy.” There’s no right or wrong, just what’s natural. The Euroskateshop guide simply notes these are the terms.
Here’s my take, grounded in what I’ve seen. Pushing mongo forces you to shift your weight dramatically between pushing and riding stances. It’s less stable, especially when you start going faster or need to push quickly to start down a hill. It can become a hard habit to break. I recommend spending your first sessions determined to push with your back foot. It feels awkward at first, then it clicks. The stability you gain is worth the brief frustration.
Your First Ride: A 4-Step Sequence
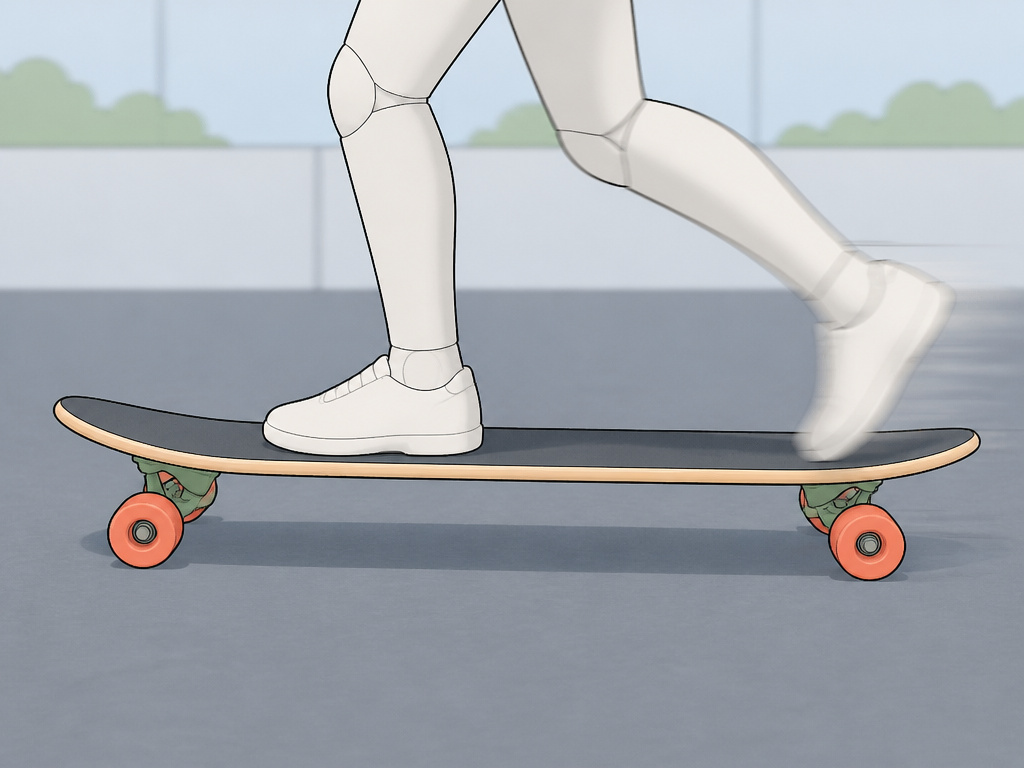
Find a empty parking lot, a smooth bike path on a flat section, or a tennis court. The ground should be paved and free of gravel, cracks, and slopes. This is your classroom for the next few hours.
Step 1: The Static Stance
Place your board on the ground. Step on with your front foot, placing it just behind the front trucks, perpendicular to the board. Your shoulders should be parallel to the board. Bend your knees slightly. Find your balance here without rolling. This is your home position.
Step 2: The Push Off
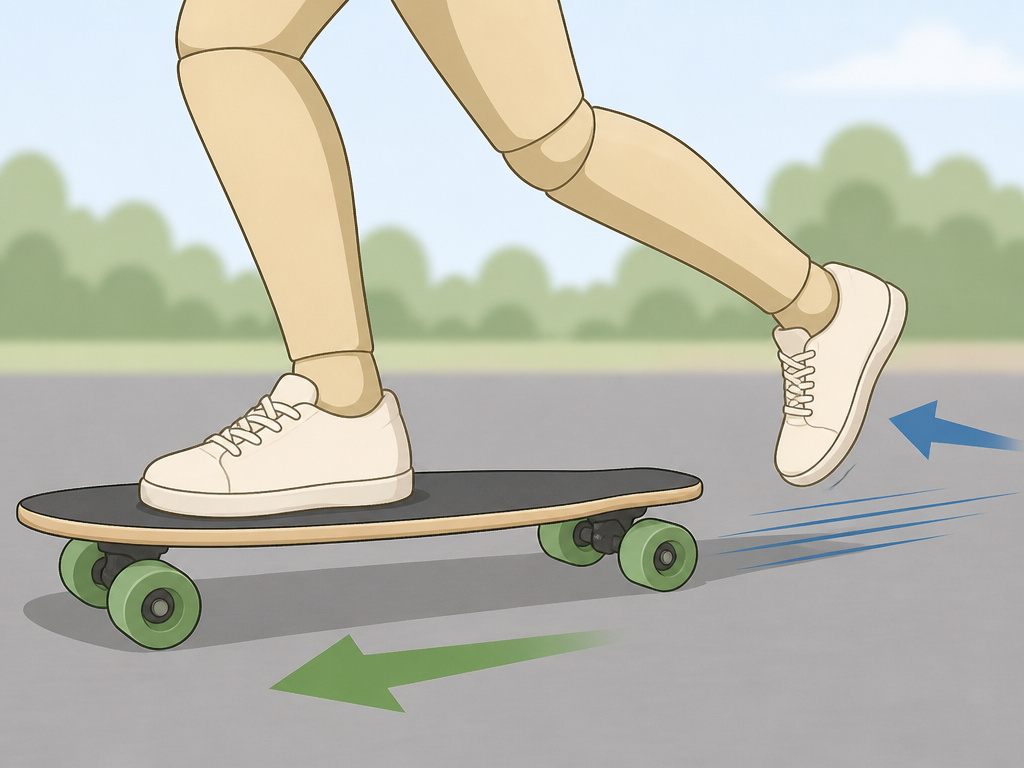
With your front foot secure, use your back foot to push against the ground. Don’t try to go far. Push once gently and immediately place your back foot on the board next to your front foot, in the riding stance. Roll to a stop. The goal isn’t distance; it’s the motion of pushing and getting your feet on the board smoothly.
Step 3: The One-Foot Balance
This is the secret to foot braking. Push slightly harder so you roll for several feet. Now, keep your back foot off the board, hovering next to it. Balance entirely on your front foot. If you start to wobble, put your back foot down. This drill teaches you the balance you need to brake safely.
Step 4: The Foot Brake
While balancing on your front foot, gently lower your back foot. Let the sole of your shoe drag on the ground. Start with your heel. Increase pressure gradually to slow down. Don’t stomp. This is the primary technique for stopping on a longboard for beginners, and it requires the one-foot balance you just practiced.
A proper push starts with your weight on the front foot. The back foot taps the ground, then snaps back onto the deck. If you lean back when you push, the board shoots forward without you.
I spent my first week in a church parking lot, just looping through these four steps. It felt slow. But when I finally tried a gentle slope, I had the muscle memory to control my speed. That patience pays in confidence.
How to Turn and Carve: It’s About Weight
Turning a longboard isn’t about twisting your hips. It’s about shifting your weight from your heels to your toes. The Decathlon/Oxelo guide explains it simply: move all your weight onto your front toes or back onto your heels.
For a heelside turn (board turns left for a regular rider), press down through your heels. For a toeside turn (board turns right for a regular rider), press down through the balls of your feet and your toes. Keep your knees bent. The board will start to lean, and the trucks will make the board turn.
As a beginner with tighter trucks, you’ll need to lean more deliberately to initiate a turn. That’s okay. It builds control. As you get comfortable, you can loosen them gradually for more responsive turning on a longboard.
Carving is just linking these turns back and forth in a smooth, flowing “S” pattern. It’s how you control speed on mild hills and it’s one of the great joys of cruising.
How to Stop Confidently: The Foot Brake Deep Dive

Foot braking is your emergency brake and your speed regulator. The Decathlon/Oxelo guide calls it the best technique for beginners. It works because friction between your shoe and the ground slows you down.
The technique is in the details. Your braking foot should be your pushing foot. Lower it heel-first. Keep almost all your weight on your front foot on the board. If you put too much weight on your braking foot, you’ll step off the board abruptly. The motion is a controlled drag, not a step.
Practice this on flat ground until you can slow from a gentle push to a stop consistently. Then practice stopping from slightly faster pushes. Never ride faster than you are comfortable foot braking.
Navigating Hills and Speed Wobble

A hill, no matter how small, changes everything. Do not attempt any incline until you can foot brake reliably on flat ground. When you’re ready, find a very gentle, short slope with a long, flat runoff at the bottom.
The moment you feel the board start to accelerate, get into a low, crouched stance. The CPSC advises riding forward and crouching to reduce the risk of speed wobble. Keep your weight forward. If you need to slow down, apply your foot brake with even more gradual pressure.
Speed wobble is the violent, side-to-side shimmy that can throw you in seconds. The CPSC defines it clearly: it happens when a skateboard begins to shimmy side-to-side unexpectedly, leading to a board rocking so violently the rider is thrown down. If you feel it start, crouch lower, shift your weight slightly forward, and focus on relaxing your legs. Do not panic and lean back, that makes it worse. If you can, gently apply your foot brake to shed speed.
How to Fall Safely (You Will Fall)

Falling is a skill. The goal is to disperse the impact and avoid taking it all on one wrist or knee. When you feel yourself going, try to roll. Tuck your chin, bend your arms, and let your shoulder hit first, rolling onto your back. This is why padded gloves help, they slide.
If you can’t roll, aim to land on the meaty parts of your body, your thigh, your butt, your back. Keep your wrists up and your fingers curled in to avoid landing on an outstretched hand. This is where wrist guards prove their worth. We have a dedicated guide on falling safely that breaks this down further.
The lesson wasn’t to quit; it was to pad up and learn to fall before going faster. That’s the mindset.
Your First Week Progression Plan
After this week, you’ll have the foundational skills to start cruising for fun. Your next step is to practice longer pushes for efficiency, which we cover in our guide on pushing a longboard efficiently.
Frequently Asked Questions
Is it easy to learn to ride a longboard?
It’s easier than learning to skateboard for tricks, but it still requires practice. The learning curve is gentle if you follow the step-by-step sequence of balancing, pushing, and braking on flat ground. Most people can get comfortable cruising with consistent practice.
Can a beginner use a longboard?
Absolutely. Longboards are often recommended for beginners because their larger size, softer wheels, and stability build confidence faster than a small, hard-wheeled skateboard. Choosing from the best longboards for beginners list ensures you start with suitable gear.
What are the basic techniques for longboarding?
The core techniques are finding your stance (regular or goofy), pushing with your back foot, foot braking, and turning by weight shifting (carving). Mastering these four on flat ground is the complete foundation for safe, enjoyable riding.
Where should I practice longboarding?
Start on a smooth, flat, and obstacle-free paved surface. Empty parking lots, tennis courts, or flat bike paths are ideal. Avoid areas with traffic, gravel, or slopes until you can control your speed and stop reliably.
What’s the difference between longboarding and skateboarding for a beginner?
Longboards are longer, more stable, and designed for cruising and carving. Skateboards are shorter, have harder wheels, and are built for tricks in skateparks. For a pure beginner interested in riding rather than tricks, a longboard offers a more forgiving and comfortable introduction. Our longboarding vs skateboarding comparison dives deeper into this choice.
The Bottom Line
Your first goal isn’t to go fast or look cool. It’s to build a repeatable, safe sequence: gear up, push, balance, stop. Everything else, carving, commuting, enjoying the ride, builds from that.
If you take one thing, let it be this: never let your skill level be exceeded by your speed. If you can’t stop comfortably, you’re going too fast. Dial it back, return to the flat parking lot, and drill the foot brake again. That single rule prevents more injuries than any piece of gear.
The official CPSC skateboarding safety fact sheet and the AAOS skateboarding safety PDF are your bookends for all safety decisions. Their advice is tested, and it’s where the numbers here originate.
Now, grab your board, find your spot, and take that first push. The rest follows from there.
