How to Ride a Penny Board: Step-by-Step for Beginners
This post contains affiliate links. As an Amazon Associate, we earn from qualifying purchases.
To ride a penny board, you need a flat, clean, dry surface, a helmet with wrist/knee/elbow pads, and dry shoes with anti-slip soles. Place your front foot over the front bolts, angled slightly forward. Push with your back foot, then place it on the tail, keeping your weight forward. Control your speed so you can safely jump off and run away if needed. The manufacturer states these boards are intended for users weighing 20-100 kg (Class A) or 20-50 kg (Class B).
That last line about weight classes and intended use is the part most guides skip. It comes straight from the product manual that meets the EN 13613 standard. It means the board’s construction, from the plastic deck to the truck height, is certified for a specific job: smooth, controlled cruising, not park skating. This is a key principle for how to ride a penny board safely.
What follows is a walkthrough that squares common beginner advice on how to ride a penny board with the official safety rules. You’ll get the step-by-step for your first push, a method for turning that actually works on the small deck, and the one stopping drill that prevents more wipeouts than any trick. By the end, you’ll know how to go from standing still to a confident cruise, and what to do when the sidewalk throws a crack your way.
Key Takeaways
- Wear a helmet and protectors for palms, wrists, knees, and elbows; this is a mandatory requirement from the OEM manual, not a suggestion.
- Start on a flat, clean, dry surface free of gravel and cracks; the manual explicitly warns against wet, sandy, or uneven ground.
- Your front foot belongs over the front bolts, angled toward the nose, not at the very end of the board, this is the manufacturer’s stated technique for stability.
- Control your speed so you can safely dismount; the manual defines safe speed as being able to jump off and run away without falling.
- Sources disagree on intended use: some state penny boards are for transportation and cruising, not tricks, while the OEM manual advises that jumps should only be performed on specific models and in safe, open areas.
Gear Up and Find Your Spot
Before your feet even touch the board, two things are mandatory. The first is safety gear. The OEM user manual is unambiguous: you must use a helmet and protectors for your palms, wrists, knees, and elbows. This isn’t scaremongering. A penny board’s small, slick deck offers less grip and stability than a grippy, wider skateboard. When you inevitably step off wrong, your instinct will be to put your hands out. Wrist guards turn a sprain into a slide.
The second is your practice surface. Here’s where sources directly disagree. Sources disagree on this point: many blogs suggest practicing on grass or carpet to get a feel for balance without rolling, while the official manual from Insportline states that “Wet and uneven surfaces are not suitable for riding a penny board.” It also hides small rocks and dips that can stop a wheel dead.
Common mistake: Starting on grass or carpet. The manual warns these surfaces are unsuitable and can cause immediate loss of control or wheel/bearing damage. A smooth, empty parking lot or a clean bike path is the safer, manufacturer-approved choice.
Your shoes matter, too. The manual specifies “dry anti-slip soles.” Skate shoes work, but any closed-toe shoe with a flat, rubbery sole will do. Avoid sandals, boots, or anything with a deep tread pattern.
Stance and Balance: The Foundation
You’ve heard of “regular” (left foot forward) and “goofy” (right foot forward). The easiest way to find yours is to simply stand on the board. Have a friend gently push you from behind; the foot you step forward with to catch your balance is likely your front foot. Don’t overthink it. You can switch later.
Now, where does that front foot go? This is another point of contention. A common web guide says to place it over the bolts.
| Foot Placement Guide | Where to Place | Why It Matters |
|---|---|---|
| Front Foot | Ball of foot over the front bolts, angled toward the nose. | Centers your weight over the truck for stability; prevents the nose from dipping dangerously. |
| Back Foot (Pushing) | Planted firmly on the ground behind the board. | Gives you a solid base to push from without kicking the board away. |
| Back Foot (Riding) | Placed on the tail, perpendicular to the board’s length. | Gives you leverage for turning and prepares you for a quick foot-brake. |
The small deck means your stance will be narrow when learning how to ride a penny board. That’s normal. Bend your knees slightly. This lowers your center of gravity and turns your legs into natural shock absorbers for bumps.
The First Push: Getting Moving
This is the moment. You’re standing on the board, front foot over the bolts, back foot on the ground beside the tail.
- Look ahead. Pick a point ahead of you and focus on it. Your body will naturally steer toward where you’re looking.
- Push gently. Don’t try to shove the earth. Place your pushing foot firmly and use a smooth, leg-driven motion to propel yourself forward. Think of it like walking, but you’re leaving one foot on the board.
- Place your back foot. As the board rolls, lift your pushing foot and place it on the tail, roughly where the rear bolts are. Keep your weight slightly favoring your front foot. If your weight shifts to the back foot, the board will shoot out from under you.
- Roll and repeat. As you slow down, lift your back foot, place it on the ground, and push again. The goal isn’t speed, it’s linking two or three pushes together smoothly.
A proper push is a smooth transfer of weight from the pushing leg to the front leg on the board. You’ll hear a soft, consistent roll from the soft wheels. A jerky, loud scrape means you’re fighting the board.
Turning and Carving
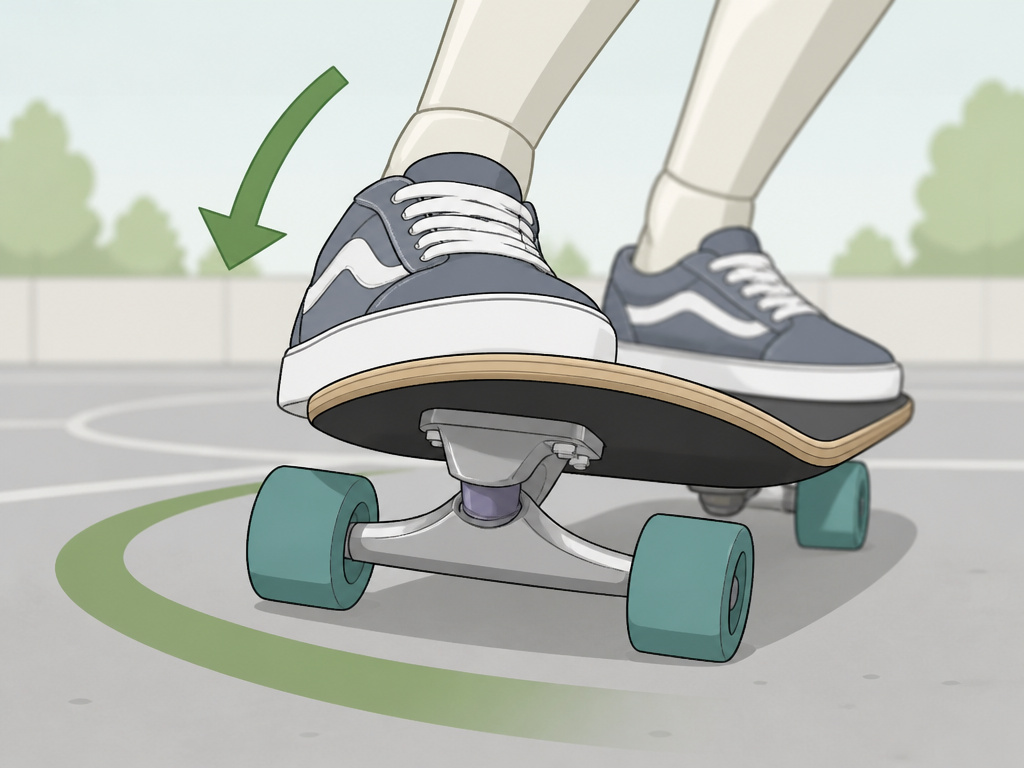
Penny boards turn differently than traditional skateboards. They have taller trucks and softer, larger wheels, which make them want to carve, a smooth, leaning turn, rather than kick-turn sharply.
To carve:
- As you roll, gently lean your weight onto your toes. The board will gradually arc in that direction.
- To turn the other way, shift your weight to your heels.
- Keep your knees bent. The more you bend, the deeper and more controlled your carve will be.
The small tail is useful for tighter maneuvers, but it’s not for kick-turns like on a skateboard. Instead, apply slight pressure to the tail while leaning to tighten your turning radius. This is crucial for navigating around sidewalk cracks or pedestrians.
What about obstacles? A penny board’s soft wheels are good for small cracks and bumps, but anything taller than a standard sidewalk crack requires a technique. As you approach, lift your front wheels slightly by shifting your weight back onto the tail, then immediately shift forward to lift the rear wheels over. It’s a quick, subtle “manual” motion. For a full guide on this, our article on riding over cracks breaks it down further.
Controlling Speed and Stopping
The OEM manual has a clear, physical definition of a safe speed: “such that the rider can safely jump off and run away from the pennyboard without risk of falling.” If you’re going too fast to safely jump off, you’re going too fast.
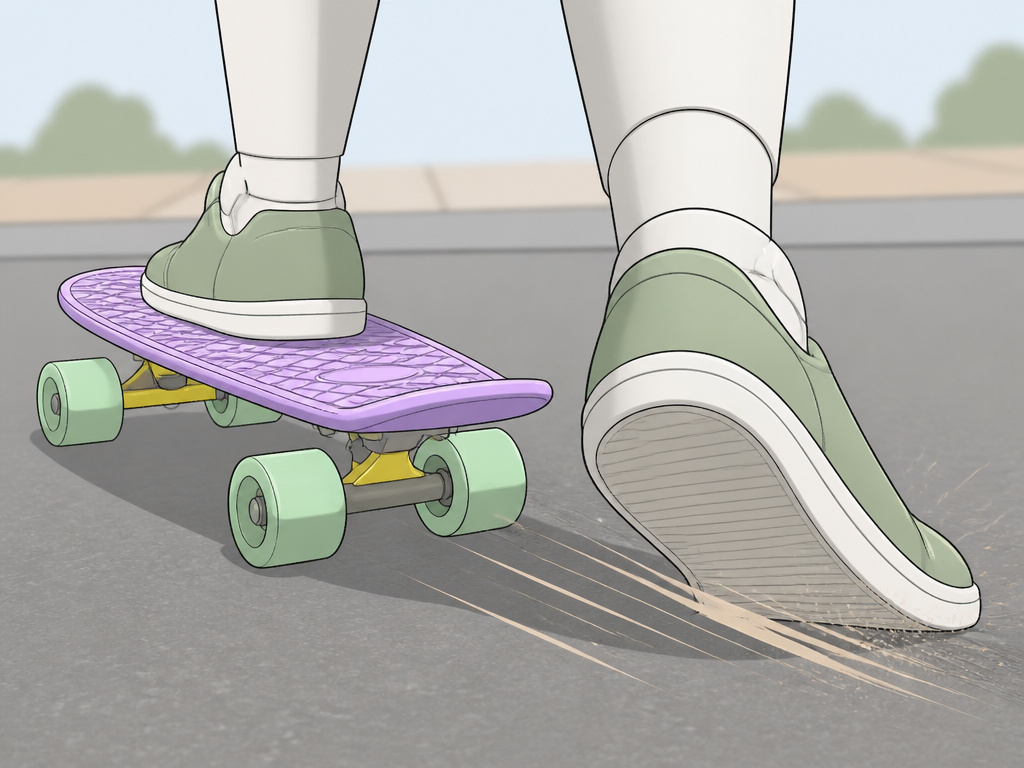
Foot Braking: This is the first and most important stopping method to learn.
- Keep your weight on your front foot.
- Slowly lower your back foot so the sole of your shoe drags lightly on the ground. Start with just your heel.
- Apply gradual pressure until you come to a stop.
Stepping Off: For beginners, simply stepping off the board is a valid stop. As you slow down, step forward with your front foot onto the ground, then pick up the board. It’s not glamorous, but it’s safe.
Where this goes sideways: Relying only on dragging your foot to stop on a hill. Practice stopping from a slow roll, then a gentle push, then a comfortable cruising speed.
Running out of space or needing to stop quickly? The “bail and run” is your last resort. If you’ve kept your speed manageable per the manual’s rule, you can jump off, land on your feet, and run it out. Always look behind you first to ensure the path is clear.
Building Skills and Riding Safely
Learning isn’t linear.
Penny boards excel for skateboard commute trips. Their portability is a key advantage. When you’re done riding, you can easily pick it up by the front truck or carry it under your arm.
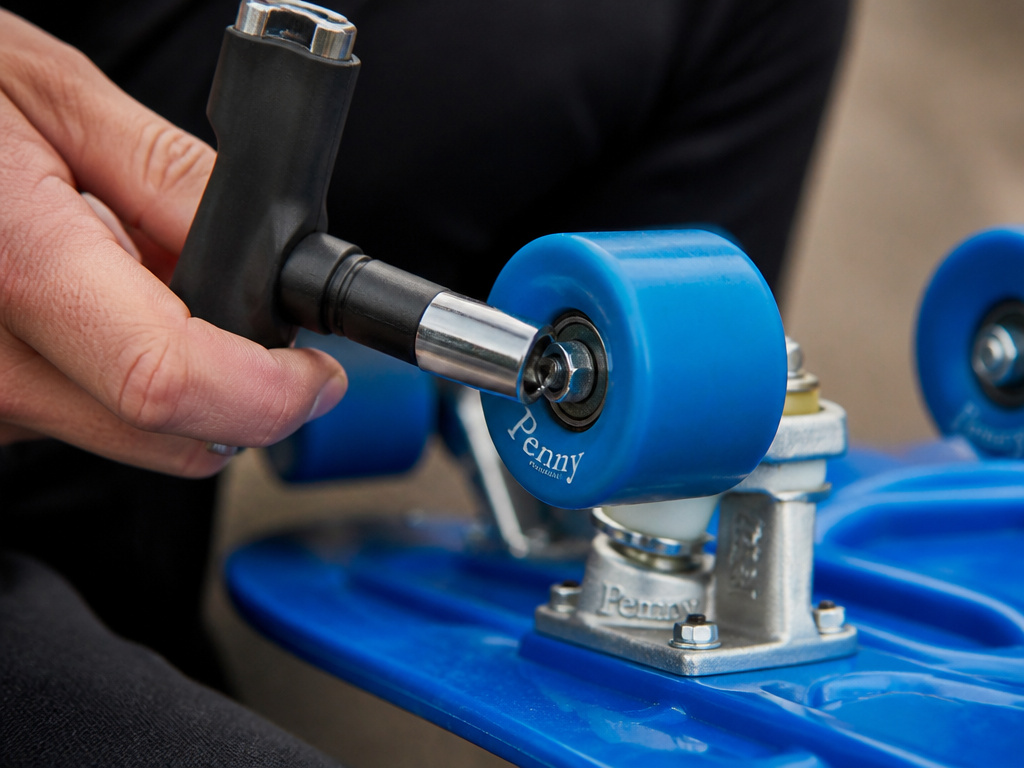
Maintenance is simple. The brand Penny Skateboards states their “standards are so high, maintenance is so low.” Still, check the axle nuts regularly with a skate tool to ensure they’re snug. A loose nut is a wobbly wheel, and on a small board, that magnifies instability instantly.
How to check your penny board’s bolts
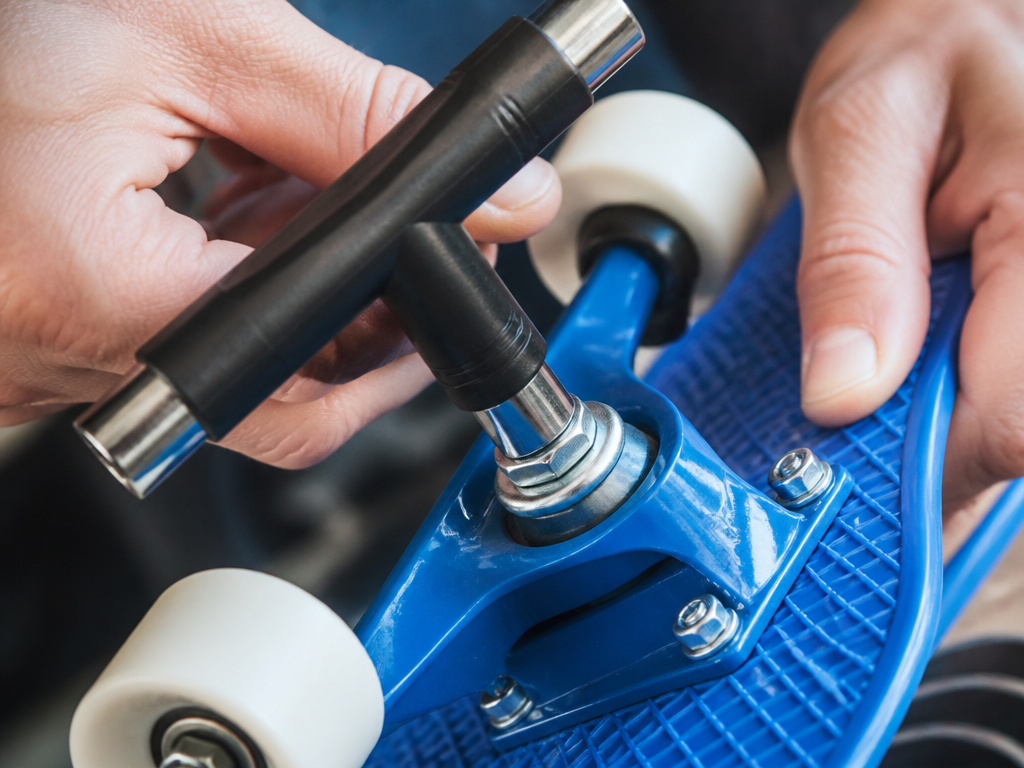
Regular bolt checks are a simple but vital part of penny board maintenance. The manufacturer states that their boards are built to high standards, which means maintenance is generally low, but a quick visual and tactile inspection before you ride prevents unexpected hardware failures. Look at the bolts that hold the trucks to the deck and the kingpin bolt in the center of each truck. If any appear loose, use the appropriate tool to tighten them snugly. This isn’t about applying extreme force, just ensuring nothing is rattling or working its way out. A secure board is a predictable board, and that predictability is key to maintaining control, especially on a smaller, more responsive platform like a penny board.
Frequently Asked Questions
Can an adult ride a penny board?
Yes. Penny boards are classified by weight, not age. A Class A board is intended for users weighing 20-100 kg (44-220 lbs). Many adults use them for quick errands or campus transport. The key is matching your weight to the board’s class and respecting its design limits.
Is riding a penny board harder than a skateboard?
It’s different. The smaller deck and wheels are harder to balance on at first, especially for those with larger feet. However, the softer wheels and taller trucks make for a smoother ride over bumps. A traditional skateboard is more stable for learning basic stance but has a harsher ride. For a full breakdown, see our penny board vs skateboard comparison.
Is a penny board worth it?
If your goal is casual, short-distance cruising on smooth paths, yes. Their portability and smooth ride are unique benefits. If you aspire to learn skatepark tricks, a traditional skateboard is a better investment. Penny-style boards range widely in quality; sticking with known brands like Penny Skateboards ensures you get a product built to the stated safety standards.
Can you do skateboard tricks on a penny board?
The manufacturer’s warning sheet is clear: it is “not suitable for jumping, tricks or extreme riding.” The design, taller trucks, softer wheels, small tail, plastic deck, works against most technical tricks. While basic maneuvers like pivots or small carves are possible, the board is not intended or certified for ollies, kickflips, or park riding.
Before You Go
Your first goal isn’t to go fast or look cool. It’s to get comfortable with the three fundamentals: a solid pushing technique, controlled turning, and a reliable method to stop. Master these on a quiet, smooth stretch of pavement.
One rule most guides skip comes straight from the manual: if you feel unstable, step off the board. “In case of loss of balance, the pennyboardist should rather step off the pennyboard before a fall occurs and start again.” Pushing through wobbles on a small board is how people get hurt. Step off, reset your feet, and try again. Small wins, like a clean push-and-roll sequence, add up to confident cruising faster than you think.
