
How to Ollie Over Obstacles: Timing and Commitment
This post contains affiliate links. As an Amazon Associate, we earn from qualifying purchases.
To ollie over an obstacle, you need a moving ollie, enough speed to carry you across, and the timing to pop when the object is under your front truck. Height helps, but speed and commitment decide whether you clear it or catch your back trucks.
That timing, pop when the object is under your nose, is the whole game. Get it right, and you roll away clean. Miss it by a fraction of a second, and the back wheels clip the obstacle every time. This isn’t a trick about jumping higher; it’s about jumping at the right moment in your forward motion. Mastering this timing is the core of how to ollie over obstacles.
What follows is a breakdown of that moment: how to find it, how to practice it safely with a piece of cardboard, and how to move from a chalk line to a stick to a curb.
Key Takeaways
- Start by ollieing over a crack or chalk line to learn the timing without the fear of clipping an object.
- Use a folded piece of cardboard as your first real obstacle, it flattens if you hit it, removing the consequence and building confidence.
- Your approach speed needs to be sufficient; a little more speed lets you travel further in the air with less height.
- Commitment is essential. Hesitating and pulling your back foot off the board is the most common failure point.
- Look at your landing spot, not at the obstacle. Your peripheral vision will handle the timing if you focus on where you want to be.
Why Ollieing Over Things Feels Different
A solid moving ollie on flat ground is one skill. Adding an object you must clear changes everything. Your brain now has to calculate distance, speed, and the consequence of failure, all while you’re rolling.
The most common result is what Reddit users describe: you ollie, but the back trucks get caught. This happens because your timing is off, your speed is too slow, or you subconsciously shift your weight back in fear, which kills your forward momentum. You’re trying to ollie over it instead of understanding how to ollie over obstacles by ollieing up and letting your roll carry you across.
Common mistake: Stomping your ollie down early because you’re scared of the obstacle. This makes you land faster than you should, right on top of the object.
The fix isn’t just more practice. It’s a different kind of practice.
The Ollie-Over-Anything Drill
This method, pulled straight from skateboarding forums, solves the commitment problem before you even look at a stick.
Grab a piece of cardboard. Fold it lengthwise into a shallow “V” shape and place it on the ground. If it’s too intimidating, step on it to flatten it a bit.
Now, don’t try to ollie over it. Ollie onto it. Ride toward it and pop your ollie, aiming to land with your trucks directly on the cardboard. It will crush under your wheels. That’s the point. There is no failure, you either land on your board or you roll over a piece of cardboard. Repeat this a dozen times. Each time, try to land a little further onto the cardboard.
This drill does two things. It proves to your body that hitting the object isn’t a crash, and it builds the muscle memory for an ollie that travels forward, not just upward. Once you can comfortably ollie onto the cardboard, ollieing over a stick of the same height feels trivial. The obstacle is no longer a threat; it’s a target.
Building the Motion: From Lines to Sticks
Before you even touch cardboard, you need the basic timing down. This is where the community advice is unanimous.
1. Find a crack in the pavement. Push to a comfortable, slow speed and ollie over the crack. Your goal isn’t height, it’s popping at the exact moment the crack passes under the nose of your board. Do this ten times. Then twenty.
2. Draw a chalk line. Once cracks feel easy, make your own target. A two-foot long line of chalk is perfect. The goal is the same: pop as the line reaches your front truck. The visual cue helps more than you’d think.
3. Use a stick. Place a small stick or a broken deck bolt on your chalk line. This is your first real object. Your speed here is critical. Too slow, and you’ll need a massive ollie to clear it. Too fast, and your timing has to be perfect. Start slow.
The progression of how to ollie over obstacles is linear: crack, chalk line, stick, cardboard V, bigger stick. Rushing it only teaches you how to catch your back trucks.
Speed vs. Height: The Trade-Off
This is the physics of clearing an obstacle. You can travel over it by going higher, going faster, or both.
| Factor | What It Does | When To Use It |
|---|---|---|
| More Speed | Increases forward travel distance per second of air time. | Best for clearing longer obstacles (e.g., a manhole cover) or when your ollie height is limited. |
| More Height | Increases air time, giving you more time to travel forward. | Essential for taller obstacles (e.g., a curb) regardless of speed. |
| Speed + Height | Maximizes clearance distance. The ideal scenario. | For clearing big gaps or high obstacles comfortably. |
The Reddit advice is clear: “Go faster and commit. The faster you go, the less time you need to be airborne to clear the stick.” If you’re struggling, try adding a little more speed before you try to ollie higher. Often, the extra momentum is all you need.
The Commitment Gap (And How To Close It)
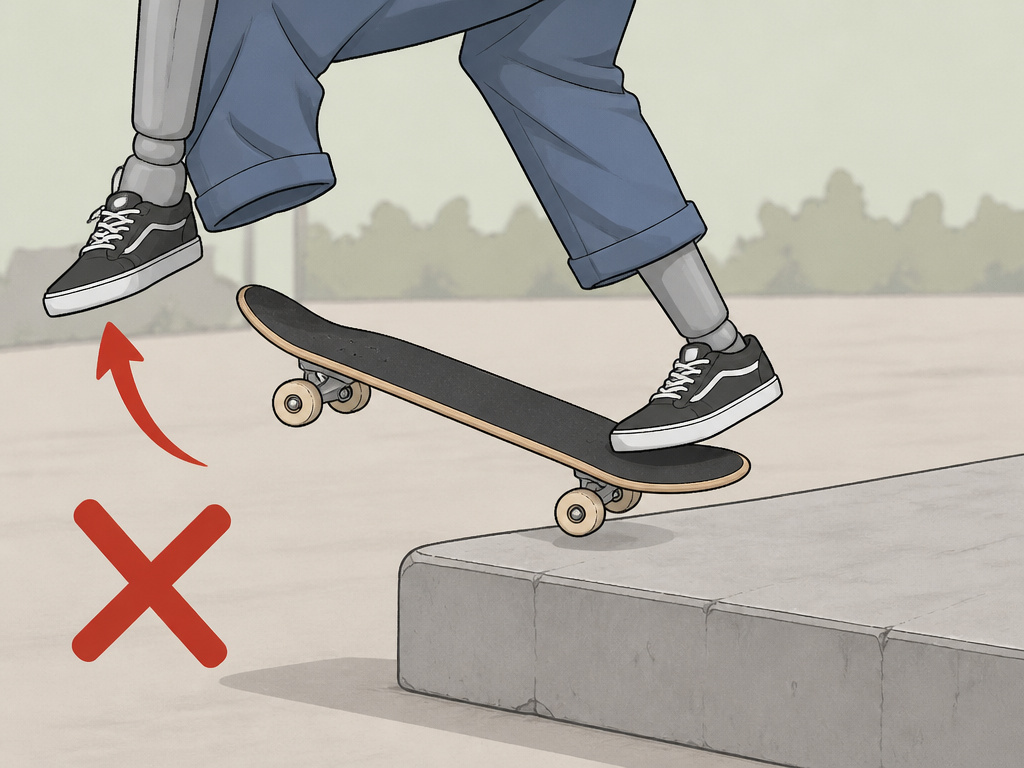
You can have the timing, the speed, and the technique. If you don’t commit, you will bail. The classic sign is the back foot coming off the board mid-air. You’re subconsciously protecting yourself from a fall, but it guarantees a fail.
Here’s what actually works, straight from riders who’ve been stuck here:
- Focus on the landing, not the object. Look at the patch of ground where you want to land. Your peripheral vision is excellent at judging when to pop. Staring at the obstacle makes you freeze.
- Sources disagree on approach: Get Rolling advises approaching curbs ‘at an angle to reduce the distance you must step across,’ while the Arctic Cat Prowler Pro manual recommends approaching ‘as close as possible to 90° to minimize vehicle tipping.’
- Practice the bail. Knowing how to bail on a skateboard safely removes some of the fear. If you know how to roll out of a fall, the consequence of missing feels smaller.
- Tuck that back knee. A high ollie requires you to pull your back foot up toward your chest. This isn’t just for show, it physically lifts the back trucks higher, giving you more clearance. Think “jump, then tuck.”
Mental preparation is as important as physical practice. A good ollie while rolling is the foundation, but learning how to commit to skateboarding tricks is what gets you over the barrier.
Common Mistake: The Stomp
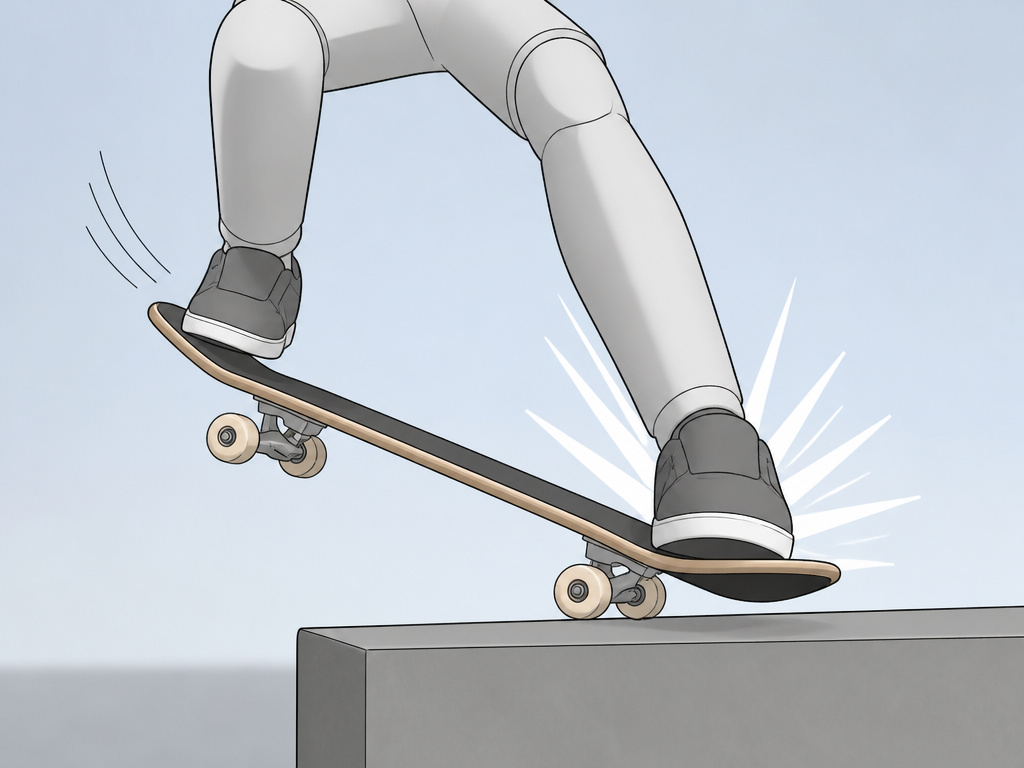
You’ve felt this. You approach the object, pop your ollie, and immediately slam your feet down to land as fast as possible. It’s a panic move. The result is a low, short hop that lands directly on top of the obstacle.
The fix is to trust your momentum. Ollie up, not over. Let your forward speed carry you the necessary distance. Imagine you’re ollieing onto a higher ledge, you need air time to reach it. That same mindset applies to clearing a stick on flat ground.
I spent two weeks stuck trying to ollie over a parking block. Every attempt, I’d stomp it down and land right on top. The moment I focused on sucking my knees up to my chest, like I was trying to ollie higher for its own sake. I cleared it easily. The block wasn’t the problem; my panic was.
Gear and Setup Check
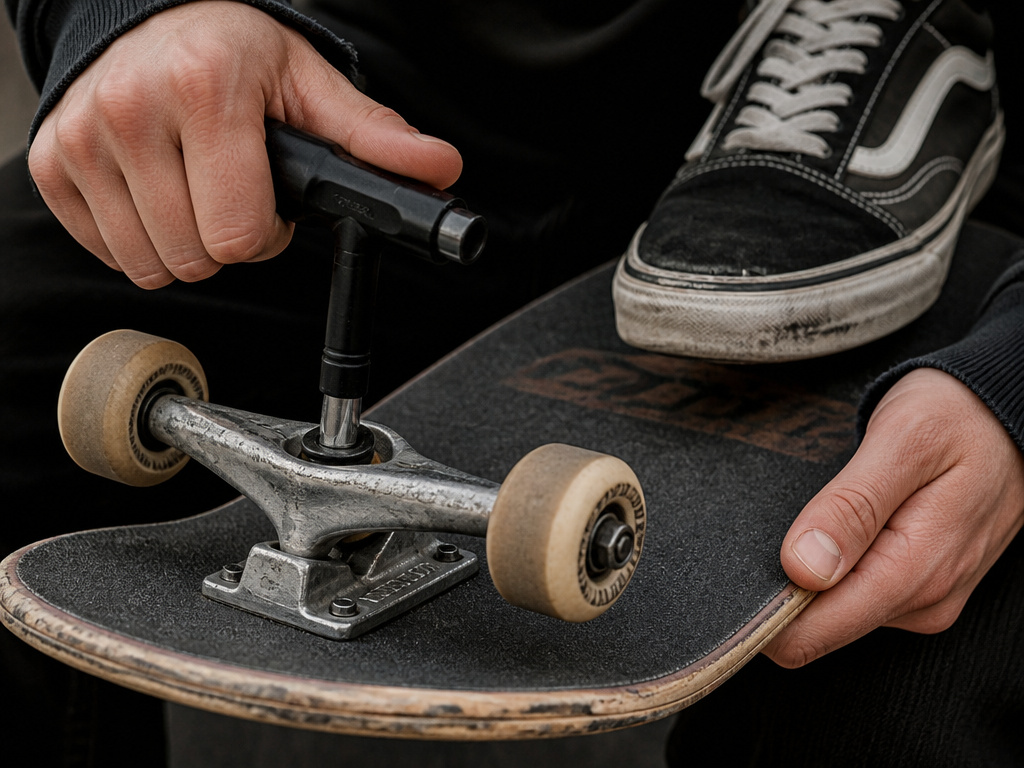
Your equipment can work against you. If your trucks are too loose or your bushings are shot, the board will feel unstable as you prepare to pop. That instability feeds fear.
- Truck tightness: For beginners, a medium-tight setup offers more stability for take-off and landing. You can loosen them later for better turn control.
- Wheel size: Smaller, harder wheels (like 52mm 99a) are more responsive for pop and easier to control in the air than large, soft cruiser wheels.
- Shoe wear: Notice the grip tape wearing a hole on the side of your front shoe? That’s normal. If it’s happening after a single session, you might be sliding your foot incorrectly, dragging it sideways instead of up the deck.
Your setup should feel predictable. If it doesn’t, dialing in your board is a prerequisite for nailing this skill.
Frequently Asked Questions
How do I know when to pop my ollie over an obstacle?
Pop when the obstacle is directly under the nose of your board. A good visual cue is when the object disappears under your front truck. Practicing over a crack or line trains this timing.
Why do my back trucks always hit the obstacle?
This means you’re popping too early. Your board hasn’t traveled far enough forward in the air. Try increasing your speed slightly, or focus on popping a fraction of a second later. Also, remember to pull your back knee up higher.
I can ollie high stationary, but not over anything. Why?
This is almost always a commitment issue. You have the height, but you’re hesitating because of the object. Practice the cardboard drill to remove the fear of consequence, and focus your eyes on your landing spot, not on the obstacle.
How fast should I be going?
Start at a slow, comfortable rolling speed, just enough to maintain your balance. As you get confident, add a little more speed. Sources disagree on speed: Get Rolling advises increasing speed for curbs if worried about a brake catching, while the Freerider Luggie Scooter Manual states to ‘ALWAYS approach small obstacles ‘straight on’ and at slow speed.’
Is it better to learn to ollie higher or go faster?
For small obstacles, a little more speed is usually the easier fix. For taller obstacles, you will need to work on your techniques for a higher ollie. Start with speed, then build height.
Before You Go
The jump from a basic ollie to clearing an object is a mental barrier more than a physical one. The physics are simple: speed plus timing equals clearance. The hard part is convincing your feet to stay on the board.
So grab that cardboard. Ollie onto it until it’s flat. Then find a stick. Then find a bigger one. The process is the same each time: look where you want to land, trust your pop, and let your roll do the work. One session with that mindset is worth ten sessions of frustrated attempts.
