
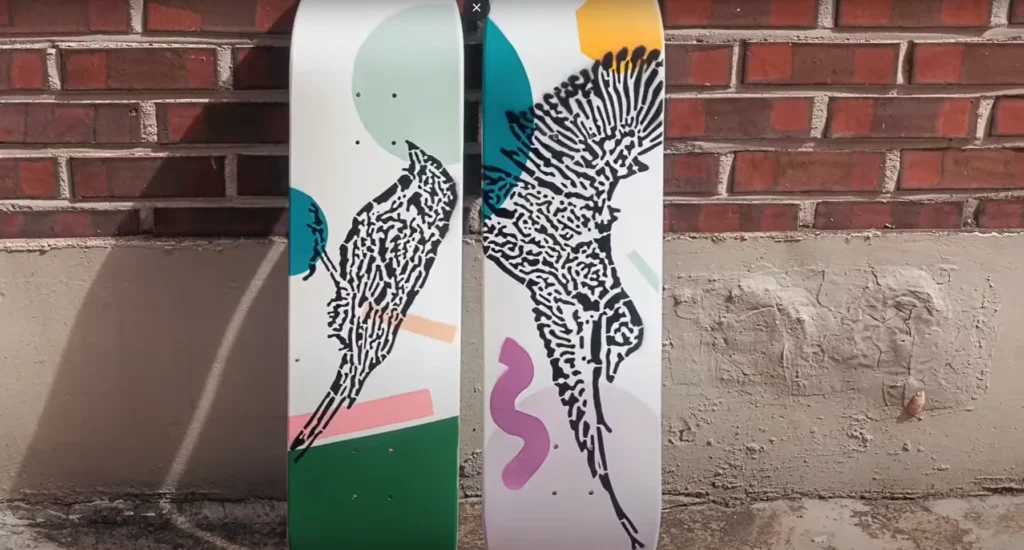
Silk Screening or screen printing is one of the most popular forms of adding images and graphics to your skateboards. When it comes to skateboarding it is all about fun, colors, and art. When you go to a skatepark you must have seen some quite cool graphics, funky colors, and admirable designs on the skateboards. Have you not found your dream skateboard? Luckily, you can customize your board according to your taste.
Silk screening is one of the most preferable methods as the results that are produced by it are quite satisfying. With its help, you can add popping colors to the curved surface of your skateboard easily. Before advancing to complex prints you first should know how to silkscreen a skateboard deck with just one color. Once you have mastered this method, you can explore your skills further.
How To Silkscreen A Skateboard Deck?
Although you have to be patient and have to be careful while transferring the different layers of colors onto your skateboard deck, it is still more convenient in comparison to other alternatives. Many skateboarders think it is tiresome and time-consuming to silkscreen a deck, but the experience is truly worth the result. Here is all you need to silkscreen your deck accurately.
Step-By-Step Method
Material
- Printer
- Acetate film
- Silkscreen press or Mesh screen
- Emulsion
- Ink
- Aluminum scoop coater
- Bright LED light
Method
1. Make The Silk Screen Press Or Mesh Screen
The main tool that lays on the base for silk screening is the mesh screen or screen press. The most common problem that DIYers face when it comes to silkscreening skateboards is to have an accurate and compatible mesh screen. The issue with skateboards is that they do not have straight decks. Decks are aligned, having a nose and tail. You will have to either get a straight mesh screen which can give you fine results or make one yourself.
Making a DIY silk screen press is not difficult as you will just have to get the measurements of your decks and make a frame that fits the deck in. You will have to cut the pieces for the edges and then have to bring them together. Attach a silk or mesh fabric to the frame. Then connect a hinge to one end and attach the frame to a wooden base. Your silk screen press is ready.
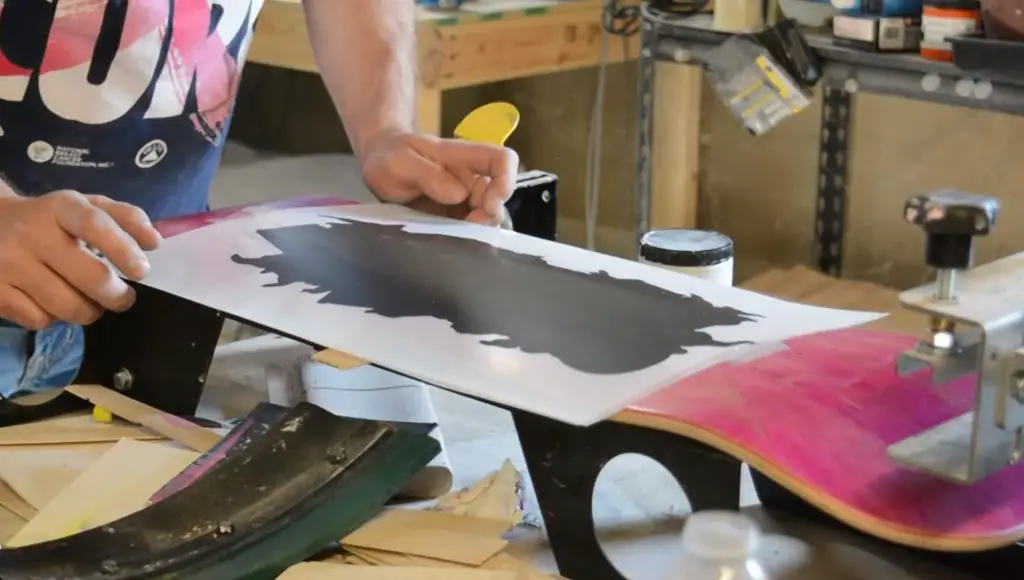
2. Create A Design
There are many apps that you can use to print your desired image onto a transfer sheet. In the case of screen printing, you will need to print your image on acetate film which will later act as a protection for the photographic emulsion. You can make your very own design and use a printer to transfer it to the acetate sheet.
Place the sheet into the printer, enter your design, adjust the size of the print according to the dimension of the deck, and you are good to go. Next, you will have to cut the cut out of the design. If you are making a multi-color design then make a separate print for each color.
3. Exposing Emulsion To Light
Now you will have to take the mesh frame that you prepared earlier and then have to apply the emulsion onto the fabric or mesh base of the frame. You can use the aluminum coater to even out the emulsion liquid on the frame smoothly.
Now place the cut out of the design on the emulsion layer. Now take your LED light and put it above the frame, so that the light is provided to the whole emulsion-coated frame. This exposure to light will make the emulsion hard as it dries up.
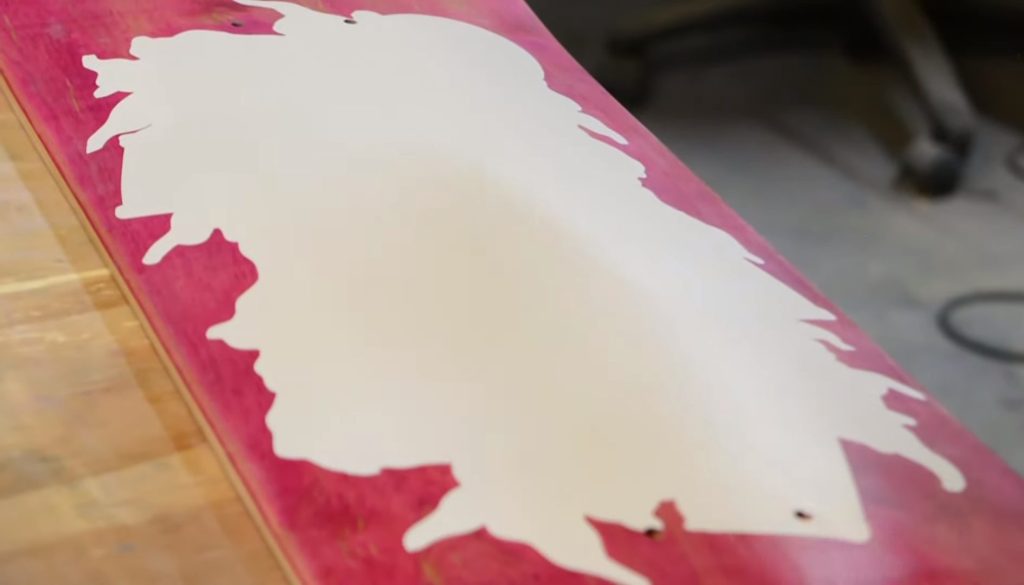
4. Make The Stencil
Next, you will have to remove the cut out of the acetate film that was placed over the emulsion-coated frame or mesh screen. The coating underneath the cut-out will not be hardened as the acetate film had blocked the light. Wash off this wet emulsion and let it dry. The stencil of your design is ready.
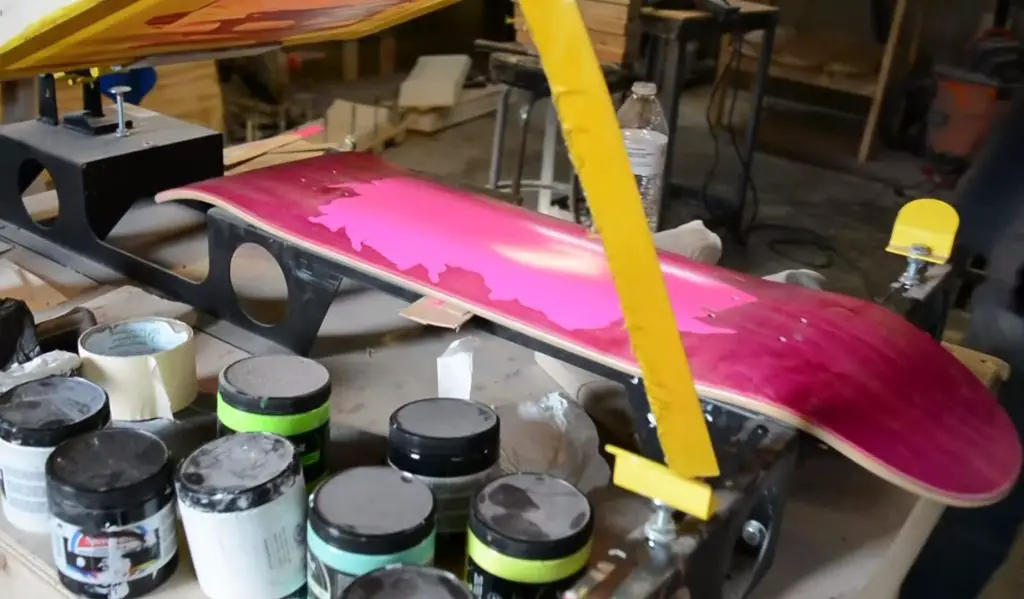
5. Transfer The Design
Now you will have to take the DIY Skateboard frame. Place the stencil on it such that it is aligned with the part on which you want to print the design. Place the skateboard on the wooden base of the frame. Then apply the ink on the frame in such a way that the upper frame is held above the deck. Then you can use the aluminum coater to even out the ink.
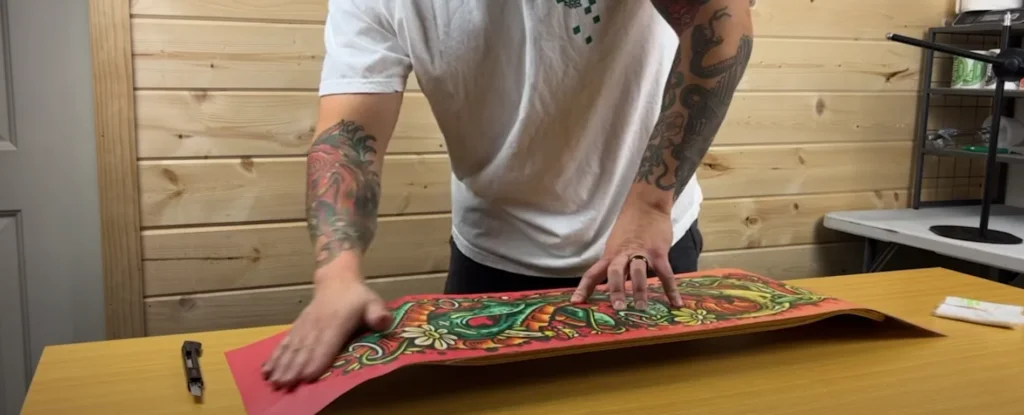
Now bring the frame down such that the ink-covered frame is just above the deck. Use the coater to apply pressure. The ink will get transferred to the deck. If you want a more colorful design, then you will have to wash the screen, start by transferring the other color on acetate film to the end, and your customization process is complete.
Conclusion
I hope that now you know how to silkscreen a skateboard deck easily. The more complex and colorful design you want to print the more you will have to be patient as each color requires a separate stencil to transfer the ink to the deck.
Hi, I am Mian. I am the Owner and Founder Of Skateboard First. I am such a huge fan of skateboarding, and I am here to enhance your experience in skateboarding.